Do you really need an air pump or air stone? A practical, evidence-based look at oxygenation, surface movement, filtration flow, planted tank CO2 tradeoffs, ...
Freshwater aquarium guidance
How to Measure Dissolved Oxygen in a Freshwater Aquarium
Learn how to accurately measure dissolved oxygen (DO) in your freshwater aquarium using test kits or DO meters, when to sample (including before lights-on), how to calibrate, and how to interpret results by temperature, saturation, and location.

Written by
Oliver Bennett
Oliver Bennett is a lifelong aquarist with over 15 years of experience in freshwater tank setup, aquascaping, and fish health. Through TankRoot, he shares his passion for creating balanced underwater ecosystems, helping hobbyists of all levels build thriving, beautiful homes for their fish.
Published: October 18, 2026
•
Updated: October 18, 2026
Dissolved oxygen (DO) is one of those parameters that tends to get ignored until something looks wrong. Fish hang at the surface, shrimp act “off,” your fish’s morning behavior looks different from the evening, and suddenly you are wondering if your tank is literally running out of air.
The good news is that DO is measurable at home with reliable tools. The tricky part is when you measure, where you measure, and how you interpret the number once you have it. In planted tanks especially, the most misleading thing you can do is test at the “best” oxygen time and assume that is your baseline.
What DO readings mean
Dissolved oxygen is the amount of oxygen gas dissolved in the water, usually measured in mg/L (often reported as ppm in hobby contexts). Fish do not breathe “air,” they pull oxygen from the water across their gills. If oxygen in the water drops far enough, fish compensate by breathing faster, hanging in high flow, or gulping at the surface.
Two interpretation rules matter most:
- Temperature sets the ceiling. Warm water holds less oxygen than cool water. A “good” number in a warm tank might look low compared to a coldwater chart, but it can still be near saturation for that temperature.
- Oxygen changes over the day. In planted aquariums, DO is often highest late in the photoperiod (photosynthesis adds oxygen) and lowest right before lights come on (everything has been respiring all night).
Because of those factors, a single DO measurement is rarely the full story. The goal is to measure in a way that captures your lowest oxygen periods and compares apples to apples.
Tools: kits vs meters
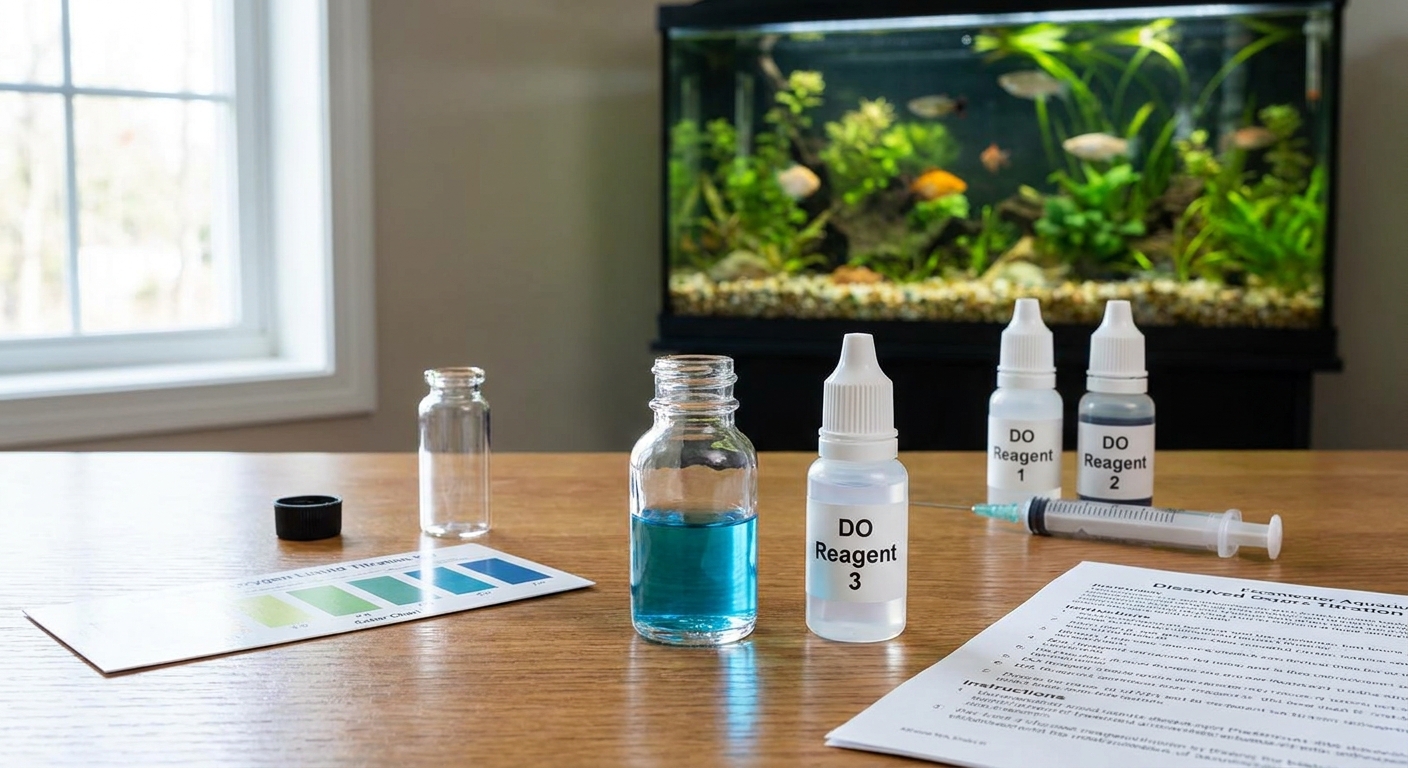
1) Liquid DO test kits (Winkler titration)
Most home DO kits use a version of the Winkler method. You fill a bottle carefully, add reagents that “fix” the oxygen, then titrate to a color endpoint.
- Pros: No electronics to fail, no probe to maintain, generally accurate when done carefully.
- Cons: More steps, more user error risk, glassware cleanliness matters, and the endpoint can be subtle under warm lighting.
These are excellent for occasional deep checks, troubleshooting a suspected oxygen issue, or double-checking a meter.
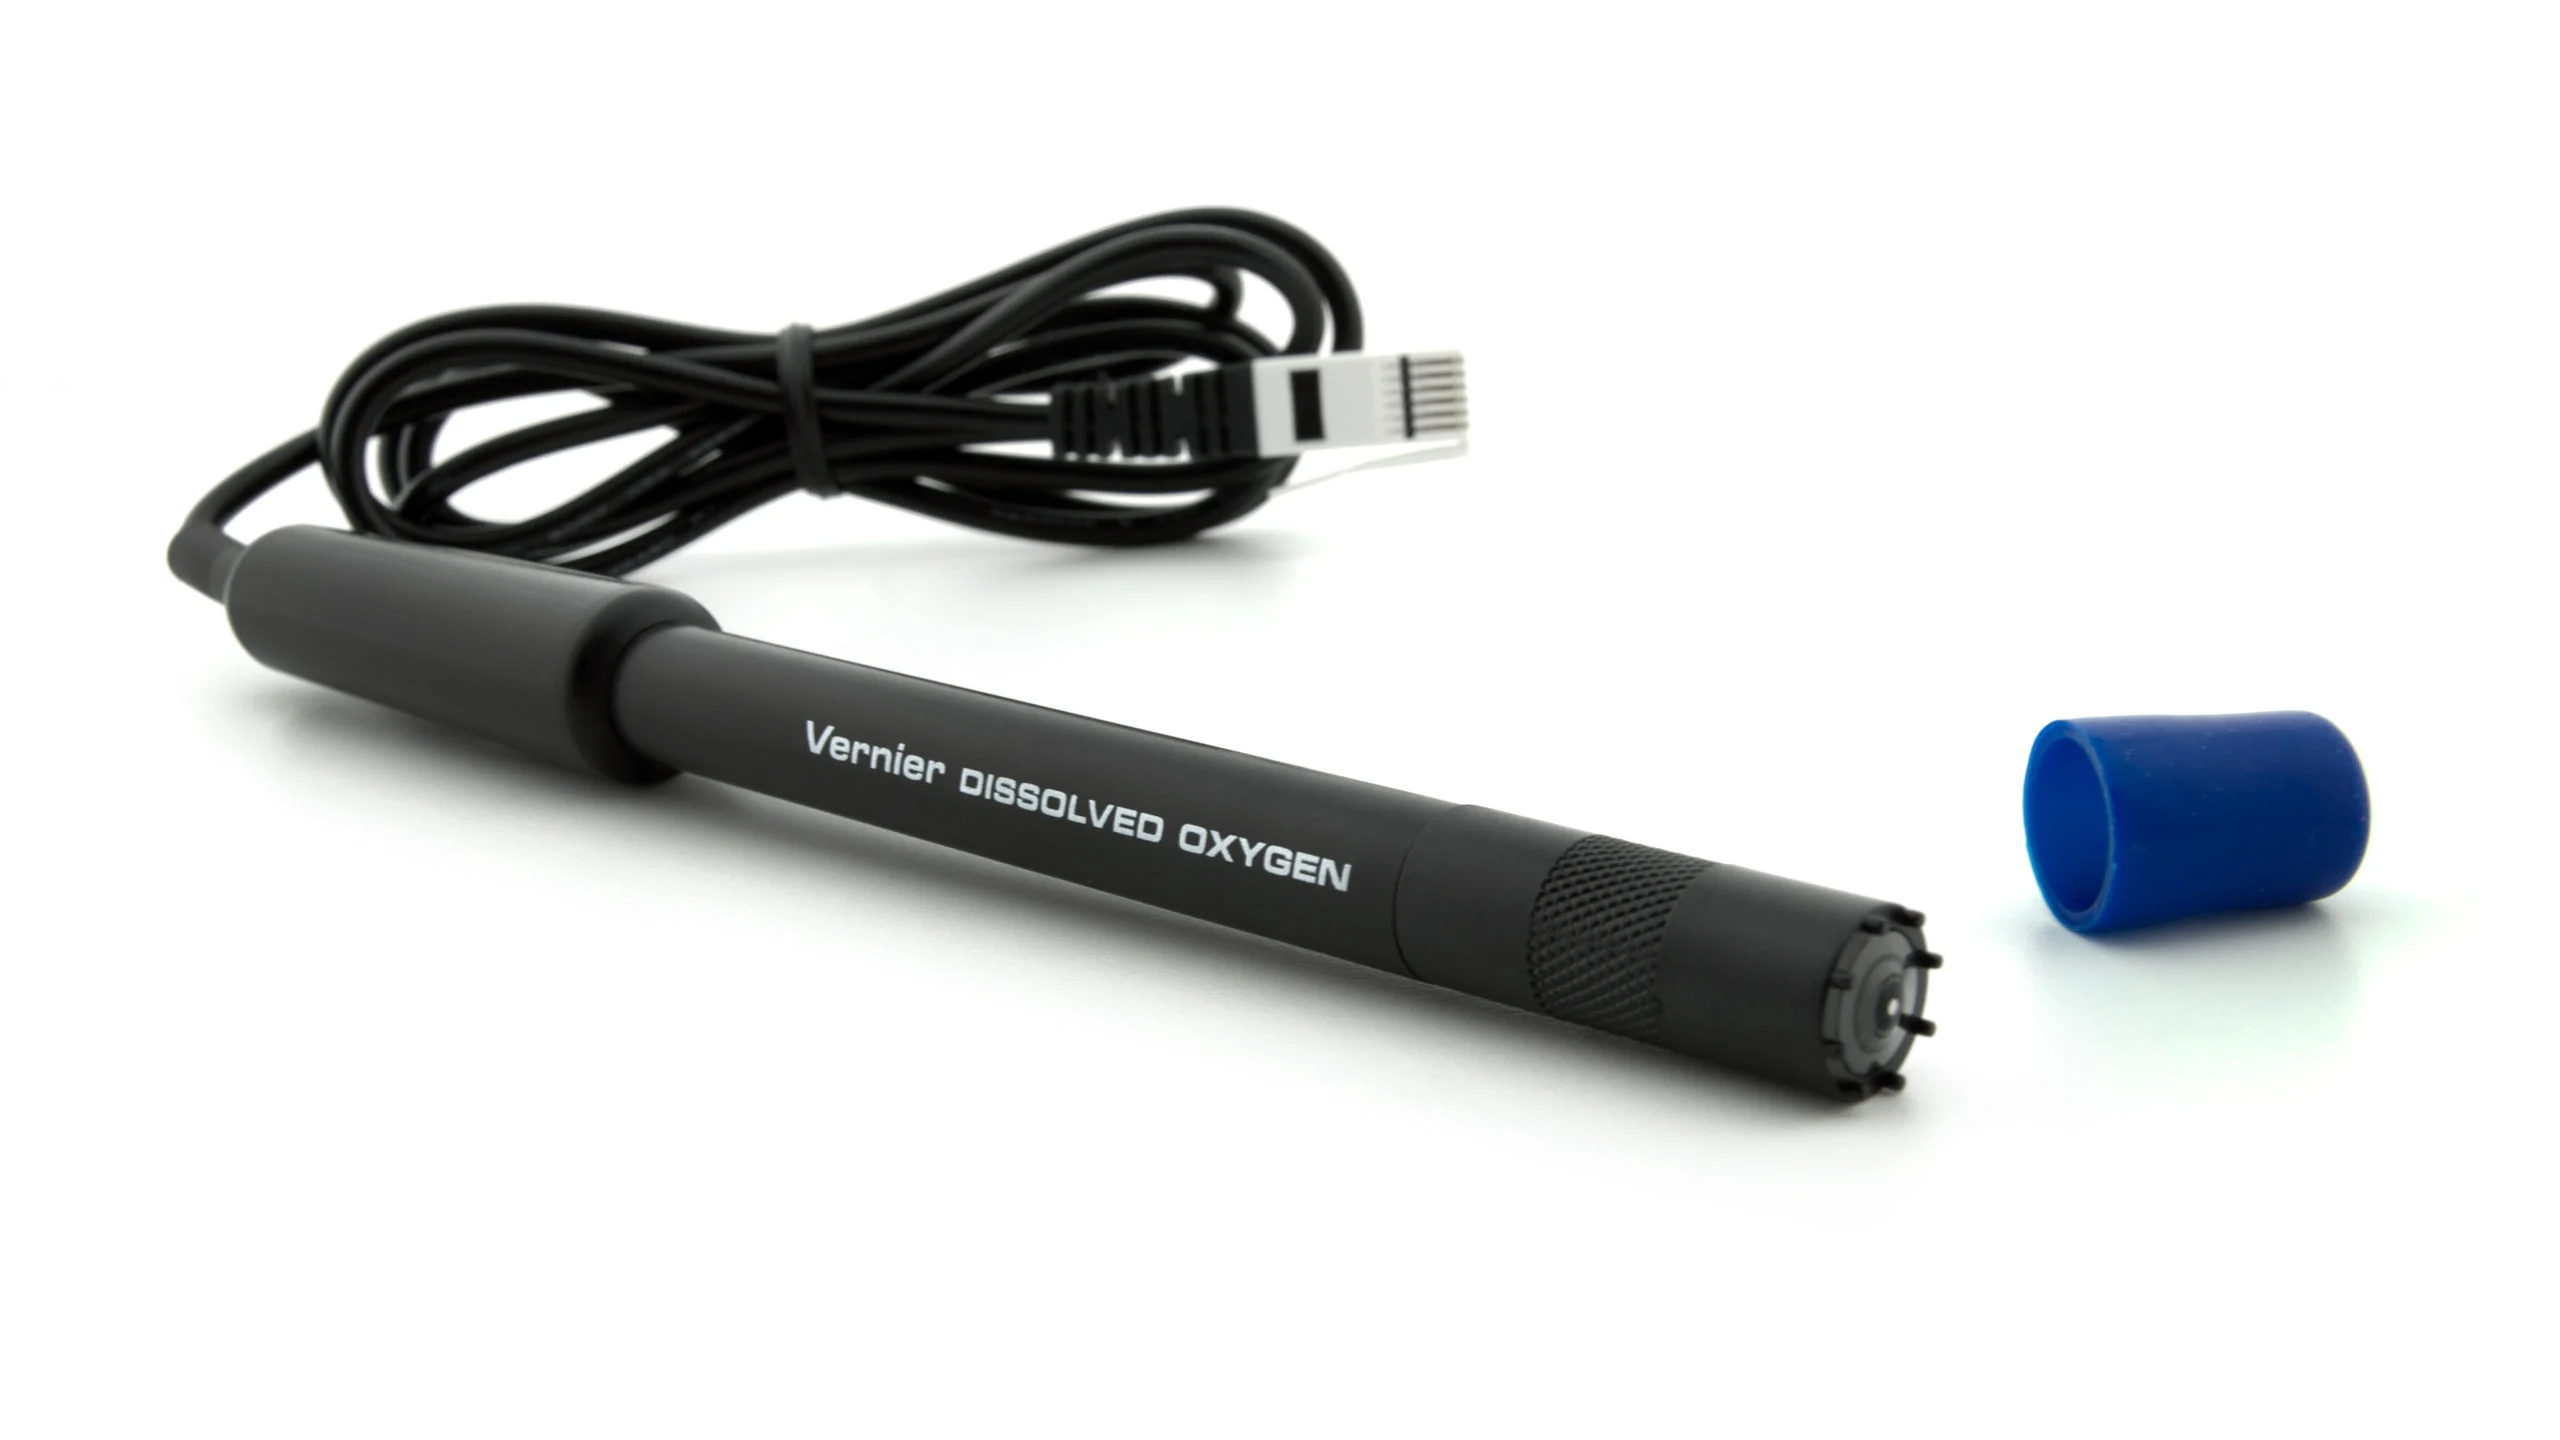
2) Digital DO meters (electrochemical or optical)
Handheld DO meters use either an electrochemical sensor (galvanic or polarographic) or an optical sensor (luminescent). For aquarium use, both can work well if you maintain and calibrate them properly.
- Pros: Fast readings, great for comparing different tank locations, easy to repeat multiple times a day.
- Cons: Calibration and maintenance are real, membranes or caps can wear, probes can drift, and poor technique can give “confident-looking” wrong numbers.
If you like data, run planted tanks, or troubleshoot often, a meter quickly pays off in convenience.
When to test
Test at the revealing times
If you only test once, test at the time your tank is most likely to be oxygen-poor:
- Right before lights turn on (pre-dawn period). This is the classic “lowest DO” window for planted tanks because plants and animals have been consuming oxygen all night with no photosynthesis replacing it.
- Late in the photoperiod. Helpful for seeing your daily peak in a planted tank and understanding your swing from low to high.
- After major changes. Big plant trims, a filter cleaning, medication or treatments, a bacterial bloom, a heat wave, or a sudden stocking increase can all shift oxygen dynamics quickly.
Do not wait in an emergency
If fish are gasping at the surface, piled into the filter outflow, or breathing extremely rapidly, treat it as an emergency first. Increase surface agitation and oxygenation immediately, then test once things are stable enough to get a useful reading. A delayed “perfect measurement” is not worth the risk.
How to sample cleanly
DO is extremely easy to alter by accident. A few seconds of splashing, shaking, or letting the sample sit exposed to air can change the reading quickly. The practical takeaway is simple: your sampling technique can create a number that reflects your technique more than your tank.
For liquid DO test kits
- Fill smoothly with minimal bubbles. Submerge the sample bottle and let it overflow so you are not trapping air.
- Cap with no headspace if possible. If the kit bottle allows, cap underwater. The goal is no bubbles and no air pocket.
- Fix the sample immediately. Winkler-type methods rely on adding reagents right away to lock in the oxygen level.
- Avoid “accidental aeration.” If you just scraped algae, stirred the substrate, or did a water change, decide whether you are testing that disturbed condition or your normal baseline.
For DO meters
- Let the probe equilibrate. Give it time to reach the tank’s temperature and stabilize. Many “weird” readings are simply impatience.
- Know whether your sensor needs flow. Many electrochemical probes read best with gentle water movement across the sensor. Optical probes typically do not require stirring. Follow your meter’s instructions.
- Do not measure in obvious microbubbles. Tiny bubbles from an airstone or fresh water change can cling to the sensor and distort readings.
Accuracy basics
DO meters: calibrate for real
Most hobbyists under-calibrate. A DO meter is not a “buy once, trust forever” tool.
- Calibrate to air-saturated water or water-saturated air using the manufacturer’s method.
- Enter salinity correctly if your meter asks. Freshwater is usually near zero, but planted tanks with remineralizers, brackish setups, or salt-treated tanks are different.
- Account for altitude or pressure if required. Higher altitude lowers saturation values. Some meters adjust automatically, others require manual input.
- Inspect consumables. If your probe uses a membrane or cap, check it for wrinkles, bubbles, or damage. Replace electrolyte or caps on schedule.
Liquid test kits: treat reagents as perishable
- Check expiration dates. DO reagents that are old, overheated, or stored in bright light can drift badly.
- Store tightly closed, cool, and dark. A kit left near aquarium lights or a sunny windowsill ages fast.
- Use clean glassware. Soap residue, conditioners, and residue from other tests can interfere. Rinse with tank water before sampling, and use kit-dedicated containers.
- Learn the endpoint under neutral light. Warm household bulbs can make a color change look “done” early.
Temperature and saturation
Here is the key mindset shift: oxygen is not just “high or low,” it is also “how close to saturation for this temperature and pressure.”
In general:
- Cooler water can hold more oxygen.
- Warmer water holds less oxygen, so your absolute mg/L number will often be lower even when oxygenation is strong.
That is why many meters can show both mg/L and % saturation. If your meter offers % saturation, it is a helpful second lens, especially when comparing tanks at different temperatures or elevations.
Practical takeaway: if your heater creeps up a few degrees, your maximum possible DO drops even if nothing else changes. That alone can push a heavily stocked tank into the danger zone.
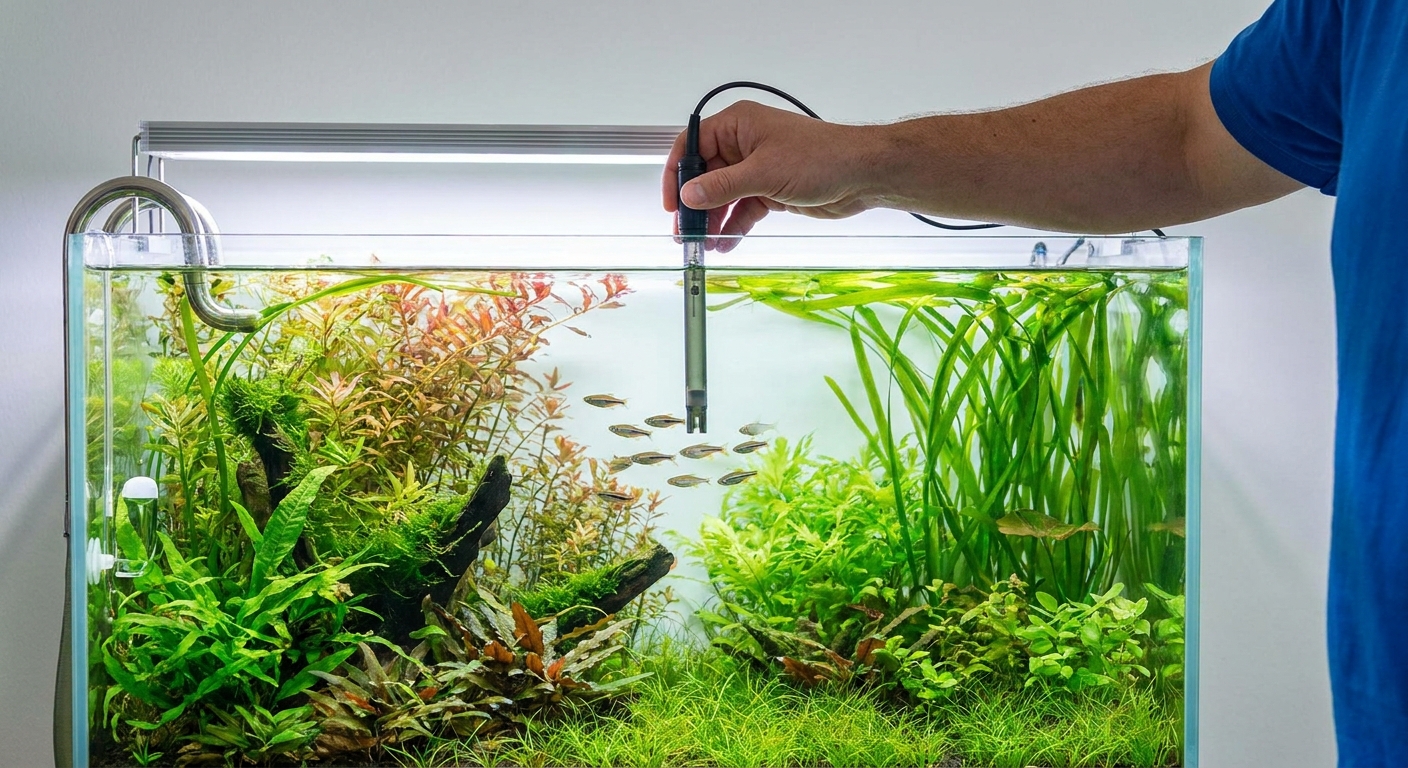
Test multiple locations
Oxygen is not always evenly distributed. Even in small aquariums, flow patterns create pockets of “good” and “bad.” When you are troubleshooting, measure in multiple locations and write the results down.
Where to test
- Near the surface, away from agitation. This gives you a baseline without the “whitewater effect” right under the outflow.
- Directly under the filter outflow. This is often the highest DO zone due to mixing and gas exchange.
- Near the substrate in a planted area. Dense plant mass can slow circulation, and overnight oxygen can be lowest in and around thick growth.
- In corners and behind hardscape. Dead spots can exist behind rocks, wood, and tall stems where detritus collects.
How to compare fairly
- Use the same depth each time. A reading 1 inch under the surface is not comparable to a reading at midwater.
- Measure at the same point in the light cycle. Morning vs evening can look like two different aquariums.
- Repeat. Take 2 to 3 measurements per spot. If the numbers swing wildly, it is usually technique, calibration, or bubbles on the probe.
Is it low oxygen or something else?
Low oxygen can look like a lot of other problems, and the reverse is also true. I have seen fish “gasping” at the surface with perfectly fine DO, because their gills were irritated by ammonia or nitrite, or because they were sick.
Clues it is a real oxygen problem
- Multiple species affected at once, especially the most active fish first.
- Symptoms worsen at night or early morning in planted tanks.
- Fish cluster in high-flow zones (outflow, spray bar, powerhead stream).
- Recent trigger: heat spike, power outage, clogged filter, bacterial bloom, heavy overfeeding, a big plant die-off, or certain treatments that increase bio-oxygen demand or reduce gas exchange at the surface.
Clues to look beyond oxygen
- DO measures normal but fish still breathe hard. Think ammonia, nitrite, gill flukes, velvet, bacterial gill disease, chlorine or chloramine exposure, aerosol contamination, or severe stress.
- Only one fish is affected. Oxygen problems tend to be tank-wide. Single-fish distress often points to disease, injury, or hierarchy stress.
- Other red flags on tests: any detectable ammonia, elevated nitrite, or unusual pH swings.
Two often-missed culprits: CO2 and surface film
- CO2 injection. In planted tanks, fish distress is sometimes a CO2 problem, not a DO problem. High CO2 can make fish act “air-starved” even if oxygen tests fine. If issues cluster around lights-on or right after CO2 comes on, review your CO2 timing, drop checker behavior (if you use one), surface agitation, and whether you are pushing CO2 too hard.
- Protein or oily surface film. A surface film can reduce gas exchange. If the surface looks slick or still, improve rippling at the top, clean or adjust your outflow, or use a surface skimmer.
If you suspect low oxygen and you have not tested ammonia and nitrite recently, test them too. Gill irritation from nitrogen waste can mimic oxygen starvation very convincingly.
Numbers to watch
There is no single “safe for every tank” cutoff, because species, temperature, stocking, and health all matter. Use these as rules of thumb, then sanity-check against temperature-based saturation (or % saturation if your meter provides it):
- Often comfortable for many tropical community fish: roughly 6 to 8 mg/L in many typical setups.
- Watch zone: persistent readings around 5 to 6 mg/L, especially in warm tanks, heavy stocking, or if you see behavior changes.
- High concern: readings below about 5 mg/L in a typical tropical community tank, or a big overnight drop (for example, evening is fine but pre-lights-on crashes).
Remember that saturation depends on temperature, salinity, and barometric pressure (altitude). A number that is fine at 72 F can be a warning sign at 82 F, and a “great” mg/L at sea level may look different at high elevation.
The most important comparison is this: your tank at its worst time (usually pre-lights-on) vs your tank at its best time (often late photoperiod). A large swing is a clue that respiration demand is high relative to gas exchange.
A quick example
Say a planted tank at 78 F reads 7.2 mg/L late in the photoperiod, but 5.4 mg/L right before lights-on. That swing tells you the tank is running much lower overnight than it appears in the afternoon. The next steps are usually to increase surface agitation at night, improve circulation through dense plant zones, check for surface film, and if you run CO2, confirm it is not coming on too early or too aggressively.
Emergency steps
Measurement is valuable, but fish in distress need oxygen now. If you see gasping, extreme rapid breathing, loss of balance, or fish crowding the surface, act first.
- Increase surface agitation right away. Lower the waterline a bit so the filter outflow splashes more, angle the return to ripple the surface, or temporarily add extra circulation aimed at the surface.
- Reduce oxygen demand. Stop feeding, dim or turn off the lights temporarily, and remove obvious decaying plant matter if you can do so quickly and safely.
- Do a partial water change if you suspect a chemical issue. If there is any chance of ammonia, nitrite, contamination, or overdosed conditioner or treatment, fresh water (properly dechlorinated and temperature-matched) can be lifesaving.
Once fish are no longer actively struggling, then measure DO and also ammonia and nitrite to understand what happened and prevent a repeat.
When to get help
Some situations move beyond simple troubleshooting quickly. Seek experienced help from a trusted aquatic veterinarian, a highly reputable local fish store, or an advanced hobbyist community when:
- Fish continue gasping despite strong surface agitation and stable temperature.
- DO tests normal but symptoms persist (think gill disease, toxins, or severe water quality issues).
- Ammonia or nitrite are detectable and you are not sure how to stabilize the system safely.
- You have repeated pre-dawn crashes in a planted tank and cannot identify the driver (bioload, plant mass, circulation dead spots, bacterial bloom, surface film, CO2 timing, or substrate issues).
If multiple fish are declining hour by hour, treat it like an emergency. Stabilize oxygenation and water quality first, then worry about perfect diagnostics.
Quick checklist
- Pick timing: test pre-lights-on to capture the lowest oxygen period.
- Pick spots: surface, outflow zone, planted low-flow area, and a corner.
- Avoid technique errors: no bubbles in kit bottles, let meter stabilize, and apply gentle probe movement only if your sensor type requires it.
- Calibrate or verify: meters need regular calibration; kits need fresh reagents and clean containers.
- Interpret with saturation in mind: temperature, pressure (altitude), and salinity change what “good” can be.
- Rule out lookalikes: test ammonia and nitrite if fish show distress, and consider CO2 and surface film in planted tanks.
- Do not delay emergencies: boost surface agitation first, measure second.