Stop algae at the source with 7 practical, fish-safe methods: better lighting control, balanced nutrients, smarter feeding, plant competition, targeted clean...
Freshwater aquarium guidance
Pruning and Maintaining Live Aquarium Plants
Learn simple, beginner-friendly ways to trim overgrowth, remove dying leaves, manage roots, and keep a planted aquarium healthy without stressing fish or throwing your tank off balance.

Written by
Oliver Bennett
Oliver Bennett is a lifelong aquarist with over 15 years of experience in freshwater tank setup, aquascaping, and fish health. Through TankRoot, he shares his passion for creating balanced underwater ecosystems, helping hobbyists of all levels build thriving, beautiful homes for their fish.
Published: October 17, 2026
•
Updated: October 17, 2026
The first time you “trim” aquarium plants, it feels a little like cutting your own hair with kitchen scissors. You know it needs to happen. You also know you can absolutely mess it up.
The good news is that most common aquarium plants are tougher than they look. With a few simple rules, you can keep a planted tank clean, bright, and healthy while avoiding the classic beginner pitfalls: plant melt, cloudy water, algae flare-ups, and fish that suddenly look offended by your landscaping choices.
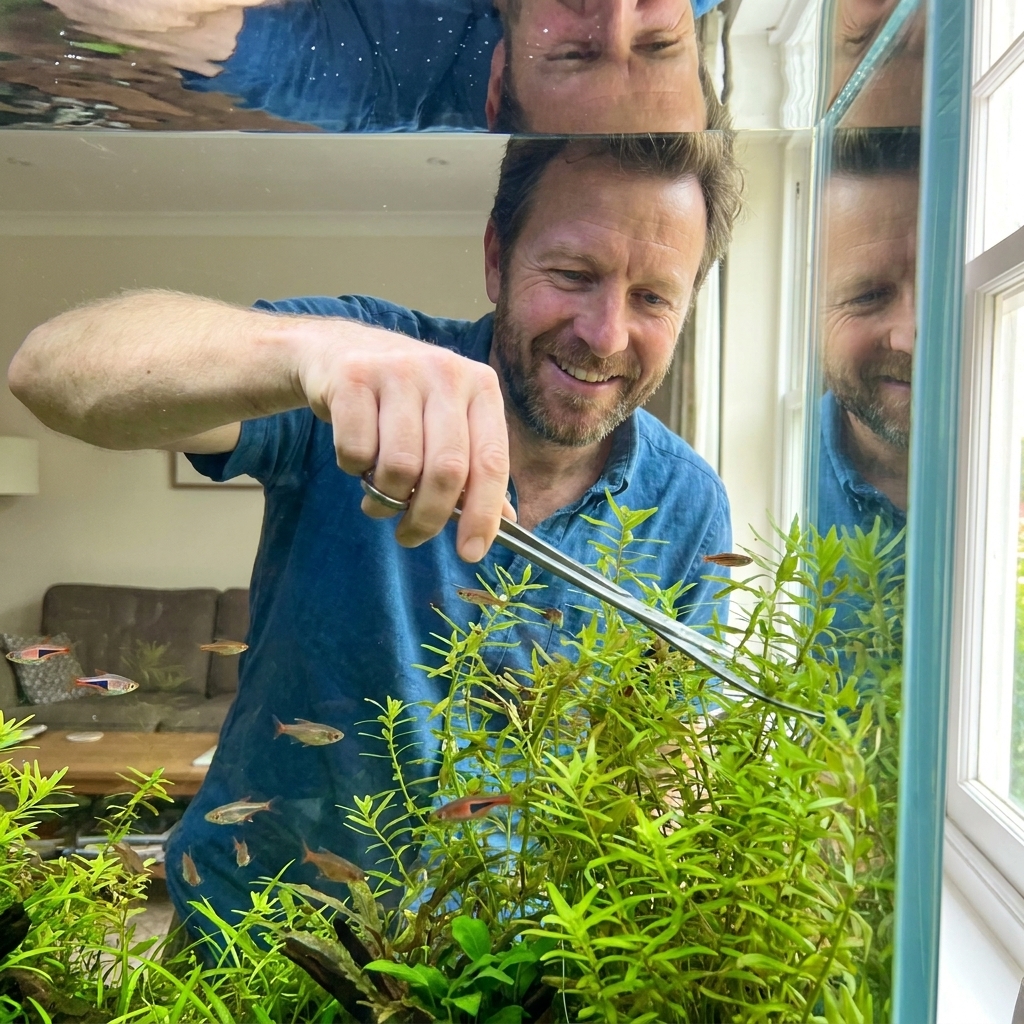
In this guide, I will walk you through tools, timing, plant-specific techniques, and the small maintenance habits that keep a tank looking intentionally aquascaped instead of accidentally overgrown.
Why pruning matters
Pruning is about plant health and tank stability, not perfection.
- Better growth: Removing old or shaded leaves pushes energy into new, stronger growth.
- Less algae pressure: Dense, untrimmed plant mass can reduce flow and light to lower areas, which can contribute to algae, especially when light, nutrients, or CO2 are already out of balance.
- Healthier fish: Decaying leaves and trapped detritus can raise dissolved organics and fine particulates, and in neglected tanks it can also drag down oxygen. Sensitive fish tend to show stress first.
- Stronger planting: Routine trimming can reduce the chance of tall plants getting top-heavy, shading themselves, or loosening as they push toward the surface.
A planted tank is an ecosystem. Pruning is you steering that ecosystem gently, week by week, instead of letting it crash into a wall and forcing a huge reset.
Tools that help
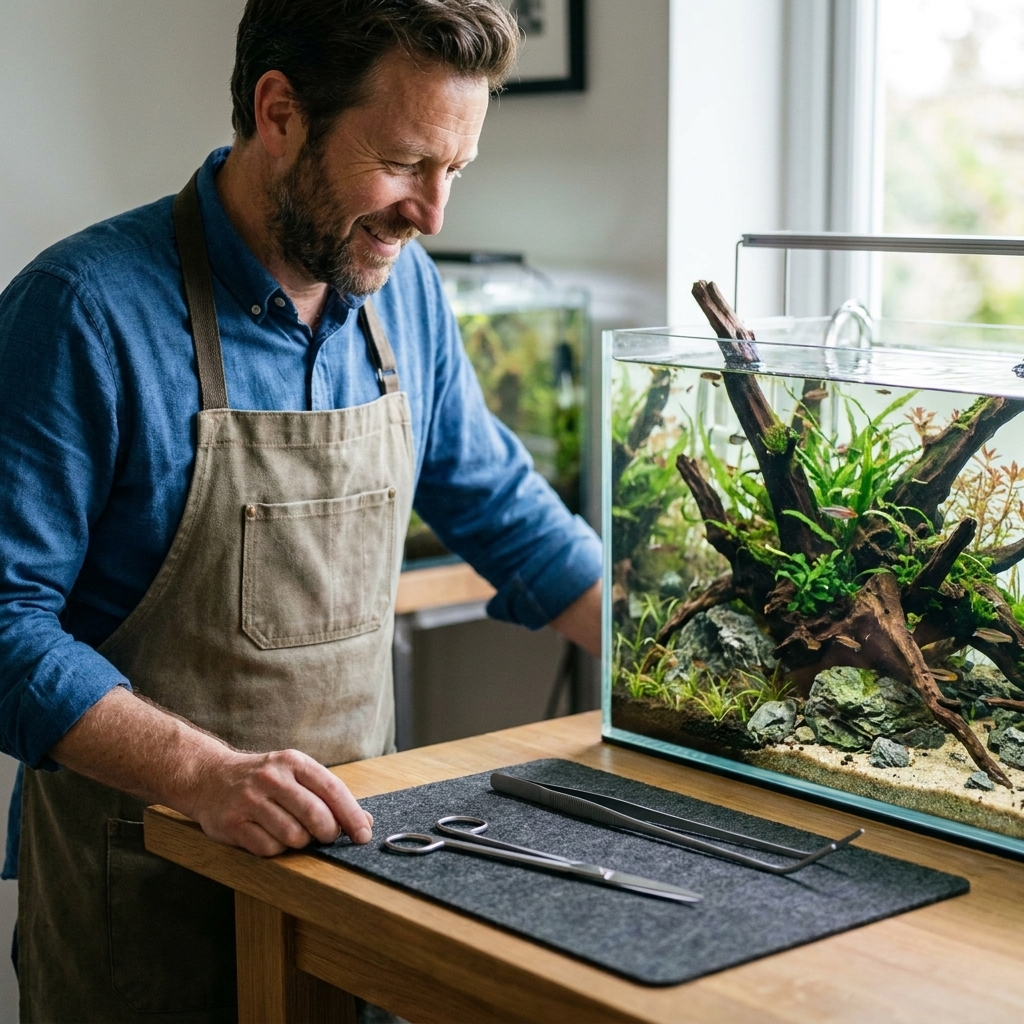
You can prune with household scissors in a pinch, but dedicated aquascaping tools make cleaner cuts and reduce the chance of crushing stems.
My beginner tool kit
- Plant scissors: Straight or curved. Curved scissors are great for shaping and getting close to the substrate without digging.
- Long tweezers or forceps: For replanting tops and pulling dead leaves without disturbing hardscape.
- Small net: To scoop floating clippings fast.
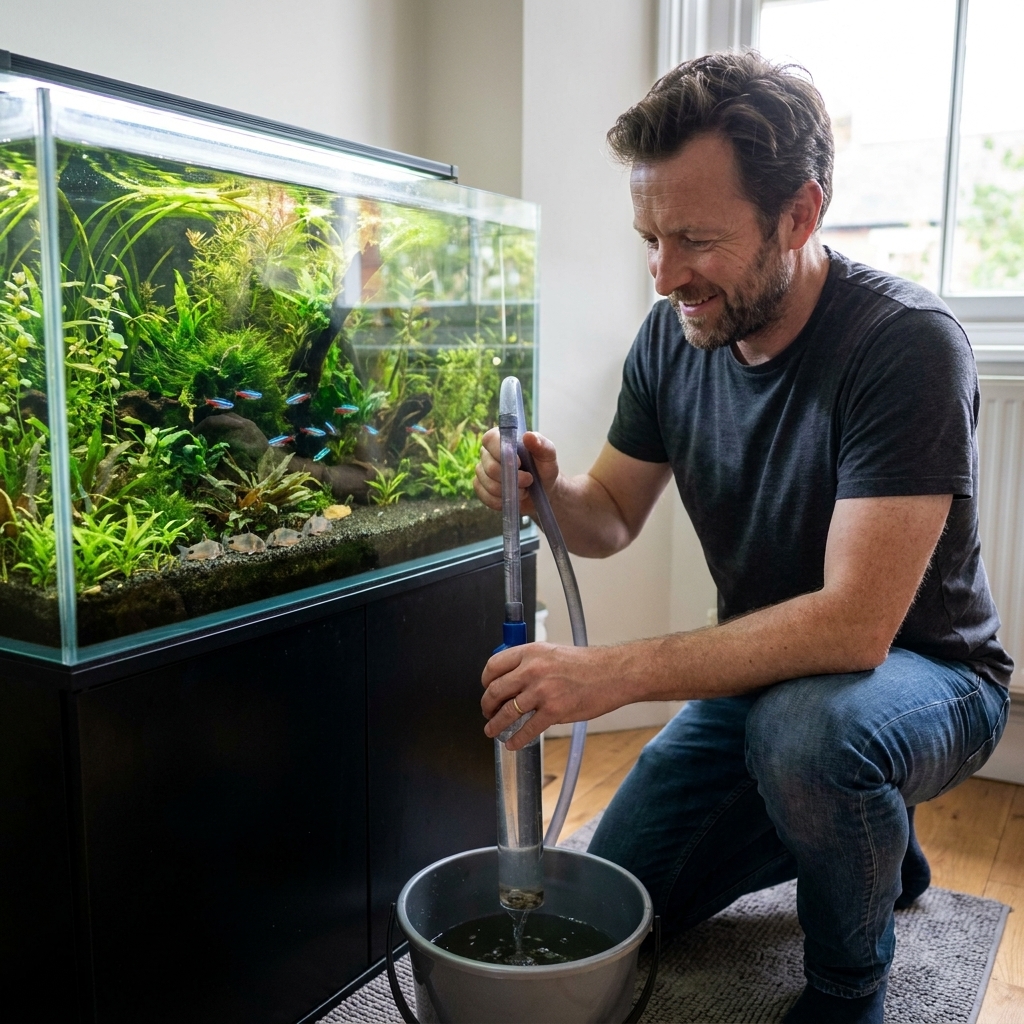
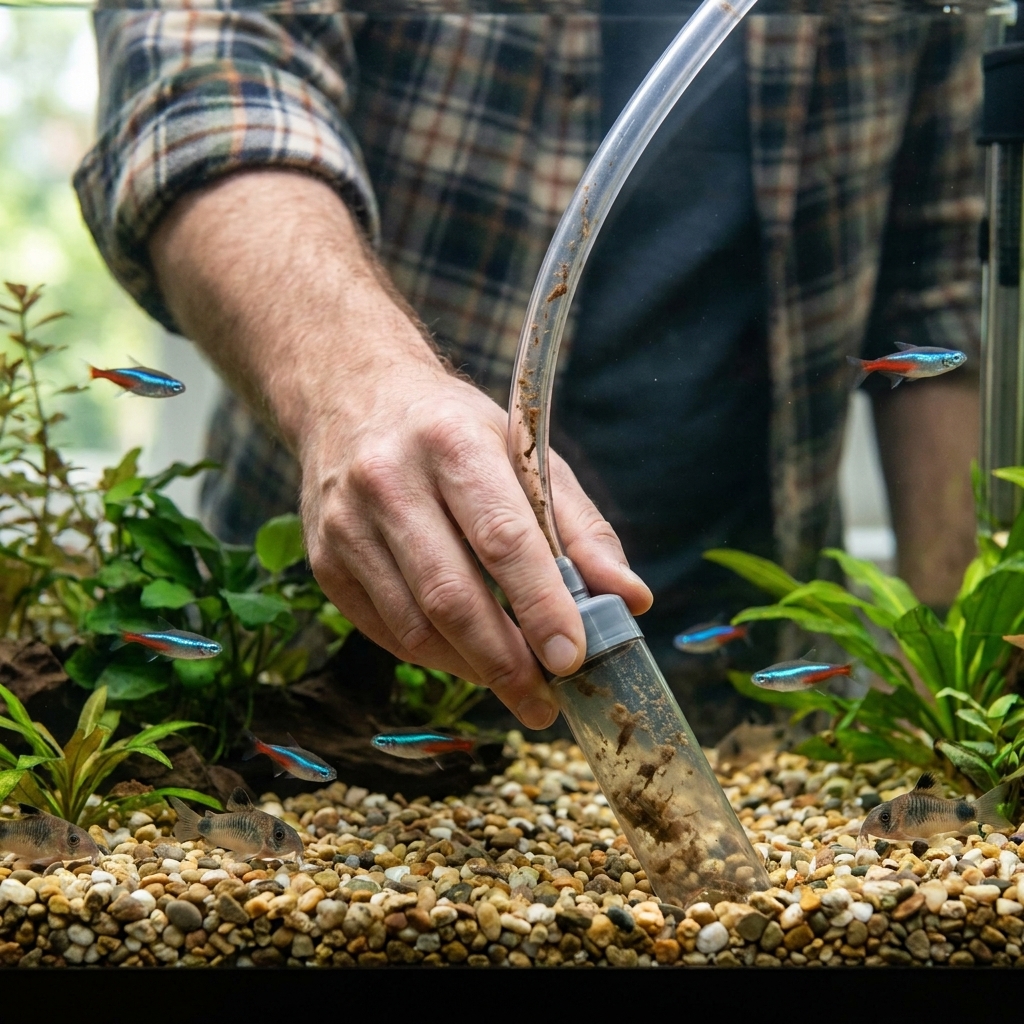
- Gravel vac or siphon hose: For removing plant debris and mulm right after pruning.
- Algae scraper or pad: Because trimming often exposes glass you forgot existed.
Tool hygiene
Rinse tools after use, especially if you use fertilizers with iron or keep multiple tanks. If you move tools between aquariums, disinfect them first and rinse thoroughly with dechlorinated water so you do not spread algae, snails, or disease organisms. A simple method is a brief dip in a dilute bleach solution, followed by a heavy dechlorinator rinse and air-dry.
When to prune
For most beginner planted tanks, a light trim every 1 to 2 weeks is easier than a brutal haircut every 2 months.
A simple schedule
- Weekly: Remove dead leaves, pinch off damaged bits, clean up floaters, scoop debris.
- Every 1 to 2 weeks: Trim fast growers (many stem plants, floating plants).
- Monthly: Shape slower growers (many rosette plants), thin carpets, manage roots and runners.
How much is too much?
A good beginner guideline is to avoid removing more than about one third of your total plant mass in one session, especially in newer or low tech tanks. Plants help stabilize nutrients. If you suddenly remove most of them, leftover nutrients plus the same light can swing toward algae.
In mature, stable tanks (especially with consistent CO2 and a dialed-in routine), you can sometimes trim harder. Still, if the tank is badly overgrown, I prefer doing it in two or three sessions spaced a week apart.
Before you cut
Walk the tank with your eyes first. It prevents trim panic and helps you make cleaner decisions.
- Look for shadows: Lower leaves yellowing on stems often means they are being shaded.
- Find melt or rot: Soft, translucent, or mushy leaves should come out promptly.
- Check flow: Are plants blocking filter output or creating still pockets?
- Spot algae hotspots: BBA on slow growers, hair algae in dense thickets, green dust on glass near bright light.
Then decide your goal for this trim: reduce height, thin density, reshape a group, or remove failing growth.
Quick safety note: If you will lower the water level for a big trim, unplug heaters and filters first so a heater does not run dry and a filter does not suck air. Keep loose clippings away from intakes.
How to prune by type
Stem plants
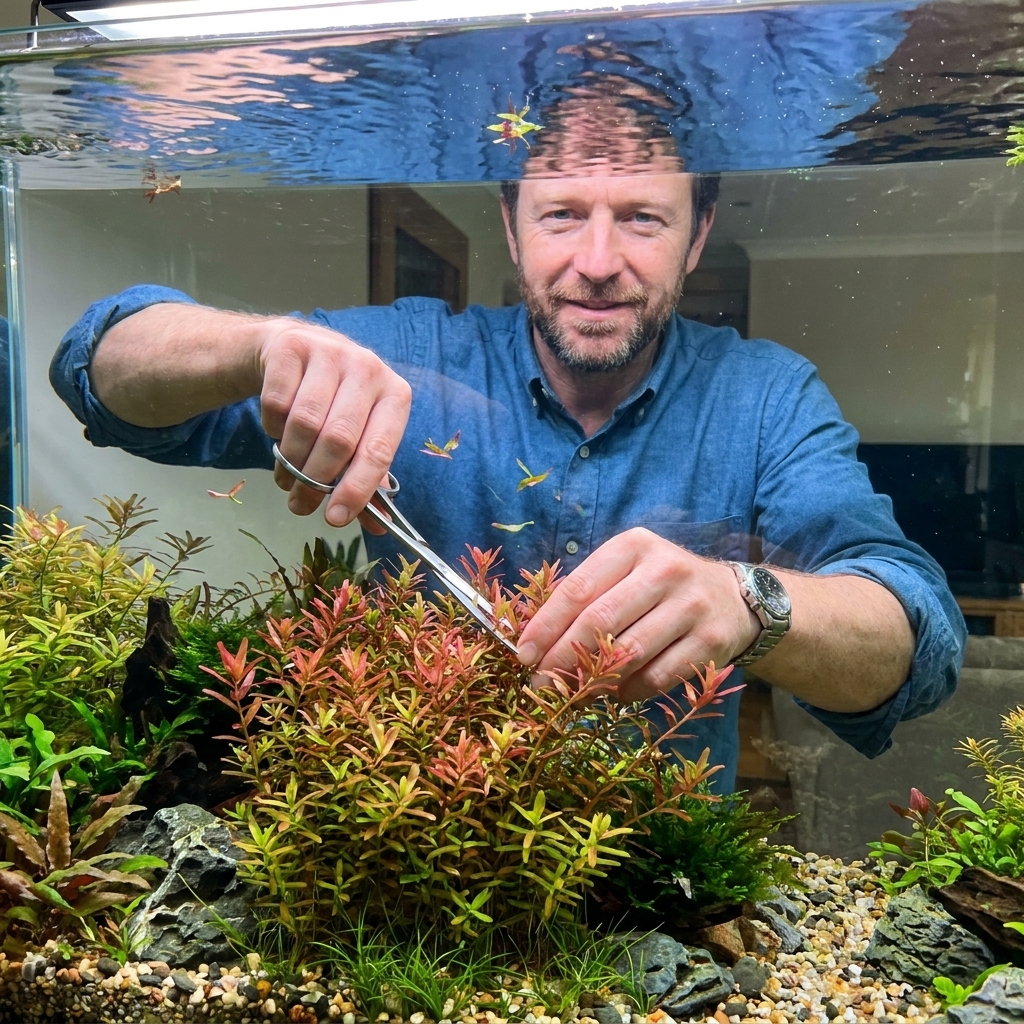
Stem plants are the easiest to shape and propagate. They also get messy fast.
- Where to cut: Cut above a leaf node (the spot where leaves grow out). New side shoots usually form below the cut.
- Replanting tops: The healthiest part is often the top. Trim the top, remove the lower leaves from the bottom 1 to 2 inches of that cutting, and replant it.
- What to do with old bottoms: If the lower stems are bare, algae-coated, or weak, pull them and replace with the healthy tops.
Beginner tip: Do not create a “flat hedge” unless that is your style. A slightly uneven top line looks more natural and helps light reach lower leaves. Stagger your cuts, or trim in a gentle slope from back to front.
Rosette plants
Rosette plants grow from a central crown. Cutting the crown can kill the plant, so you prune them differently.
- Remove whole leaves: Follow a dying or oversized leaf down to the base and cut it off close to the crown.
- Do not top them: Cutting a leaf in half leaves a dead edge that often melts back.
- Vallisneria note: Vallisneria and other strap-leaf plants often brown at the cut if you trim the tips. For the cleanest look, remove entire leaves at the base instead.
If crypts melt after changes, do not keep hacking at them. Remove the worst leaves, keep conditions steady, and let them regrow from the crown and roots. Also, try not to move them repeatedly. Crypts really prefer to settle in.
Rhizome plants
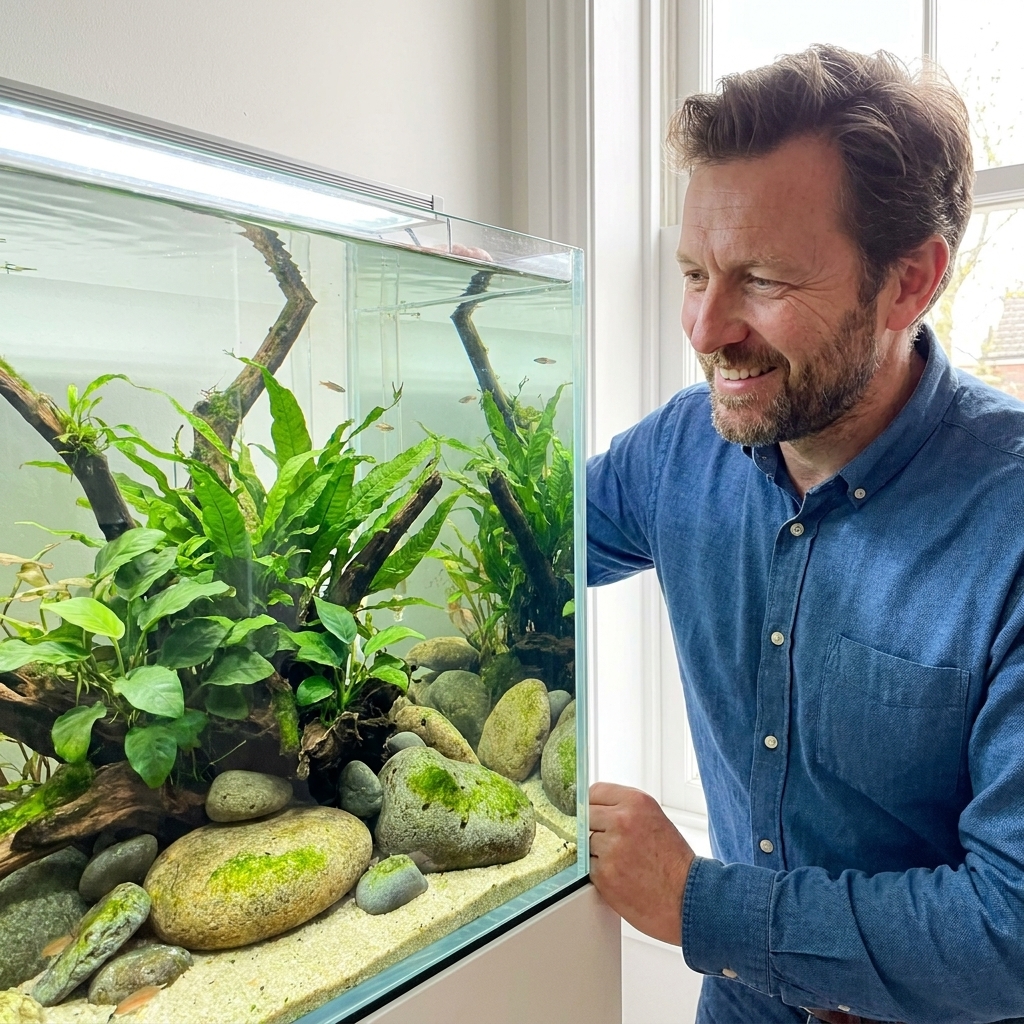
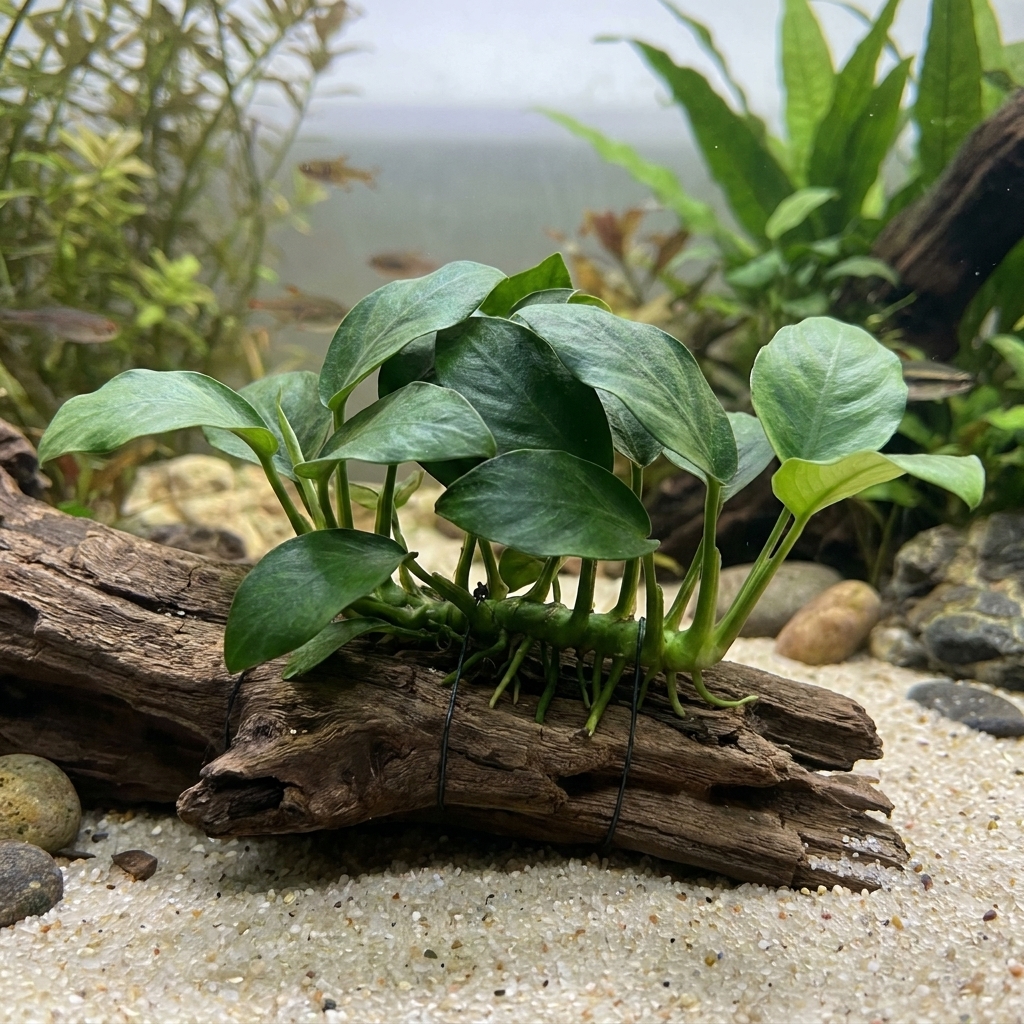
These are slow growers that hate being buried. The thick horizontal stem is the rhizome. Keep it exposed and attached to wood or rock.
- Pruning: Remove older leaves by cutting the leaf stem close to the rhizome.
- Propagating: When the rhizome is long enough, cut it into sections with several leaves each, then reattach.
- Algae management: If a leaf is covered in stubborn algae, it is often better to remove it than to fight it forever.
Carpeting plants
Carpets look incredible, and they also collect debris like a shag rug.
- Trim from the top: Use scissors to mow the carpet, taking off roughly the top 1 to 2 cm (or about one third of the height) rather than scalping it down to the roots.
- Thin when needed: If the carpet gets too thick, the bottom layer can suffocate, turn brown, and lift. Pull small patches to let water move through.
- Clean up thoroughly: Carpet trimmings float everywhere. Net first, then siphon gently over the carpet surface.
Light and CO2 note: Carpets are usually the first plants to struggle in low tech tanks. Keep trimming conservative if growth is slow.
Mosses
Java moss, Christmas moss, and similar mosses do not trim like stem plants. They shed tiny pieces that love to land in your filter or carpet.
- How to trim: Pinch and pull small tufts, or snip lightly over the surface like you are giving it a careful haircut.
- Net as you go: Moss fragments spread fast. Keep a net in your other hand and scoop constantly.
- Reset when needed: If a moss clump is full of detritus, it is sometimes easiest to remove it, rinse it in a bowl of tank water, then reattach.
Floating plants
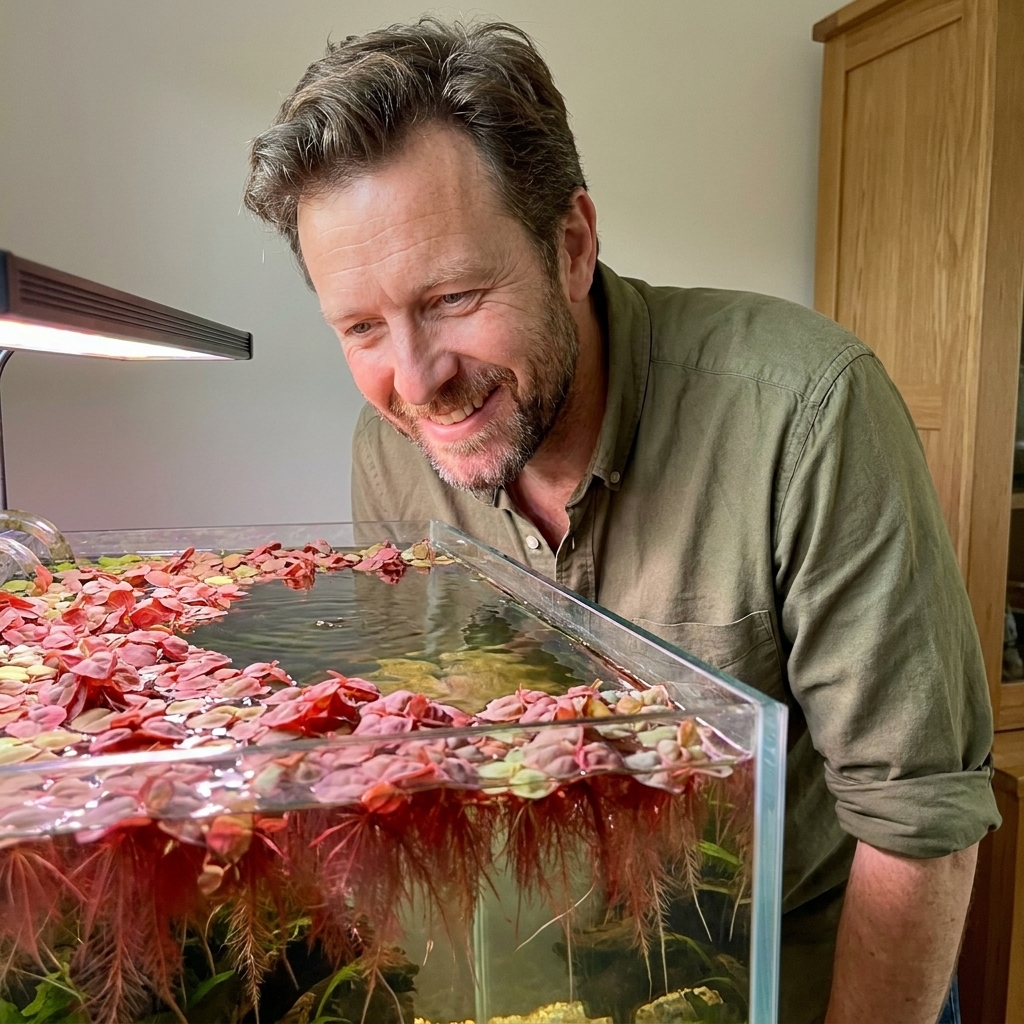
Floaters are nutrient sponges, and they can also block all your light in a week.
- Remove excess weekly: Aim to keep some open surface area for gas exchange and feeding.
- Pull the oldest plants: Remove the ones with yellowing leaves and long, ratty roots first.
- Root control: You can trim roots, but do it lightly. Cutting all roots short at once can cause floaters to stall.
Removing dead leaves cleanly
Dead plant matter is not automatically a disaster, but it does raise organics and looks rough. The key is removing it cleanly.
- Cut, do not yank: Pulling can uproot healthy plants and cloud the water.
- Pinch and twist: For soft leaves, gently pinch near the base and twist to detach.
- Use tweezers in tight areas: Especially around hardscape where debris hides.
- Net continuously: Scoop clippings as you go so they do not get sucked into the filter.
If you accidentally kick up debris, do not panic. Let it settle, then siphon what you can during your water change. If the tank stays hazy, a little filter floss (or a polishing pad) can help clear fine particles quickly.
Roots and runners
Roots are where a lot of beginners get nervous. You can do more than you think, as long as you respect how each plant grows.
Trimming long roots
- Stem plant roots: If stems throw lots of white roots along the stem, it can be a sign they want easier access to nutrients, they are nearing the surface, CO2 is unstable, or it can simply be normal for that species. You can trim and replant tops to refresh the group.
- Rosette roots: You can trim a portion of the root mass when transplanting, but avoid taking more than roughly one third at a time.
- Floating roots: Trim lightly to keep them from becoming a curtain that blocks flow.
Runners
Runners are how many plants spread. If they are taking over:
- Locate the runner and snip it between the mother plant and the baby plant.
- Remove or replant the baby plant where you want it.
- Thin in stages so you do not suddenly remove a huge amount of biomass.
After-pruning care
A heavy trim changes your tank’s nutrient demand immediately. Less plant mass means less nutrient uptake. If you keep dosing or lighting the same way, algae can take advantage, especially in tanks that already run on the edge.
Right after trimming
- Do a water change: 20 to 40 percent is a safe, beginner-friendly range after a big haircut.
- Siphon debris: Focus on plant groups you disturbed and any carpeted areas.
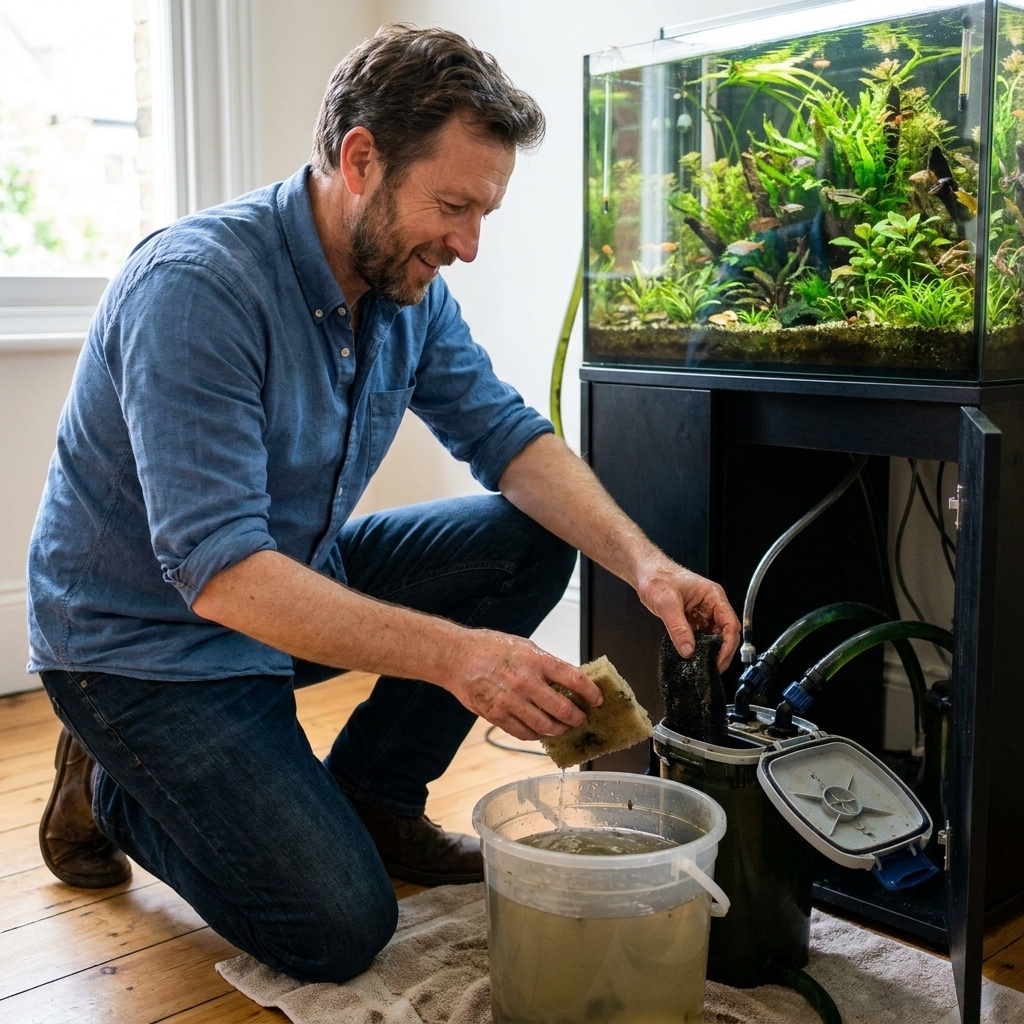
- Clean filter gently if needed: Only if flow is reduced. Rinse media in old tank water, not tap water.
The next 3 to 7 days
- Consider reducing light a bit: Either shorten photoperiod by 1 to 2 hours or dim intensity if you can.
- Be cautious with fertilizers: If you dose liquids, a small temporary reduction after a major trim can help in low tech setups. If you follow a regimented method (like EI or a lean dosing routine), adjust cautiously and watch plant growth and algae response rather than making huge swings.
- Watch CO2 stability: In injected tanks, stability matters more than chasing a number. Big swings often trigger algae on slow growers.
Within a week, you should see fresh tips and new side shoots on stem plants. That is your sign the tank is settling back into balance.
Common mistakes
“I trimmed and now my plants are melting”
Some melt is normal if you removed a lot of growth or disturbed roots. Focus on stability: consistent temperature, steady lighting, and regular water changes. Remove only truly rotting tissue and give the plant time to respond.
“My stem plant bottoms are bare”
This is usually shading. The fix is to replant healthy tops and discard the leggy bottoms. Also thin the group so light can reach lower leaves.
“Everything looks messy after trimming”
That is usually leftover debris and uneven replanting spacing. Net floating bits, siphon gently, and replant tops with a little breathing room between stems. Your tank will look cleaner in 24 hours.
“Algae exploded after a big trim”
Reduce light temporarily, keep water changes consistent, and avoid overfeeding. Make sure you did not leave piles of decaying clippings behind hardscape or in carpets. Mechanical removal plus stability beats miracle bottles every time.
A simple routine
If you want one repeatable workflow, here is the one I use when helping newer hobbyists get consistent results:
- Plan: Decide what gets trimmed and what gets removed completely.
- Trim slow growers first: Anubias, Java fern, crypt leaf removal.
- Trim stems next: Cut, collect tops, then replant.
- Thin carpets, mosses, and floaters: Net clippings immediately.
- Siphon debris: Focus on where you worked.
- Water change: Finish with 20 to 40 percent.
- Clean glass last: So you do not stir debris twice.
This routine keeps the messy phase short, which matters a lot when you are trying to enjoy your aquarium instead of constantly working on it.
FAQ
Should I prune with the lights on?
Either is fine. Lights on helps you see what you are doing. If your fish are skittish, pruning with lights slightly dimmed can reduce stress.
Can I throw trimmings away?
Only replant the healthiest tips. If a cutting is algae-coated, weak, or missing most leaves, compost it. Crowding your tank with mediocre cuttings usually backfires.
Do I need to remove clippings immediately?
Yes, as much as you can. Small bits left to decay can fuel algae and clog intakes. Net during the trim, then siphon anything that sank.
How do I stop plants from uprooting during pruning?
Cut gently, do not yank, and brace delicate stems with tweezers while you cut. If your substrate is very light, plant weights or deeper planting can help, especially right after a re-scape.