Follow a practical power outage plan for freshwater aquariums: immediate oxygen steps, priorities for the next several hours, battery aeration, temperature m...
Freshwater aquarium guidance
How to Move an Established Aquarium to a New Home
A move-day sequence for relocating a mature freshwater aquarium without crashing the cycle: fish transport, keeping filter media wet and oxygenated, handling plants and substrate, moving the tank safely, and stabilizing parameters afterward.

Written by
Oliver Bennett
Oliver Bennett is a lifelong aquarist with over 15 years of experience in freshwater tank setup, aquascaping, and fish health. Through TankRoot, he shares his passion for creating balanced underwater ecosystems, helping hobbyists of all levels build thriving, beautiful homes for their fish.
Published: October 18, 2026
•
Updated: October 18, 2026
Moving an established aquarium is not like moving furniture. You are relocating a living ecosystem that depends on oxygen, stable temperature, and a huge population of nitrifying bacteria that mostly live in your filter media and on hard surfaces. The goal is simple: keep those bacteria alive, keep your fish breathing, and get the tank running again quickly without stirring up a toxic soup.
I have moved tanks across town, across states, and down the hall. The successful moves all look the same: you plan the order of operations, you keep the filter media wet and oxygenated, and you assume something will run late. This guide walks you through a move-day sequence that protects your cycle and your livestock, plus the gear and contingency checklists I wish every hobbyist had on hand.
Scope note: This is written for established freshwater tanks. Reef and saltwater moves can be done safely, but corals, live rock, and tight salinity and temperature control add steps that deserve their own guide.
Time goal: Aim to have fish back in heated, filtered, oxygenated water within 2 to 4 hours. Longer trips are doable, but you should plan for extra aeration, insulation, and a mid-trip water refresh if needed.
Before move day (24 to 72 hours)
1) Decide what is traveling wet
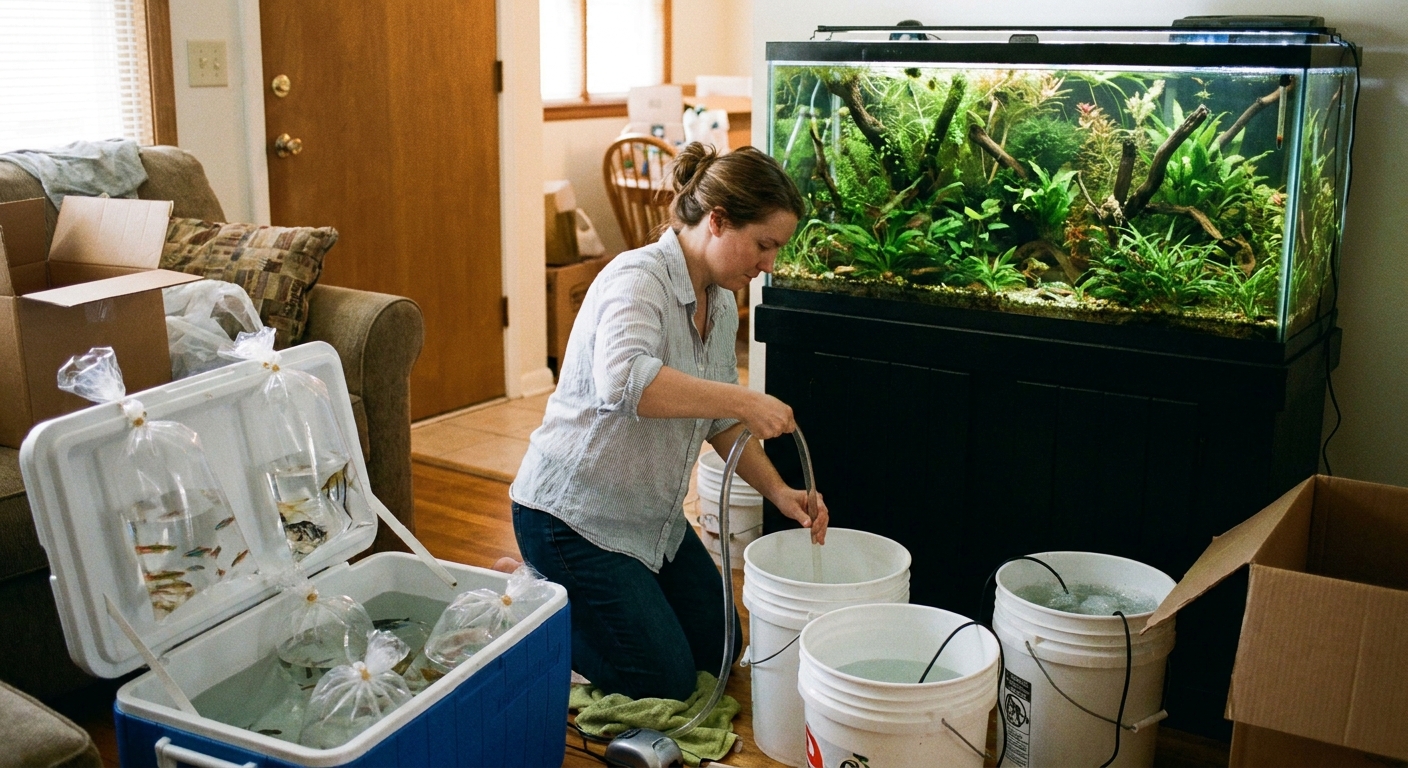
For most community tanks, you will transport:
- Fish and invertebrates in sealed bags or lidded buckets with oxygenation.
- Filter media wet, warm, and oxygenated.
- Plants damp or submerged, depending on species and travel time.
- Substrate either left in the tank (only for very small tanks and short moves) or moved in buckets, kept wet to prevent die-off and stink issues.
You are usually not transporting most of the water. Keeping 25 to 50 percent of the original water can help reduce stress by keeping temperature and chemistry closer to what your fish are used to. It does not “save the cycle” nearly as much as keeping your filter media alive does, but it can make the transition gentler.
2) Stop feeding
Skip feeding for 24 hours before the move (48 hours for messy eaters like goldfish). Less waste during transport means safer ammonia levels and calmer water.
3) Pre-mix and dechlorinate destination water (if possible)
If you can, prepare enough water at the new home for at least a 50 percent fill:
- Dechlorinate with a conditioner that neutralizes chlorine and chloramine.
- Match temperature as closely as possible.
- If your new tap water is very different (hardness, pH), plan to transition using a larger portion of old water and smaller water changes over the next week instead of one big swing.
4) Stage gear and label buckets
Label your containers before you start: “Fish”, “Filter Media”, “Plants”, “Hardscape”, “Substrate”, “Old Tank Water”. This prevents a very common mistake: someone innocently rinses your filter sponges under the faucet because it looks dirty.
Equipment checklist (what I actually use)
Core supplies
- Food-safe 5 gallon buckets with tight lids (multiple)
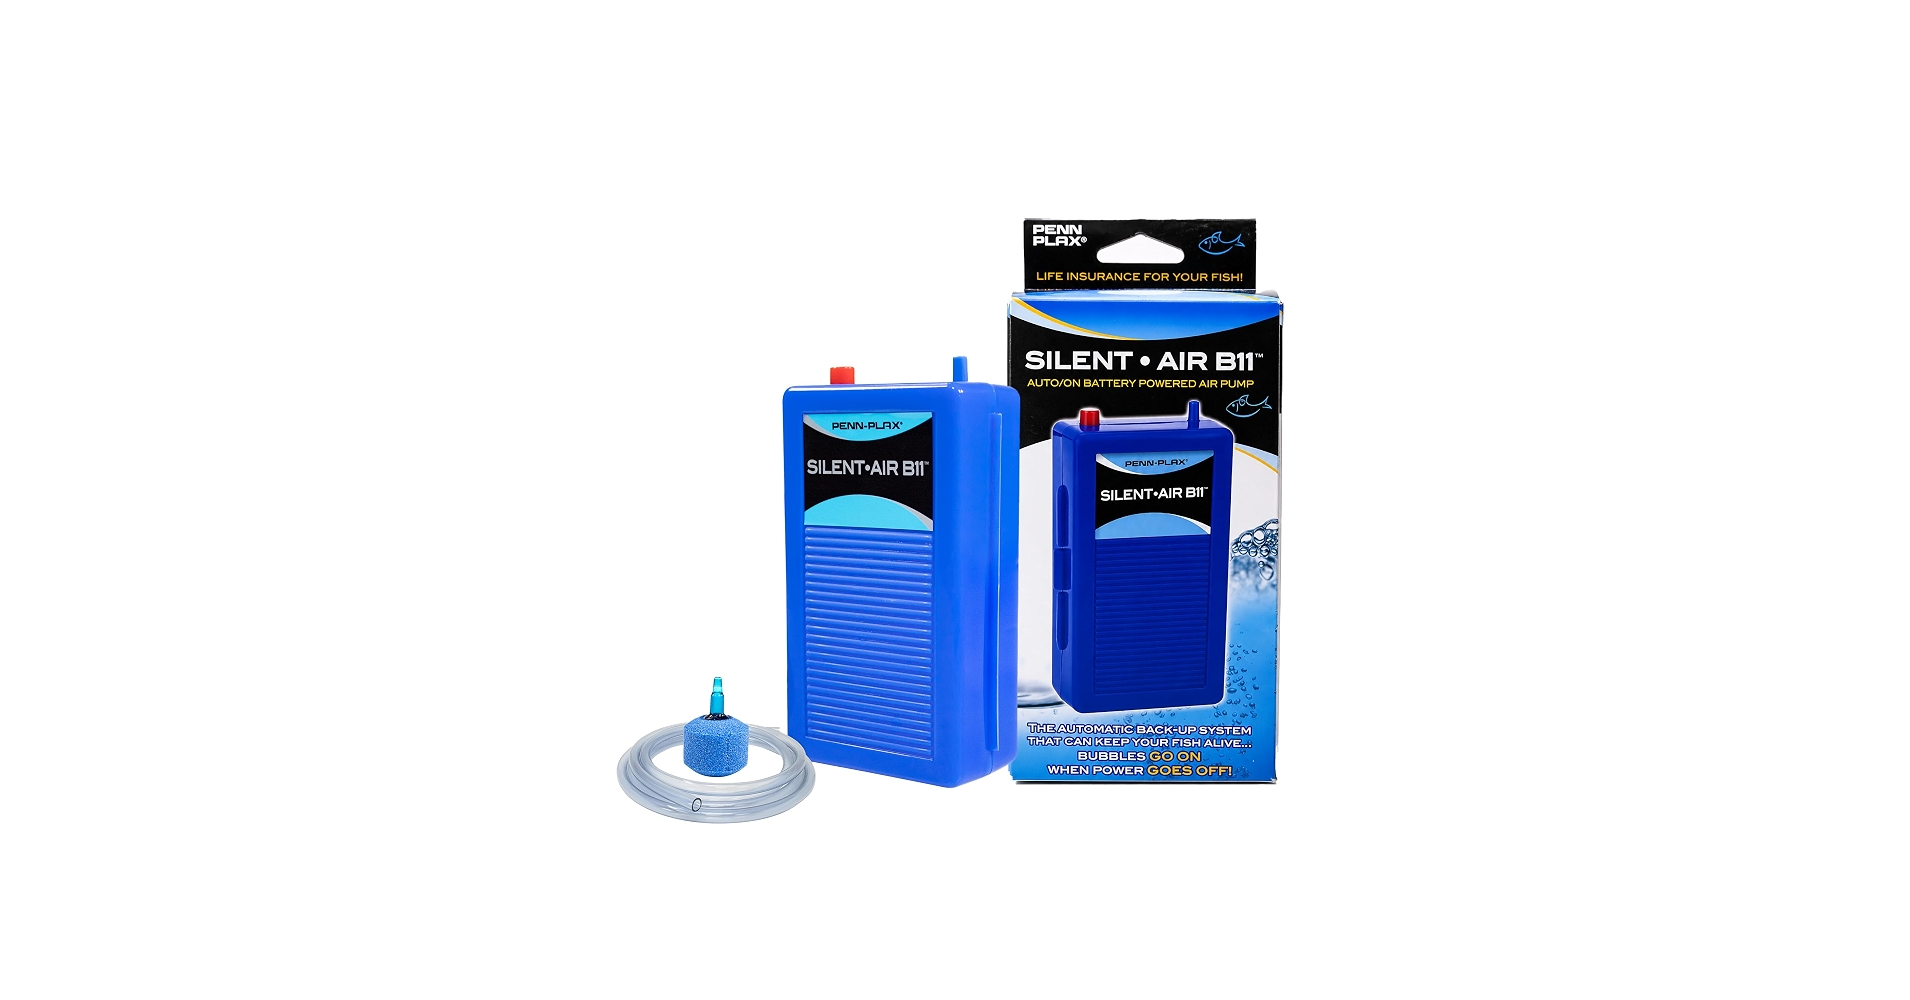
- Battery air pumps plus spare batteries, airline tubing, and airstones
- Fish bags and rubber bands, or specimen containers with lids
- Cooler or insulated tote for bags (stabilizes temperature)
- Dechlorinator that treats chloramine (dose for full tank volume)
- Thermometer
- Net, algae scraper, towels, paper towels
- Siphon hose or gravel vac
- Plastic wrap or damp paper towels for plant bundles
- Trash bags (clean) for wet gear and drips
- Marker and painter’s tape for labeling
For the tank and stand
- Furniture blankets or thick moving pads
- Ratchet straps (for stand and tank stability in vehicle)
- Foam board or yoga mat to protect the tank base
- Gloves with grip (glass is slippery)
- Helpers for anything over 20 gallons
Emergency and contingency kit
- Ammonia binder (often the same as dechlorinator, check label)
- Spare heater (even a small one)
- Spare sponge filter and air pump if your main filter cracks or leaks
- USB air pump and power bank as a backup to battery pumps
- Basic meds for injuries or opportunistic infections (optional, use responsibly)
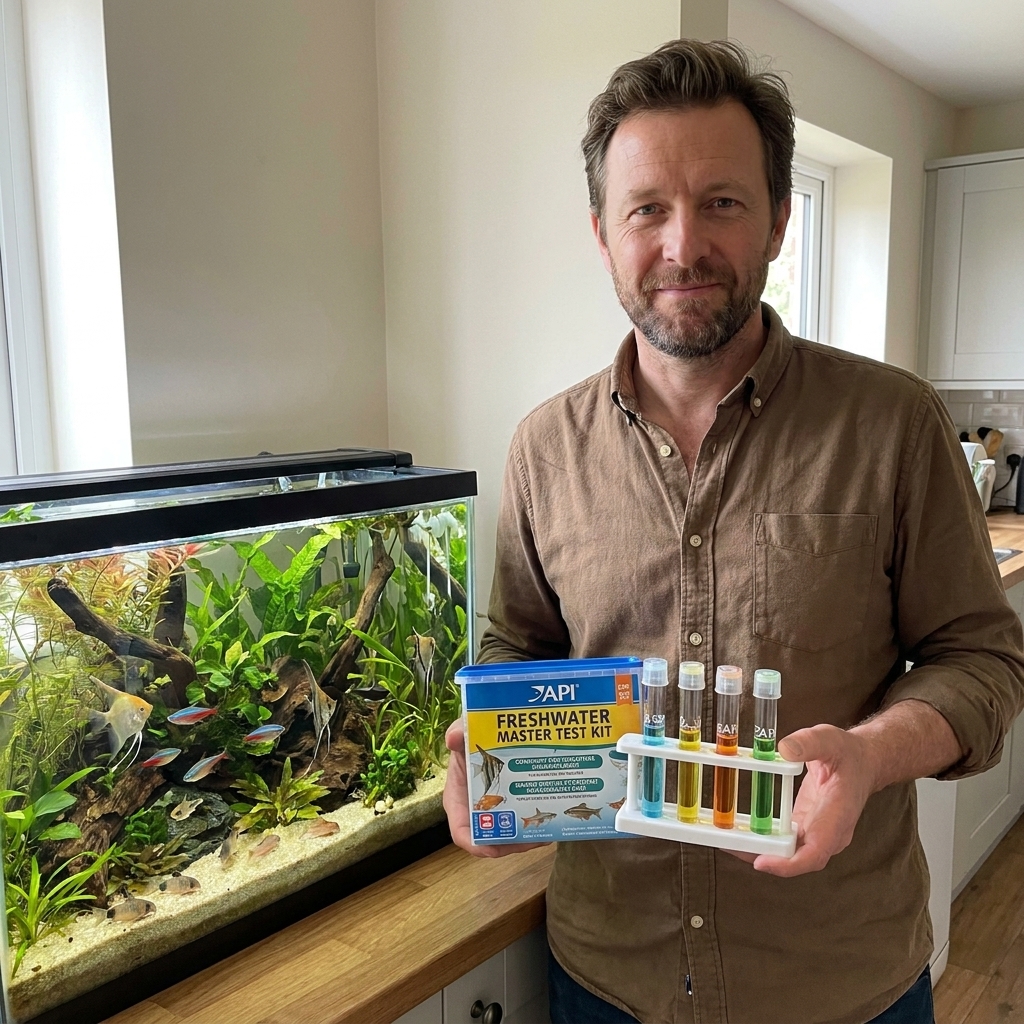
- Test kits: ammonia, nitrite, nitrate, pH, KH (at minimum ammonia and nitrite)
Move-day sequence (the order matters)
Step 1: Unplug and save the filter media first
Unplug heaters and filters. If the heater was running, let it cool for 15 minutes before exposing it to air.
Now, focus on the filter:
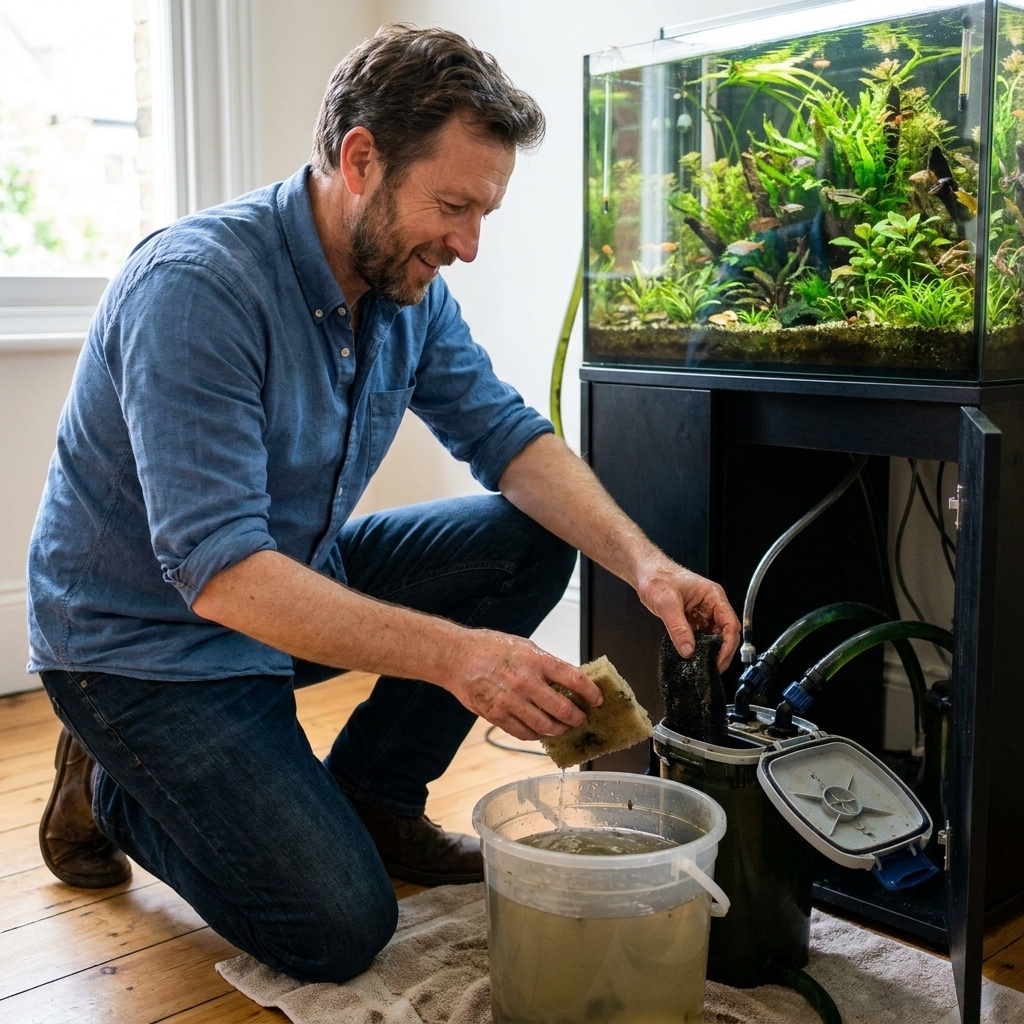
- Remove sponge, ceramic rings, biomedia and place them in a bucket or container of tank water.
- Add an airstone powered by a battery pump to keep oxygen moving through that water.
- Keep the container out of direct sun and away from freezing temperatures.
Why oxygen matters: nitrifying bacteria are aerobic. Kept wet but stagnant, they can decline quickly, sometimes within a few hours in warm, oxygen-poor conditions. Aeration buys you time.
Filter type notes (quick but important)
- HOB filters: keep the media (sponges, cartridges, biomedia) submerged in tank water. The plastic filter body can travel dry.
- Canister filters: remove baskets/media and keep them in oxygenated tank water. Do not seal a canister full of stagnant old water for hours and assume it is “safe.”
- Sponge filters: keep the sponge wet in tank water. It is easy to move and can be your emergency filter at the new home.
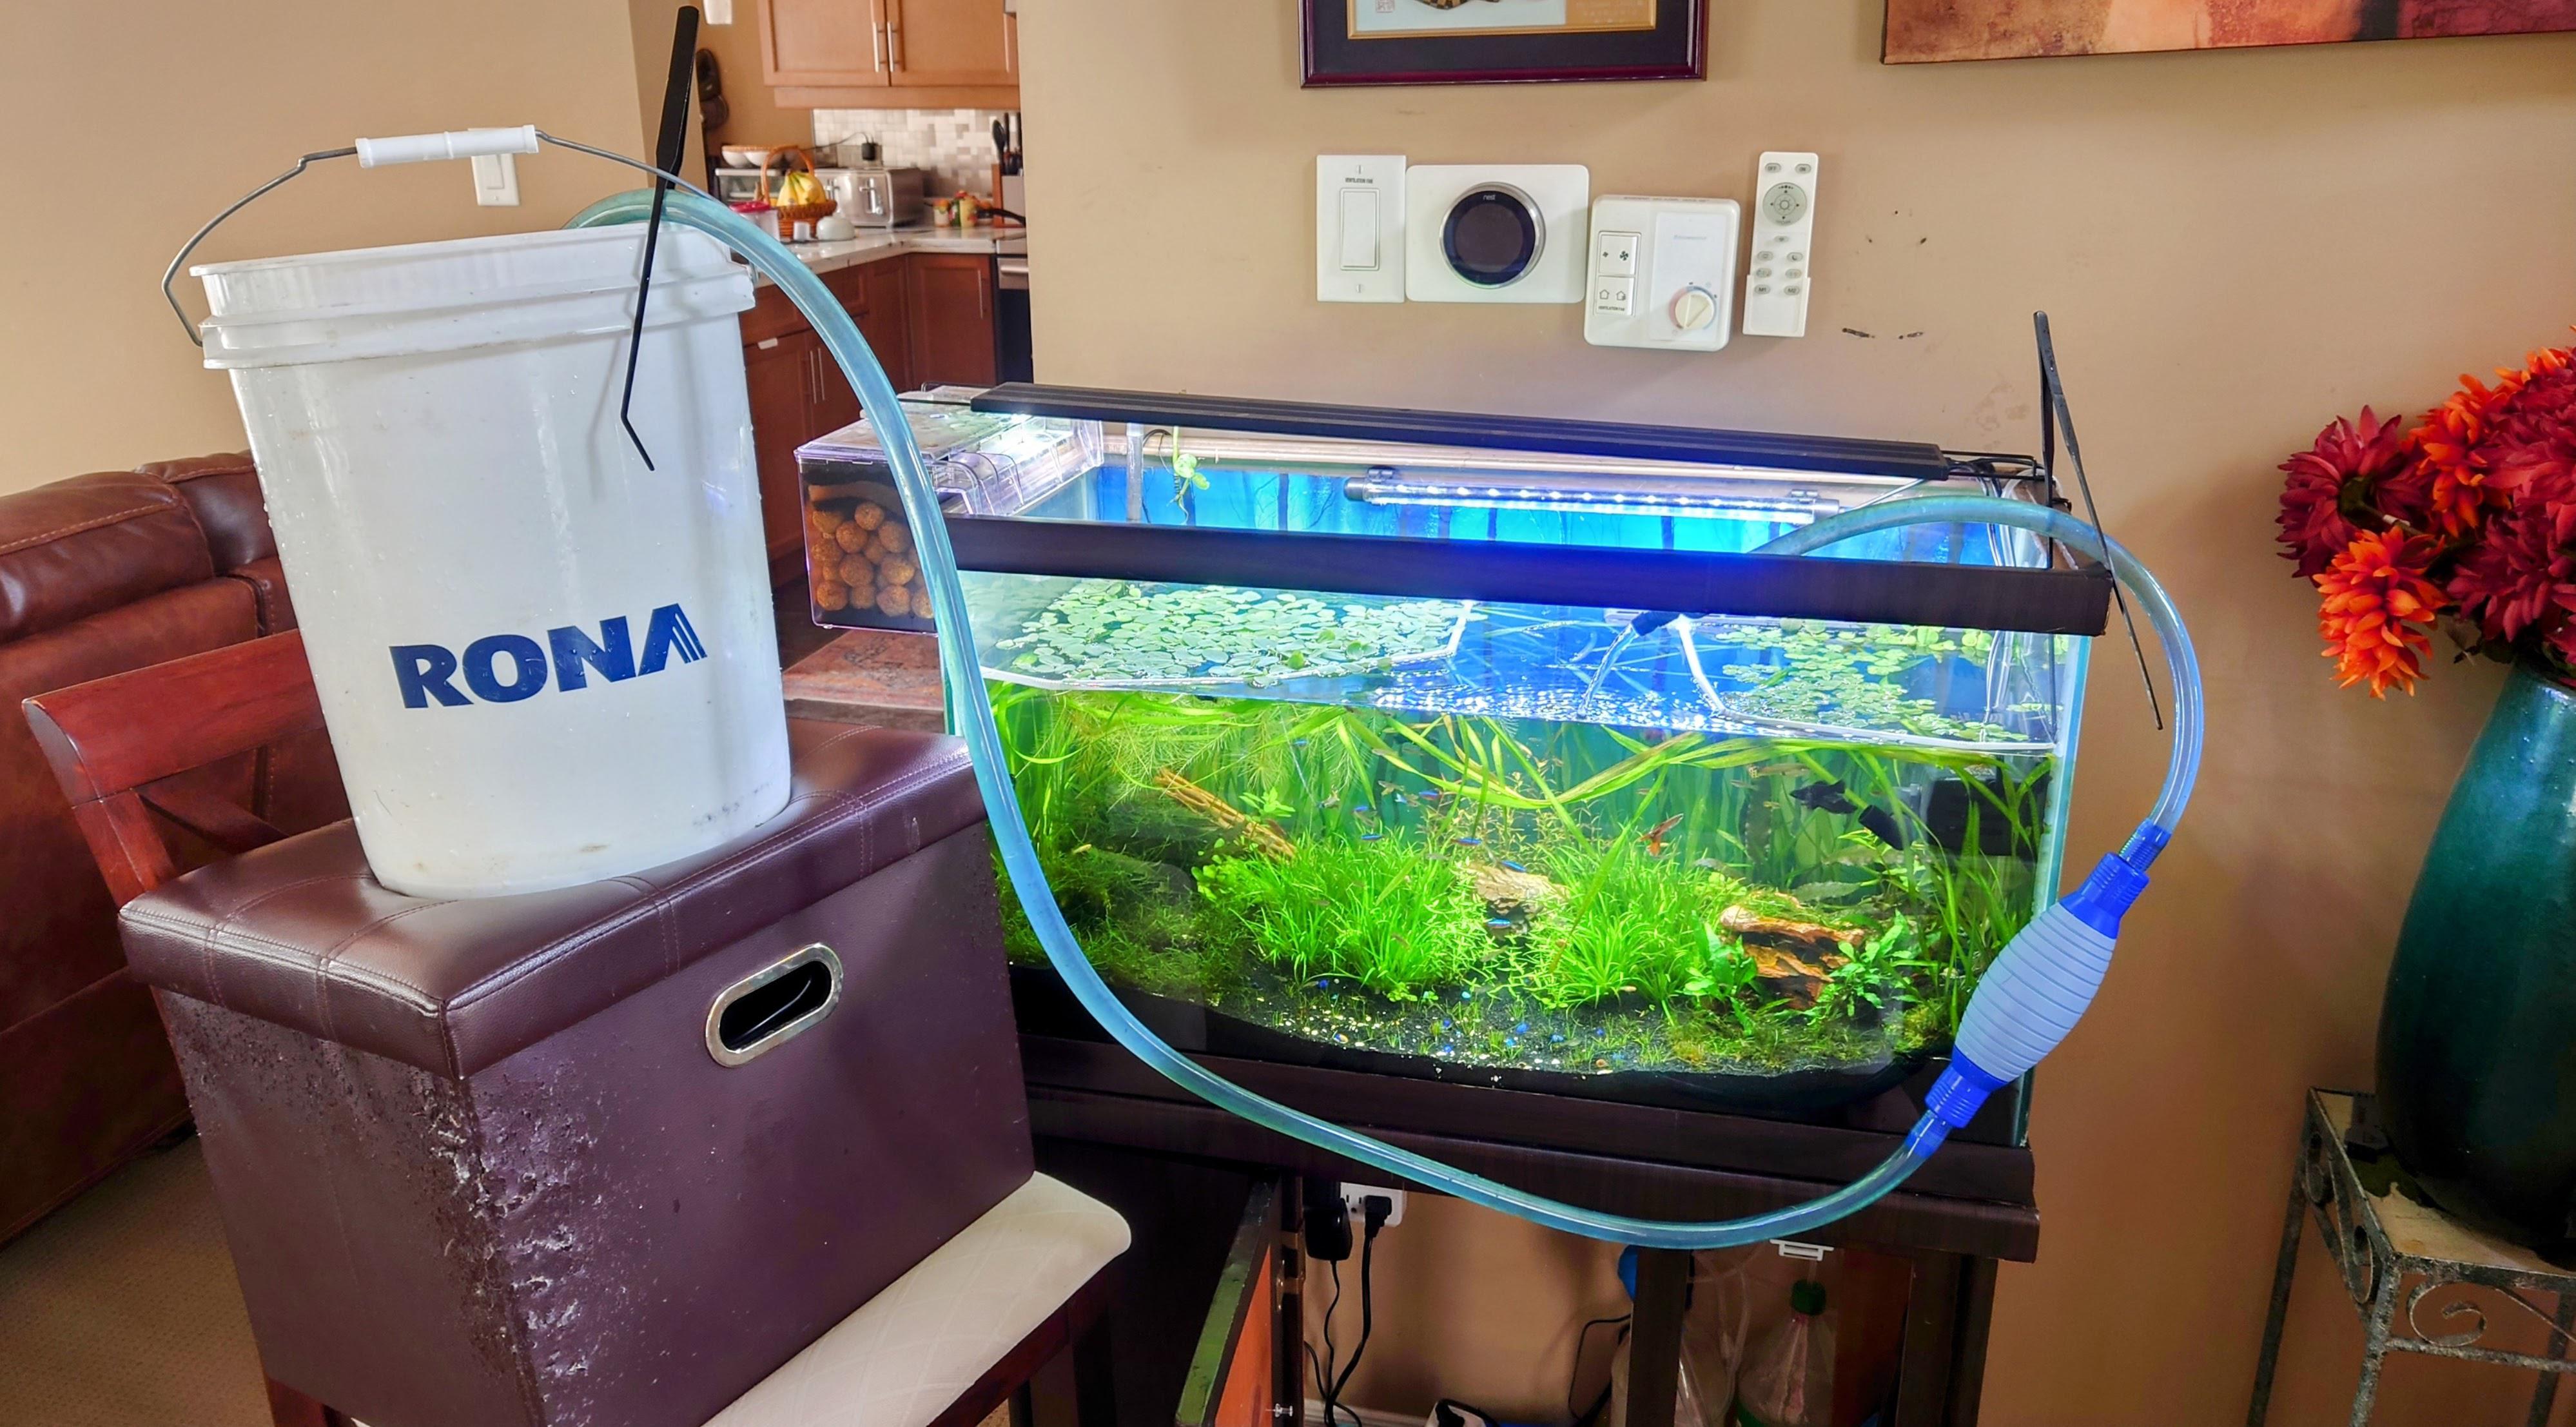
Step 2: Drain and reserve old tank water
Siphon water into labeled buckets. I typically keep:
- 25 percent for short moves with stable tap water.
- 50 percent if the new home has very different water, or if fish are sensitive.
Do not obsess over saving 90 percent of the water. Old water helps your fish avoid a sudden parameter swing, but most of the biofilter lives in your media and on surfaces.
Step 3: Move plants and hardscape
Remove wood and rocks first so you do not crack the tank while lifting later.
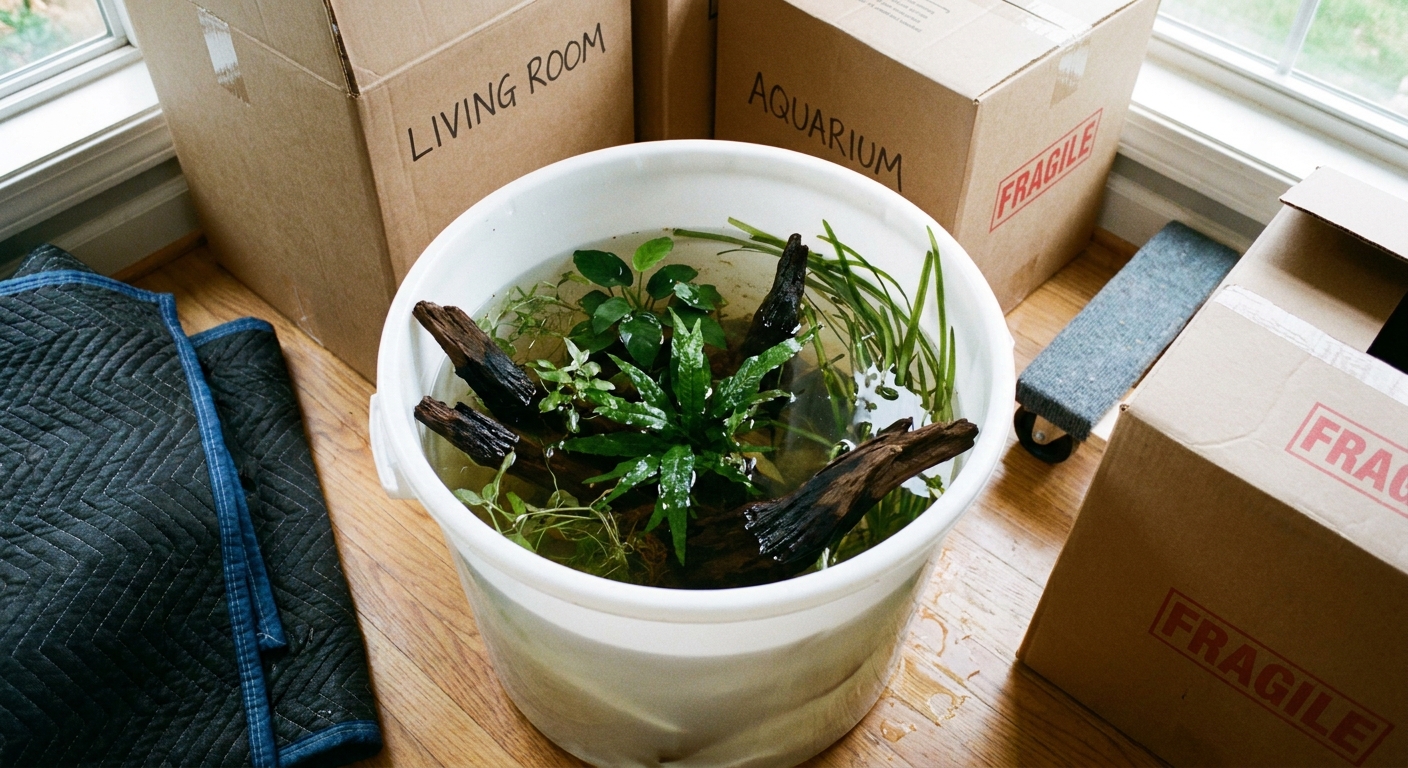
- Plants: place in a bucket with tank water, or wrap in damp paper towels inside a clean bag for shorter trips.
- Hardscape: transport wet if it is covered in biofilm and beneficial bacteria, but keep it from rolling. Wrap in towels and place in a bucket or tote.
If you have delicate stems or carpeting plants, keep them submerged when possible to reduce melt.
Step 4: Catch and pack the fish (last, with the least chaos)
With the decor removed and the water level lowered, catching fish becomes dramatically less stressful.
- Use fish bags in a cooler for small to medium fish.
- Use lidded buckets for larger fish, spiny fish, or when you have many fish.
- Add a battery air pump and airstone if using buckets, especially for longer than 30 to 60 minutes.
Tip: Keep species separate when needed. Fin nippers, cichlids, and large plecos should not share a cramped bucket with peaceful fish.
Do not add “bag water conditioners” randomly. If you need extra safety, use a dechlorinator that also binds ammonia at the correct dose, but remember that binding is not a replacement for water changes and time reduction. Also note that some test kits can still read ammonia after binders. Follow the product directions and judge the situation with both tests and fish behavior.
Step 5: Substrate decision
Substrate can be the smoothest part of the move or the thing that triggers a mini-cycle. Choose based on tank size, substrate type, and travel time.
Option A: Keep substrate in the tank (small tanks, short moves)
This is sometimes acceptable for a 10 gallon being carried carefully across town, with the tank nearly empty. The risk is that sloshing stirs detritus into the water and scratches glass.
Option B: Remove substrate to buckets (recommended for most moves)
For anything mid-sized or larger, I remove substrate:
- Scoop gravel or sand into buckets with just enough tank water to keep it wet.
- Do not rinse it.
- If you smell rotten eggs, treat that as a red flag for anoxic decomposition. Keep that foul water out of the tank, avoid trapping it in sealed containers, and plan to rinse or replace the worst sections.
Important: Hydrogen sulfide risk is not a guarantee in every sand bed, but the smell is meaningful. Your goal is to avoid dumping that trapped, oxygen-poor muck and water back into a freshly reassembled aquarium with stressed fish.
Step 6: Empty the tank completely and prep it for travel
Once livestock, decor, and substrate are out, drain the tank fully. Remove:
- Heater
- Filter body and hoses
- CO2 equipment (if planted)
- Light
Wipe the outside dry so it is not slippery.
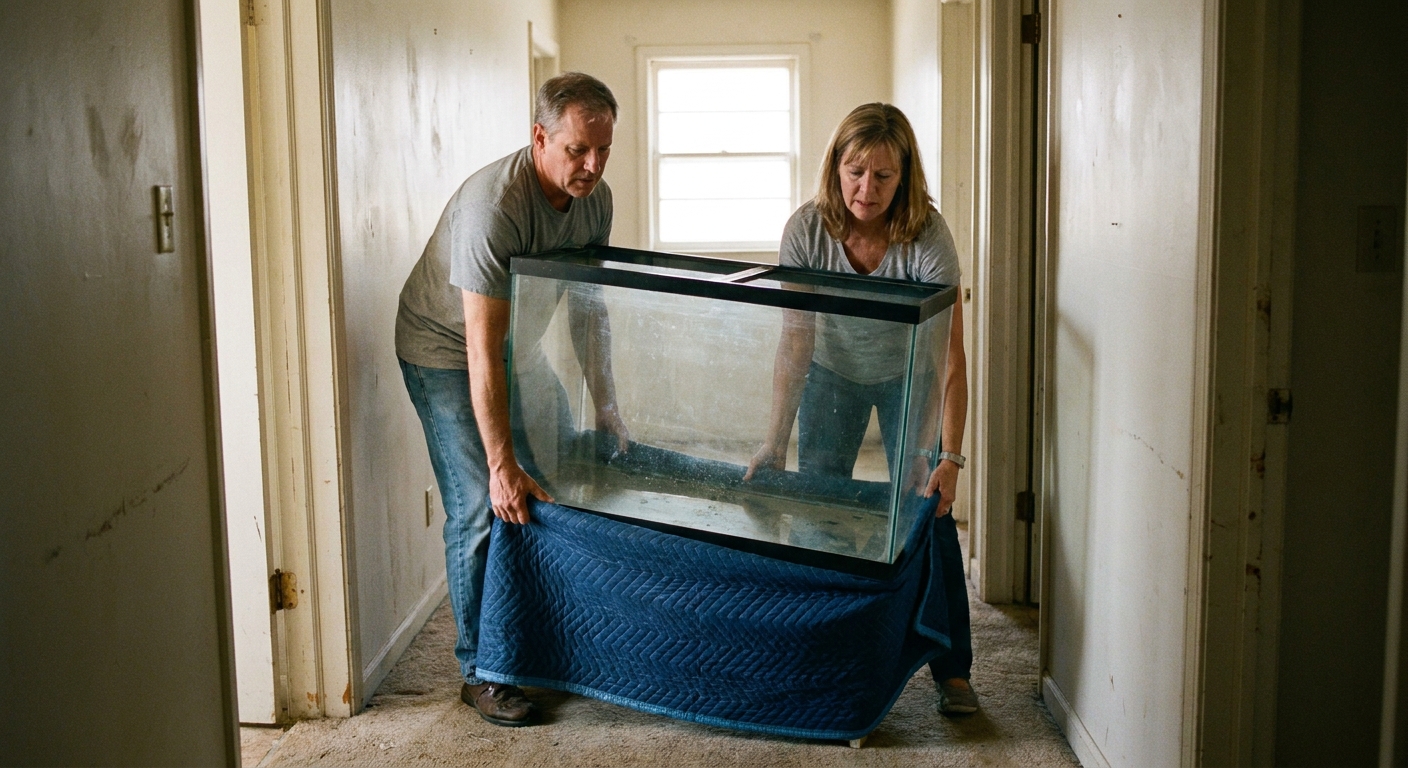
How to lift and move a glass aquarium safely
- Never lift by the rim. Support from the bottom with hands under the base.
- Keep it level. Twisting stresses seams.
- Use two people for 20 gallons and up, and more for larger tanks.
- Protect the base with foam board or a moving pad in the vehicle.
- Do not transport with water inside. The dynamic load can pop seams.
Reassembly at the new home (fast, calm, methodical)
Step 1: Place the stand and level it
Before the tank goes down, ensure the stand is in its final position and level front to back and side to side. An unlevel stand can twist a tank over time.
Step 2: Set the tank, then add substrate and hardscape
Add substrate first. If it is wet, pour gently to avoid dust storms. For sand, you can place a plate or plastic bag on the bottom and pour water onto it to reduce clouding.
Add rocks and wood securely. Remember that buoyant wood can shift when you refill, so anchor it if needed.
Step 3: Add plants (but do not chase perfection)
Plant quickly and accept that your aquascape might look a little different for a week. You can re-tweak once the tank is stable and your fish are settled.
Step 4: Refill with a mix of old and new water
Refill slowly to avoid uprooting plants and stirring substrate. A common approach:
- Add the saved old tank water first.
- Then top up with temperature-matched, dechlorinated new water.
If your new water source has significantly different pH or hardness, prioritize stability. Use more old water and plan gradual changes over several days.
Step 5: Get filtration running immediately, with your original media
Install the filter and put the established media back where it belongs. Prime canister filters carefully, and check for leaks right away. If you brought an airstone for the media bucket, keep it running until the filter is fully operational.
Critical note: if your filter uses cartridges, do not swap to a new one on move day. Move day is the day to preserve bacteria, not “freshen things up.”
Step 6: Heat and oxygenation
Bring temperature to the fish’s normal range. Add extra aeration for the first 24 hours. A move stirs organics, and higher oxygen helps both fish and bacteria.
Heater reminder: Always make sure heaters are fully submerged before plugging them in. If a heater was out of water during setup, give it a few minutes submerged to equalize temperature before powering it on.
Acclimating fish back into the moved tank
Treat this like a “big water change” plus a stressful car ride.
- Float bags to equalize temperature for 15 to 20 minutes.
- Then add small amounts of tank water to the bag or bucket every 5 minutes for 15 to 30 minutes if parameters may differ.
- Net fish into the tank. Avoid dumping transport water into your freshly set-up tank if it is dirty or cloudy.
Keep lights low for the rest of the day and do not feed immediately. If you feed, do it lightly the next day.
For territorial fish: If you keep cichlids or other pushy species, a small hardscape rearrange during reassembly and a full lights-out period can reduce “this is my corner” aggression when everyone goes back in.
The first 14 days: prevent a mini-cycle
Even a perfect move can cause a mini-cycle. Bacteria get stressed by temperature swings, lack of oxygen, and disrupted flow through the media. Your job afterward is to monitor and intervene early.
Testing schedule
- Day 1 to 7: test ammonia and nitrite daily.
- Day 8 to 14: test every other day if readings stay at zero.
- Test nitrate at least once in the first week to confirm the biofilter is processing.
What to do if ammonia or nitrite appears
- Do a 25 to 50 percent water change with temperature-matched, dechlorinated water.
- Add extra aeration.
- Reduce feeding.
- Use an ammonia-binding conditioner as a temporary safety net, not a replacement for water changes. Be aware some tests still show ammonia after binders, so interpret results using the product guidance.
Watch for these stress signals
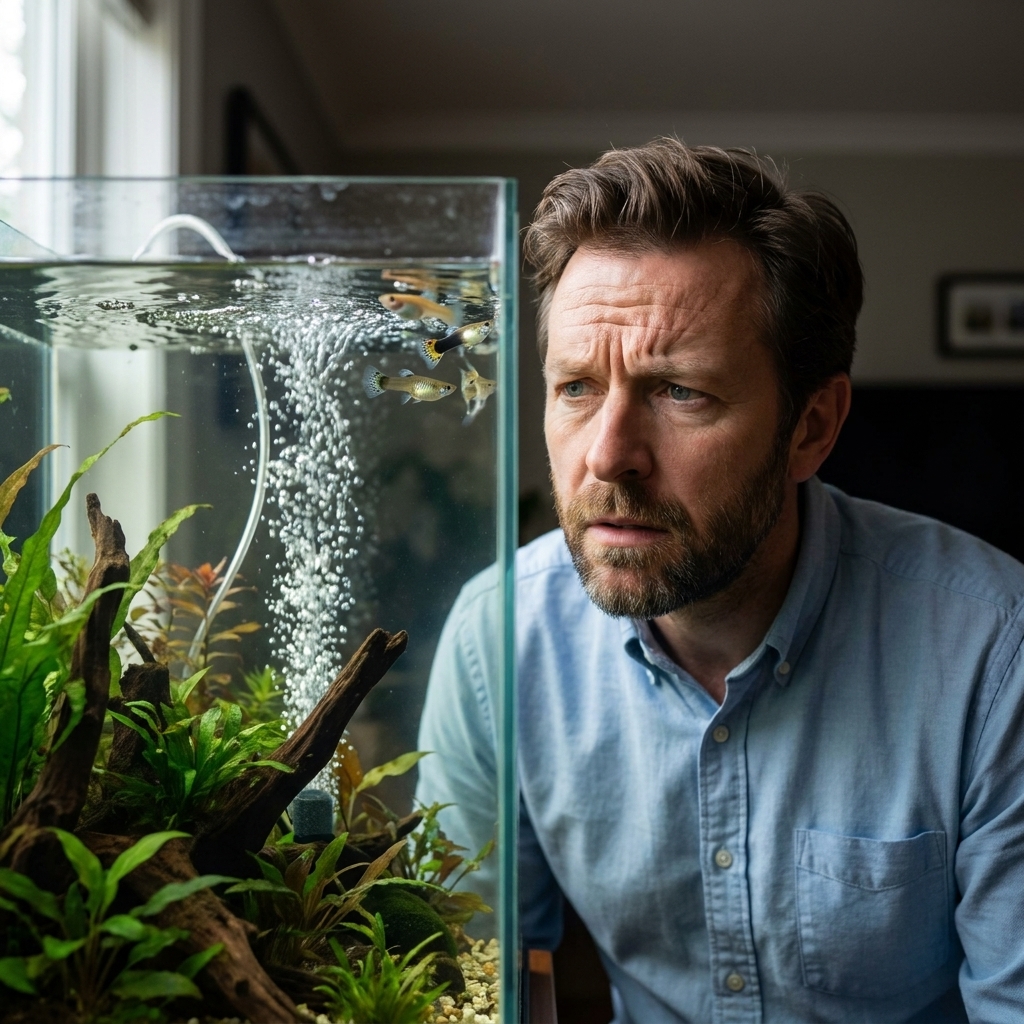
- Gasping at the surface
- Clamped fins, hiding, listlessness
- Sudden algae bloom from disturbed nutrients and changed light schedule
If fish are gasping, assume oxygen is low or ammonia is present until proven otherwise. Add air immediately and test.
Contingency plans (because something always runs late)
If the move takes longer than expected
- Keep fish in insulated containers out of extreme heat or cold.
- Run battery air pumps continuously.
- For long delays, do a partial water change in the fish bucket using dechlorinated water and match temperature as best you can.
If power is not available at the new home yet
- Prioritize aeration in fish containers and for filter media.
- Keep media submerged and oxygenated. Do not let it dry out.
- Wrap the tank with blankets to slow temperature loss.
If your filter breaks or leaks
This is where a spare sponge filter saves the day.
- Install a sponge filter and run it with an air pump.
- Keep the original media submerged and aerated until you can repair or replace the main filter.
If the substrate smells like rotten eggs
That odor suggests anoxic decomposition. Do not put that foul water and muck straight back into a stocked tank.
- Consider replacing the substrate, or at minimum discard the deepest sections.
- Run extra aeration and carbon temporarily if you must reuse some material.
- Monitor fish closely and test ammonia and nitrite frequently.
Quick checklists
Last 30 minutes before leaving
- Fish secured in bags or lidded buckets
- Battery air pumps running
- Filter media submerged and aerated
- Heaters cooled and packed
- Tank fully drained, wiped, and padded
- Hardscape wrapped and stable
- Substrate contained and wet (or intentionally discarded)
- Dechlorinator, test kit, towels in an easy-to-reach bag
First 30 minutes after arrival
- Stand placed and leveled
- Tank set on padding, checked for wobble
- Substrate in, hardscape stable
- Water in, dechlorinated, temperature checked
- Filter running with original media
- Heater installed (submerged) and set
- Extra aeration running
Common mistakes that crash moved tanks
- Letting filter media dry out even briefly.
- Sealing media in an airtight bag for hours without oxygenation.
- Rinsing media under tap water, especially chlorinated.
- Transporting the tank with water inside, stressing seams.
- Overfeeding right after the move when bacteria are stressed.
- Skipping testing because “it looks fine.” Mini-cycles are often invisible until fish show distress.
FAQ
Should I keep the filter running during the drive?
Usually no. Running a filter dry or half-primed is risky, and sloshing can damage impellers. The safer play is keeping the media wet and oxygenated with an airstone, then restarting filtration as soon as you can.
How long can fish stay in buckets?
With a lid, stable temperature, and strong aeration, many community fish can handle several hours. Without aeration, your safe window shrinks dramatically. My rule of thumb is to plan like you only have about an hour of comfortable margin, even if your setup could handle longer, because it keeps your move conservative.
Can I reuse all the old water?
You can, but it is rarely necessary and often impractical. If you do reuse most of it, you still must dechlorinate any new top-up water and you still need to test afterward.
Do I need to replace my filter cartridge after moving?
No. Move day is the worst day to throw away your bacteria. Keep your established media. If your tank relies on disposable cartridges, consider adding a sponge or biomedia you can keep long-term so you are not dependent on a single cartridge.