A practical, beginner-friendly guide to cycling a freshwater aquarium. Learn the nitrogen cycle, the safest fishless cycling method, testing milestones, and ...
Freshwater aquarium guidance
How to Clean Your Aquarium Filter Without Crashing Your Cycle
Learn how to rinse, service, and replace aquarium filter media safely so you keep beneficial bacteria and avoid ammonia spikes.

Written by
Oliver Bennett
Oliver Bennett is a lifelong aquarist with over 15 years of experience in freshwater tank setup, aquascaping, and fish health. Through TankRoot, he shares his passion for creating balanced underwater ecosystems, helping hobbyists of all levels build thriving, beautiful homes for their fish.
Published: October 17, 2026
•
Updated: October 17, 2026
I still remember the first time I “deep cleaned” a filter as a kid. I scrubbed everything spotless under hot tap water, popped in a shiny new cartridge, and felt proud until the tank turned cloudy and the fish started gasping. That was my first real lesson in what a filter actually does.
Your aquarium filter is not just a trash can for gunk. It is a home for beneficial bacteria, the microbes that convert toxic ammonia into nitrite, then into less toxic nitrate. Clean the filter the wrong way and you can wipe out a huge chunk of that bacteria overnight. The result can be a mini cycle or full crash.
Below is the exact process I use in freshwater community tanks and planted aquascapes to keep flow strong while keeping the cycle intact.
What “crashing the cycle” means
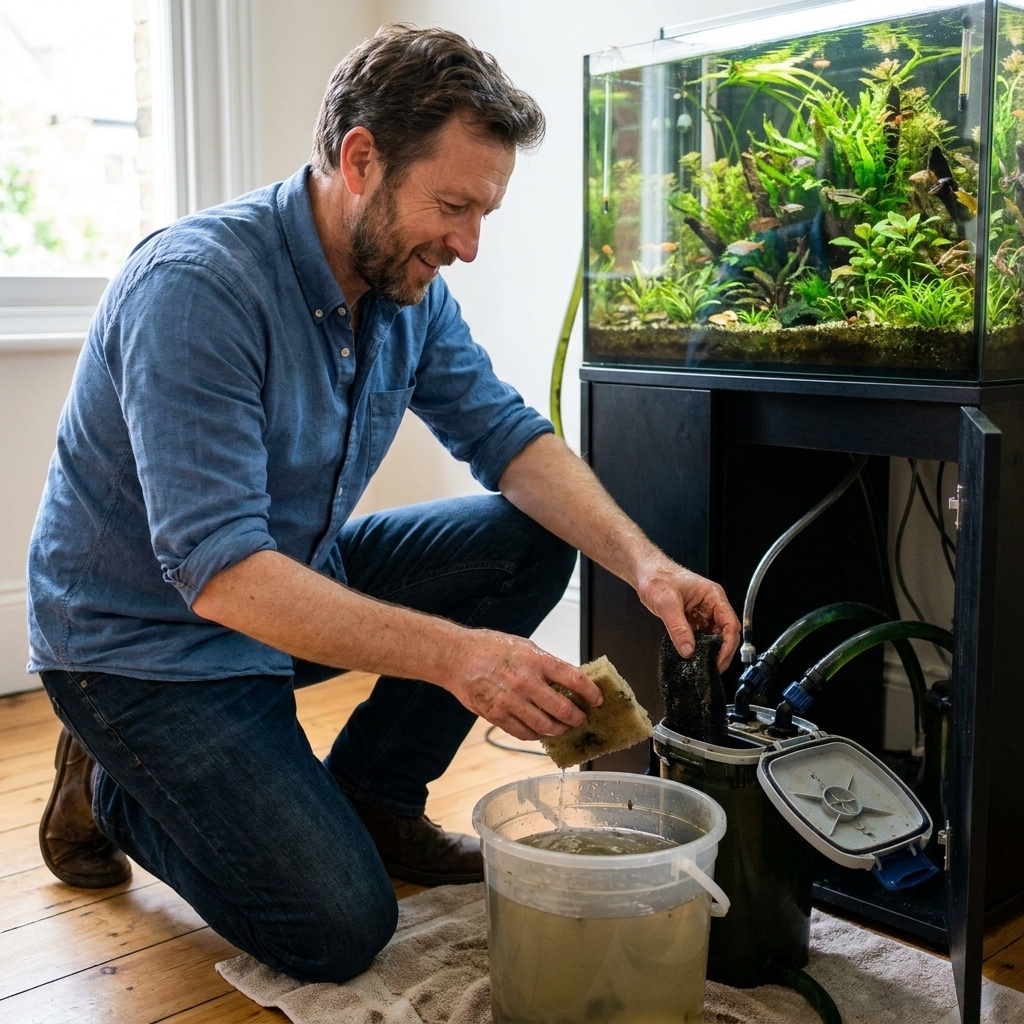
Your biological filter is primarily the bacteria living on surfaces with oxygenated water moving across them. That includes filter sponges, ceramic rings, bio balls, and even the inside of the filter housing and tubing. Your substrate, hardscape, and plants also hold biofilm, which is one reason most tanks can handle routine filter rinsing just fine.
When people say they “crashed the cycle,” they usually did one or more of these:
- Rinsed media under chlorinated tap water, which can damage or kill beneficial bacteria.
- Replaced all filter media at once, removing most of the tank’s biofilm in a single day.
- Overcleaned to a sterile state, scrubbing sponges and biomedia until they were spotless.
- Let media dry out during maintenance, which can kill bacteria within minutes to hours depending on heat and humidity.
- Stopped flow for too long in a sealed canister, where oxygen can drop and bacteria can die back.
The goal is simple: remove the sludge that restricts flow without removing the living biofilm your tank depends on.
Before you start: safe setup
What you need
- A clean bucket used only for aquarium work
- Your usual water change tools
- A towel
- An old toothbrush or small soft brush (optional)
- Dechlorinator (for new water, and for occasional tap-water rinses when needed)
The golden rule
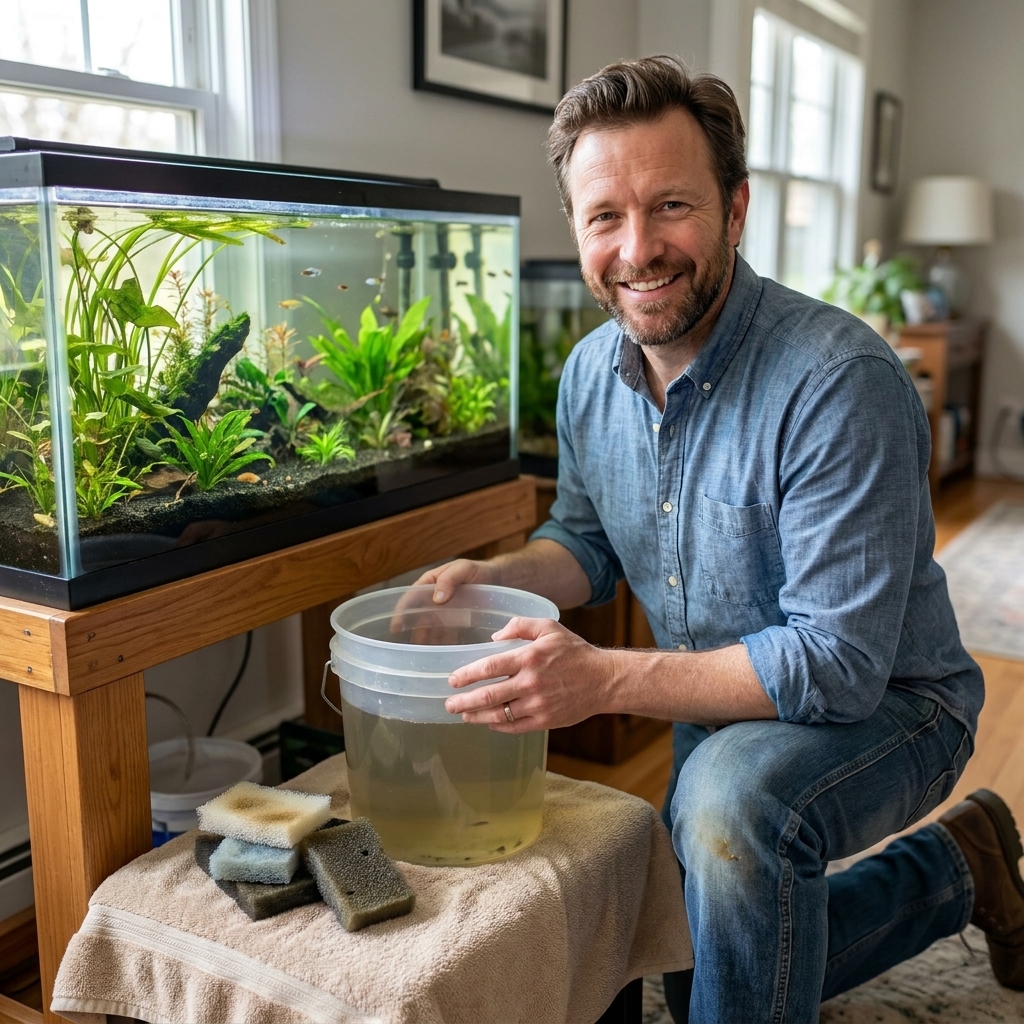
Best practice is to rinse filter media in removed tank water, not straight tap water. The easiest way to do this is to do filter maintenance during a routine water change.
Drain a few gallons or liters into a bucket, then use that water to swish and squeeze your sponges and other media.
If you cannot use tank water, a quick rinse in tap water that has been treated with dechlorinator and temperature-matched is usually lower risk for mechanical-only media (like a prefilter sponge or floss). I still avoid doing that to your main biomedia whenever possible.
One more hard rule: no soap or household cleaners on filter parts. If something needs more than a rinse and a brush, soak it in dechlorinated water and scrub, then rinse again.
Step-by-step: clean your filter safely
Step 1: Do it on water change day
Turn off and unplug the filter and heater. Take out a bucket of aquarium water first. That bucket is your rinse station.
If your tank has been stressed recently (new fish, disease treatment, ammonia or nitrite readings), keep maintenance light. Stability beats perfection.
Step 2: Open the filter and keep media wet
Whether you have a hang-on-back (HOB), sponge filter, or canister, the same principle applies: keep the media damp and do not let it dry out.
- HOB: lift out the sponge or media basket and place it directly into the bucket of tank water.
- Canister: shut valves, carry the canister to a sink or tub, and open it. Remove trays and immediately set media into the bucket.
- Sponge filter: remove the sponge and put it straight into the bucket.
Step 3: Clean mechanical media first
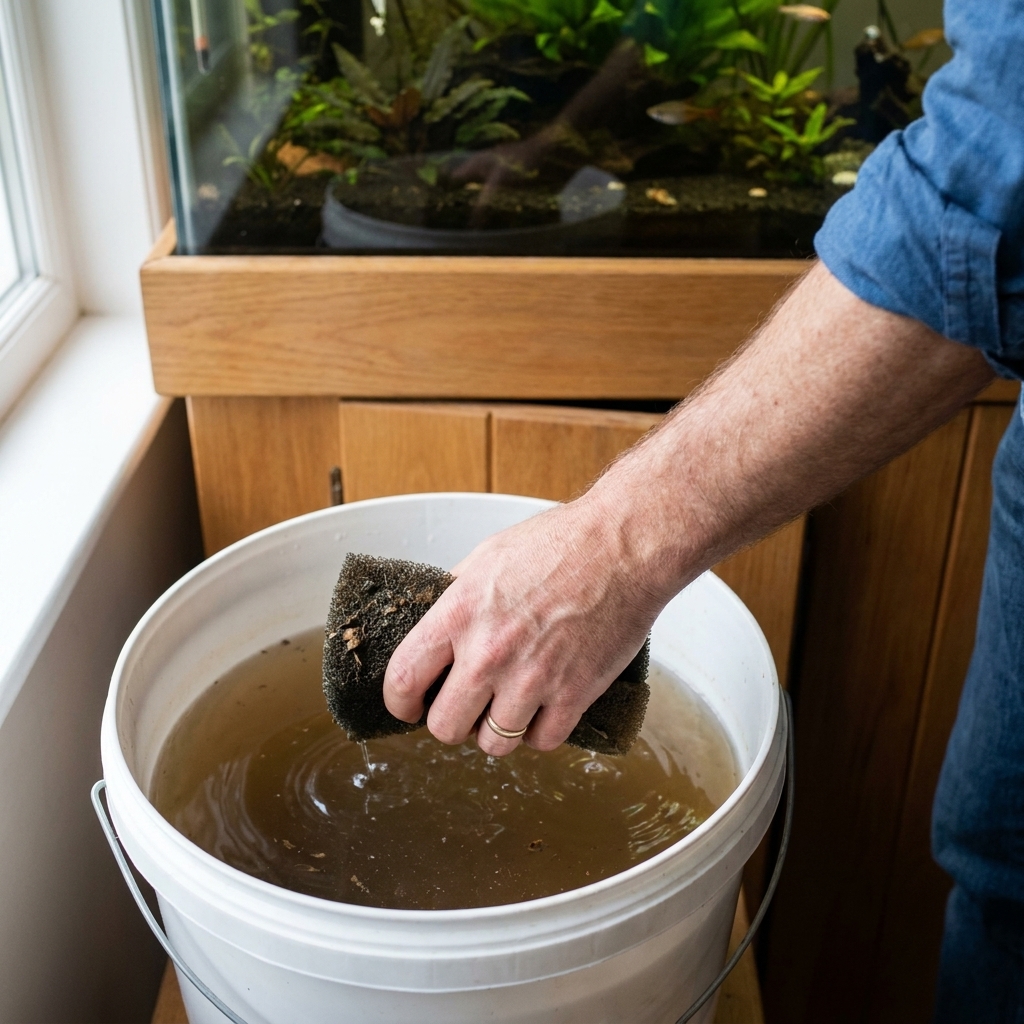
Mechanical media is where most of the gross stuff collects. If flow is weak, this is usually the culprit.
- Sponge: swish and squeeze it in the bucket water until the worst debris is released. Stop when it is no longer dumping clouds of mulm, not when it looks brand new.
- Filter floss/pads: if it is just lightly dirty, swish gently. If it is falling apart or permanently clogged, replace it.
Tip: If you must replace floss, do it alone, not at the same time as replacing biomedia.
Step 4: Go easy on biological media
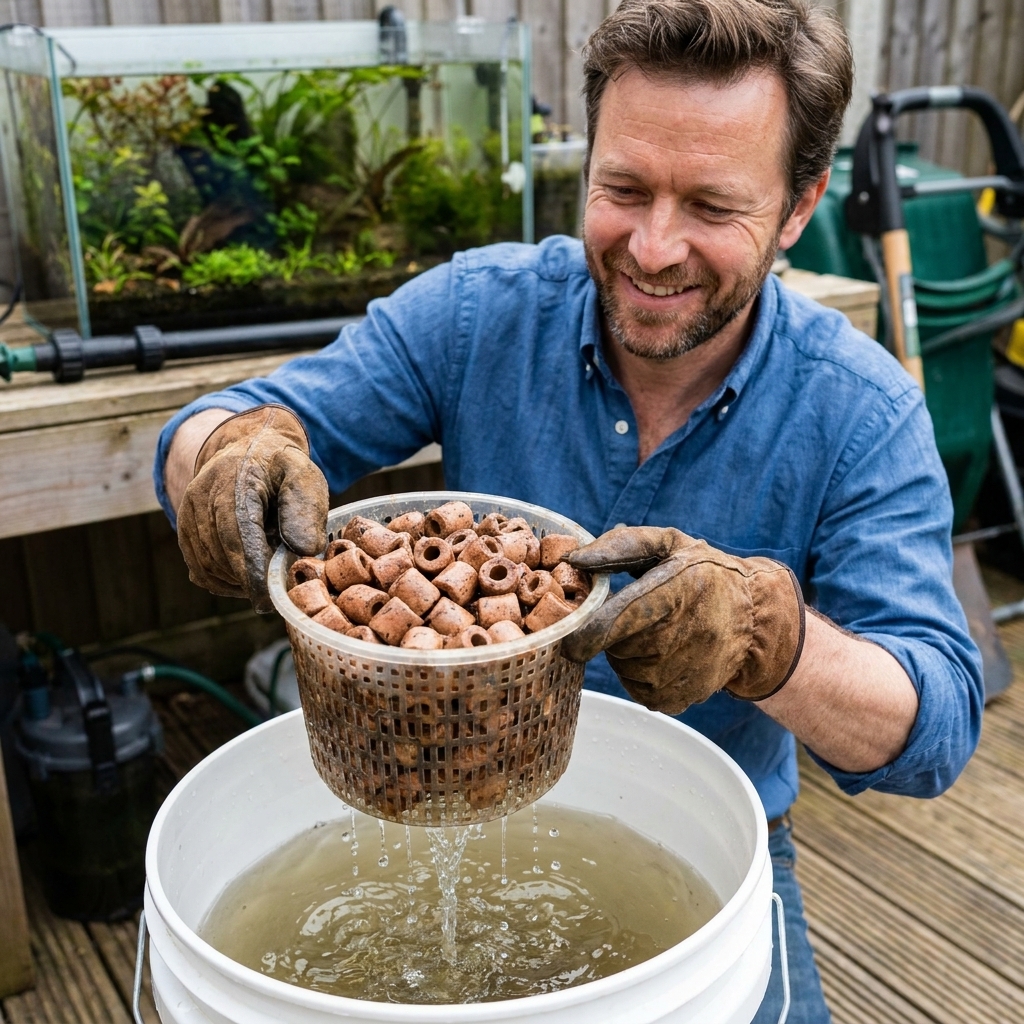
Biomedia only needs cleaning when it is so clogged that water cannot pass through it. Most of the time, a gentle rinse is enough.
- Dip and swirl biomedia in the bucket once or twice.
- Do not scrub or polish it clean.
- Do not replace all of it at once.
Step 5: Clean the impeller and intake for flow
If your filter is noisy, weak, or starting and stopping, the impeller area often needs attention. This is one of the best places to clean because it improves performance without stripping much biofilm from your main media.
- Open the impeller housing.
- Rinse the impeller and well with tank water or temperature-matched dechlorinated water.
- Use a soft brush to remove slime buildup.
For canisters and HOBs, also check the intake tube and strainer. A clogged strainer can mimic a dirty filter.
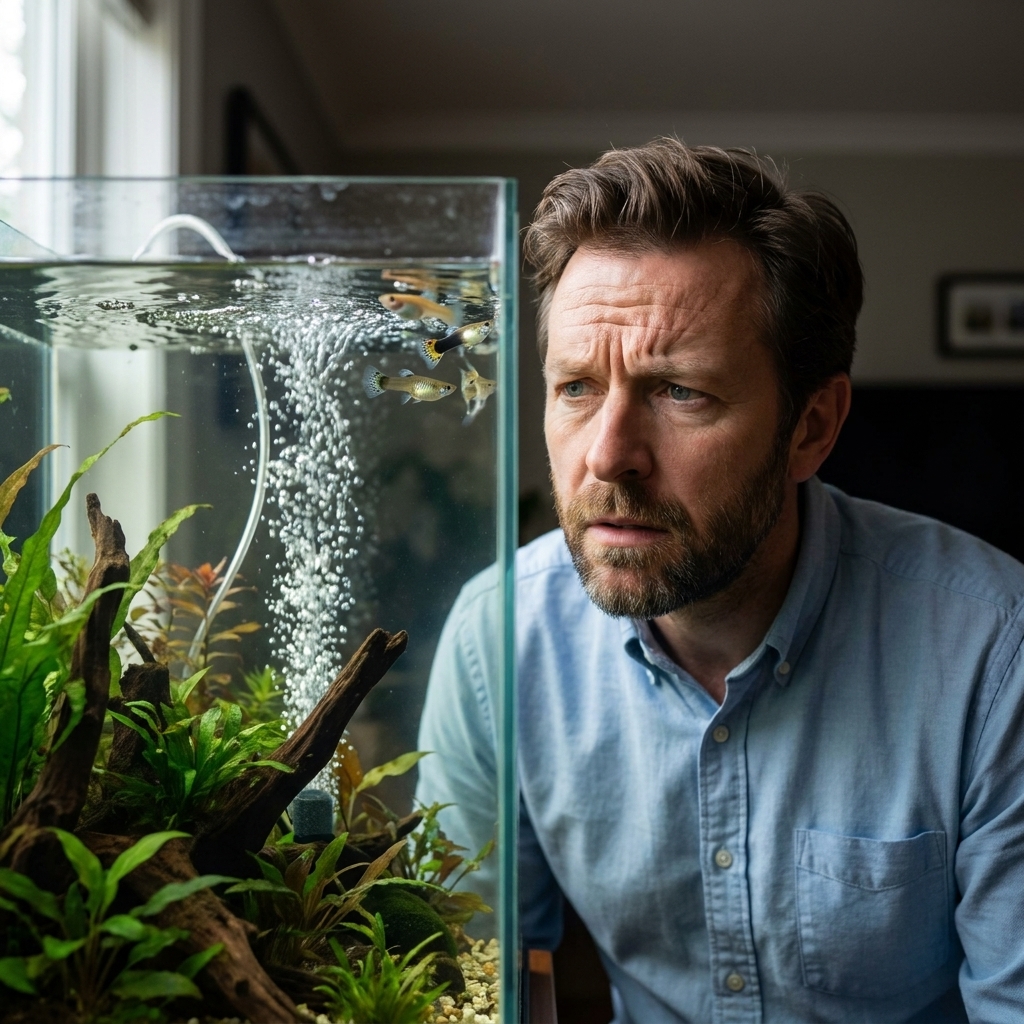
For air-driven sponge filters, weak output is often an airline kink, a clogged airstone, or a gunked-up uplift tube. A quick rinse of the sponge in tank water plus checking the air path usually restores bubbles.
Step 6: Reassemble and restart
Put media back in the same order it came out. In general you want mechanical filtration first, then biological, then chemical (if you use it), but follow your filter’s flow path and manufacturer layout.
- Prime canisters fully so they restart quickly.
- Make sure water is flowing strongly before you walk away.
- Watch for leaks and unusual noises for the first few minutes.
If a canister has to stay off for more than an hour or two, do not leave it sealed and stagnant. Open it, keep media wet, and if possible keep water circulating or add aeration. The longer it sits without oxygen, the higher the risk of die-off.
How often to clean your filter
There is no perfect calendar schedule because it depends on stocking, feeding, plants, and filter size. I use these practical cues instead:
- Flow has dropped: water trickle in a HOB, weak return from a canister, reduced bubbles from an air-driven sponge.
- Filter is louder than normal: often impeller gunk.
- Visible debris matting the sponge: time to rinse.
- Water clarity is declining even though parameters are stable.
For many community tanks, that works out to a light rinse every 2 to 4 weeks, with impeller cleaning every 1 to 3 months. Heavily planted, lightly stocked tanks can go longer. Goldfish and messy cichlid tanks often need more frequent attention.
Replacing media without mistakes
Disposable cartridges are one of the most common reasons new keepers accidentally crash a cycle. The cartridge is often the main biological surface in the filter. Replacing it removes bacteria and replaces it with nothing alive.
A better long-term setup
- Keep a sponge in the filter permanently as your core bio and mechanical media.
- Use ceramic rings or other biomedia in a bag or basket for additional surface area.
- Use floss as disposable polishing media if you want crystal-clear water.
If you must replace media, stagger it
Follow the one-change-at-a-time rule:
- Replace only half of a given biomedia type at once, then wait 3 to 4 weeks before replacing the other half.
- Never replace sponge and biomedia in the same maintenance session.
- If you are upgrading to better media, run the old and new together for at least 3 to 4 weeks so bacteria can colonize the new surfaces.
Exception: Activated carbon is chemical media, not your main biological home unless your filter is cartridge-only. Carbon can be changed as needed, but you typically do not need it in a healthy planted freshwater tank unless you are removing medication, tannins, or odors.
Special cases
After medication
If you treated the tank with medication, check whether it impacts nitrifying bacteria. Many antibiotics can reduce biofiltration. Keep maintenance gentle and test ammonia and nitrite daily for several days to a week after treatment, especially if fish are acting off.
If you used carbon to remove meds, you can remove the carbon after a few days and keep your normal media in place.
During an algae bloom
It is tempting to deep clean everything. Instead:
- Rinse mechanical media a bit more often to keep flow up.
- Do not replace all media.
- Address the cause: lighting duration, nutrient imbalance, overfeeding.
If the filter smells like rotten eggs
A sulfur smell can indicate anaerobic pockets, often from severely clogged media or long periods without flow. Treat that as a warning sign that your filter has been running too dirty or too stagnant.
- Do an immediate water change and add extra aeration.
- Clean the filter outside the aquarium. Do not dump foul canister water back into the tank.
- Rinse mechanical media thoroughly in tank water, and gently rinse biomedia only as needed to restore flow.
- Improve prefiltration and flow so debris does not pack tightly.
- Test ammonia and nitrite for the next several days.
Quick safety checklist
- Use tank water when possible to rinse media.
- Clean just enough to restore flow.
- Keep biomedia wet and do not let it dry out.
- Do not replace all media at once.
- Focus on impeller and intake for performance gains.
- Never use soap or household cleaners on filter parts.
- After maintenance, test ammonia and nitrite within 24 to 48 hours if you did a heavy clean.
FAQ
Can I rinse filter media in tap water if I add dechlorinator?
You can, but I treat it as a backup plan. If the tap water is properly dechlorinated and temperature-matched, a quick rinse is often safe for mechanical media. For your main biomedia, used tank water is still the safest routine.
My filter media is falling apart. What do I do?
Replace it, but keep the cycle protected. Add the new media first, run both together for 3 to 4 weeks, then remove the old one. If you have to swap immediately, keep at least one established piece of media (like a sponge) in the filter.
Should I clean the filter and gravel vac on the same day?
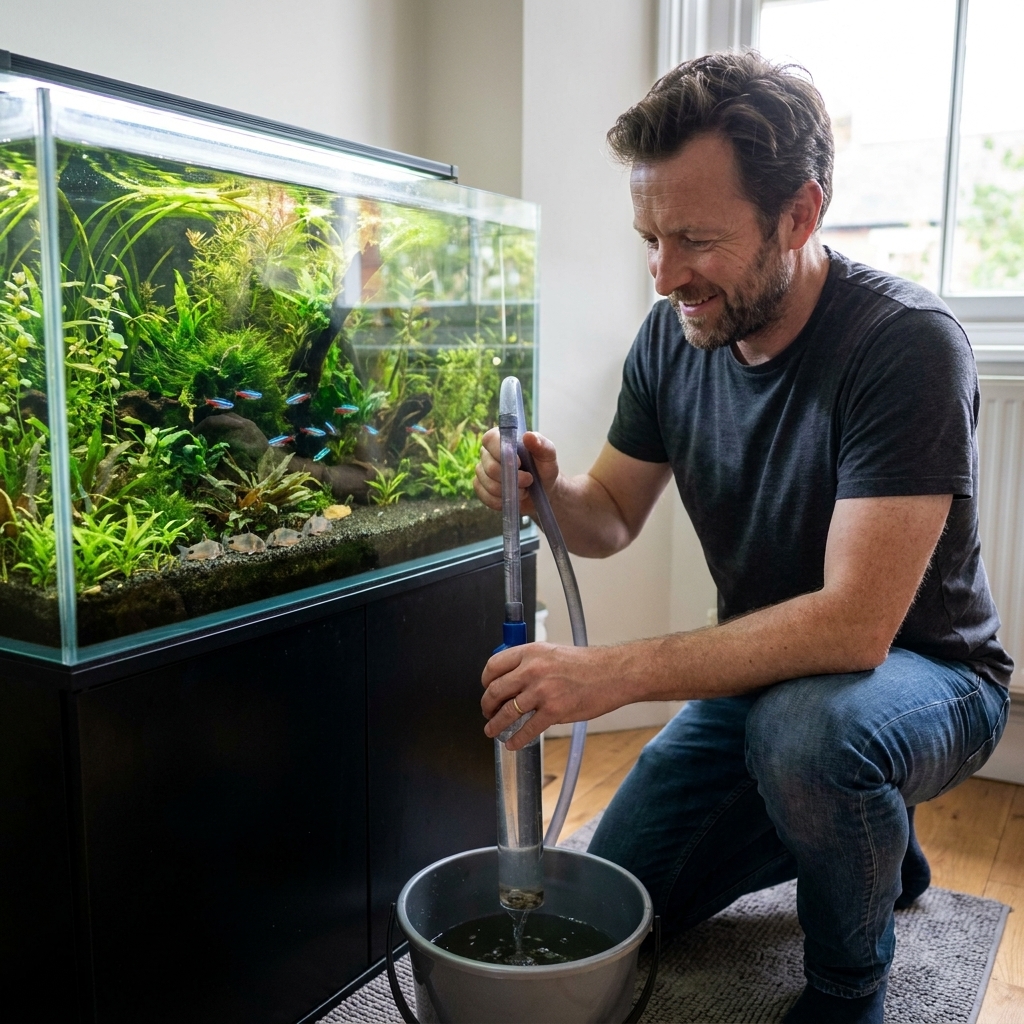
Yes, you can, and I often do. Just avoid turning it into a full sterilize-everything event. If you plan a deep substrate cleaning in a heavily stocked tank, keep filter cleaning light that week.
How do I know if I caused a mini cycle?
Test water daily for a few days. Any detectable ammonia or nitrite after being stable is your warning sign. If it happens, do partial water changes, reduce feeding, and avoid further filter disruption until readings return to zero.
My rule of thumb
If you remember only one thing, make it this: clean for flow, not for spotless. A slightly brown sponge that keeps water moving is doing its job. A sparkling clean filter that lost its bacteria can put your fish at risk.
Take it slow, keep media wet, rinse in tank water when you can, and stagger replacements. Your fish will never know you did maintenance, which is exactly the goal.