Sponge, HOB, and canister filters all work, but they shine in different tanks. Compare flow, bio filtration, noise, cost, and maintenance so you can pick the...
Freshwater aquarium guidance
Your First 20-Gallon Freshwater Aquarium: Setup Step by Step
Set up a 20-gallon freshwater aquarium the right way: tank placement, equipment, substrate, water, cycling, and your first fish. A calm, beginner-friendly walkthrough from Tank Root.

Written by
Oliver Bennett
Oliver Bennett is a lifelong aquarist with over 15 years of experience in freshwater tank setup, aquascaping, and fish health. Through TankRoot, he shares his passion for creating balanced underwater ecosystems, helping hobbyists of all levels build thriving, beautiful homes for their fish.
Published: October 17, 2026
•
Updated: October 17, 2026
I still remember the first tank I set up as a kid. It was a classic beginner scenario: a fish, a bowl, and a whole lot of wishful thinking. If you are starting with a 20-gallon now, you are already making a smarter choice. A 20-gallon is forgiving enough to stay stable, but small enough to be affordable and manageable.
This guide walks you through the whole setup in the order that prevents the most common early disasters: leaks, cloudy water, algae explosions, and stressed fish from an uncycled tank.
What you need (simple shopping list)
You can build a great 20-gallon with modest gear. The goal is stability, not gadgets.
Tank and support
- 20-gallon aquarium (standard 20-gallon long is my favorite for community fish because it has more swimming length)
- Proper aquarium stand rated for the filled weight. Twenty gallons of water alone is about 167 lbs. Add the tank, substrate, rocks, and wood and the total system can approach or exceed 200 lbs.
- Level (small bubble level is fine)
Filtration, heat, and flow
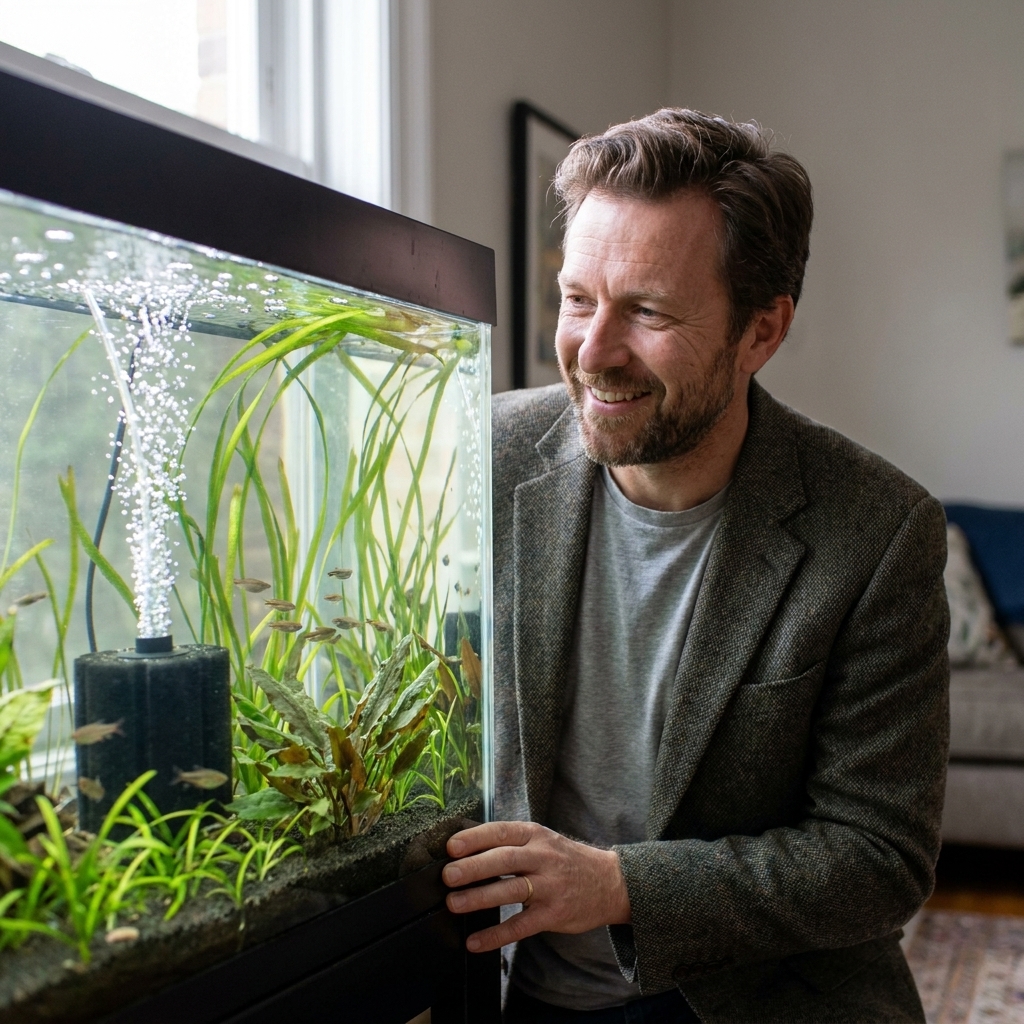
- Filter: a hang-on-back (HOB) rated for 20 to 30 gallons, or a medium sponge filter with an air pump. If you like quieter tanks, sponge filters are hard to beat.
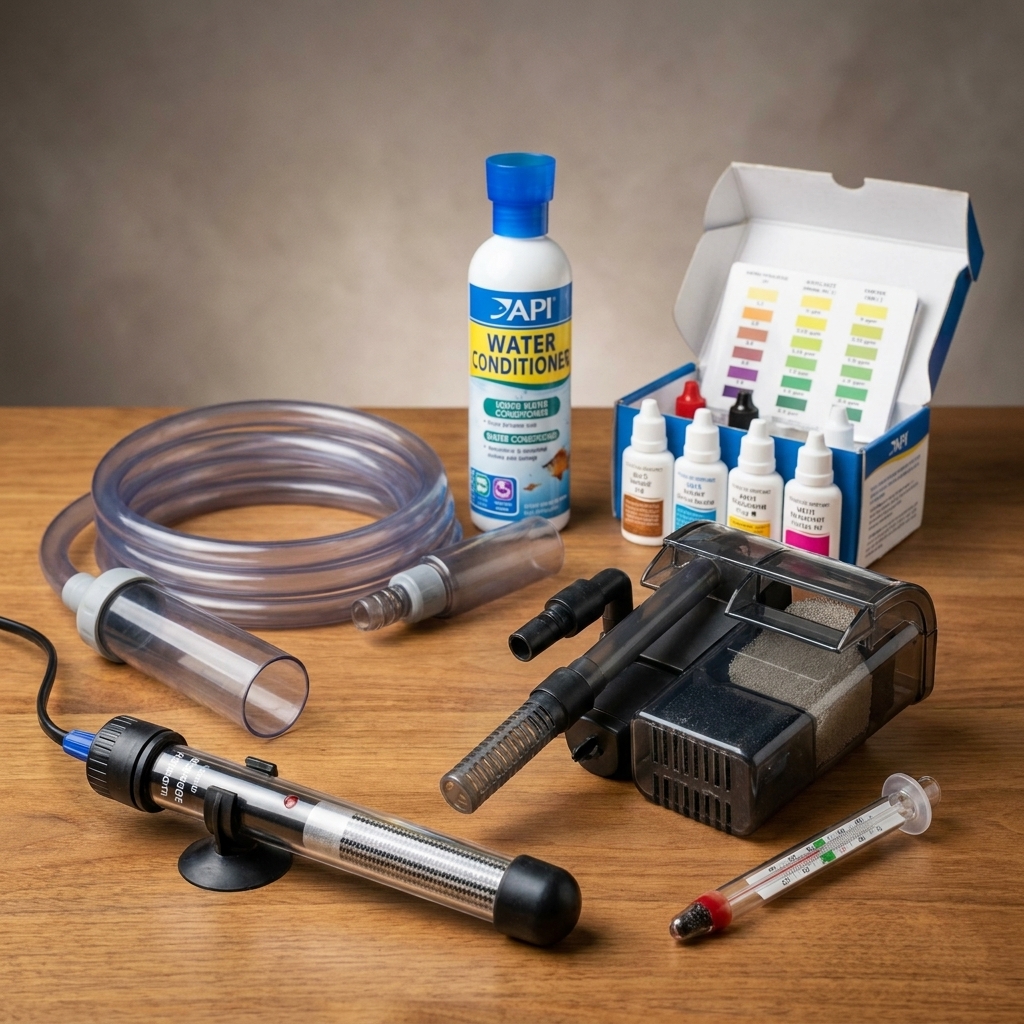
- Heater: 100W adjustable for most typical indoor tropical setups. If your room runs cool, size up (a rough rule is 3 to 5 watts per gallon).
- Thermometer: simple glass or digital
Substrate, decor, and plants
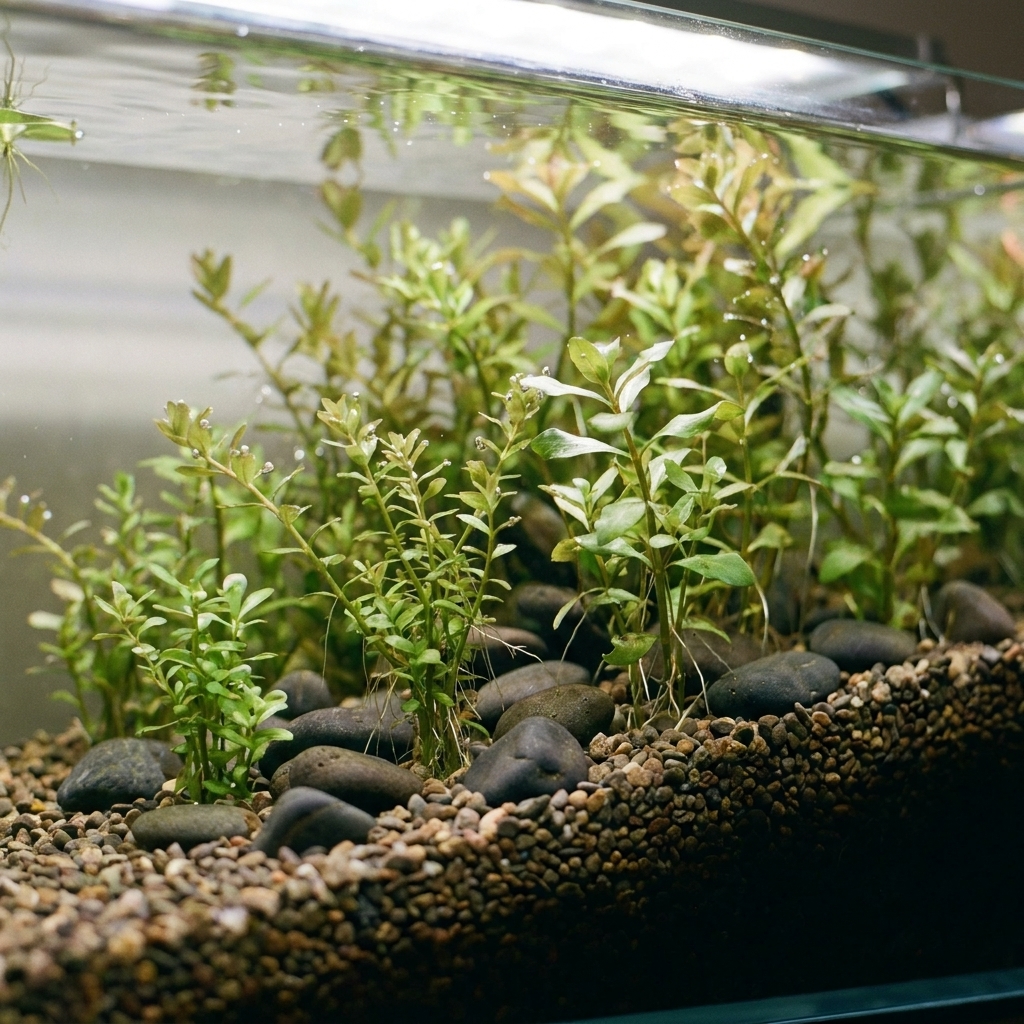
- Substrate: about 20 to 40 lbs of sand or gravel, depending on tank footprint and whether you want roughly 2 to 3 inches of depth
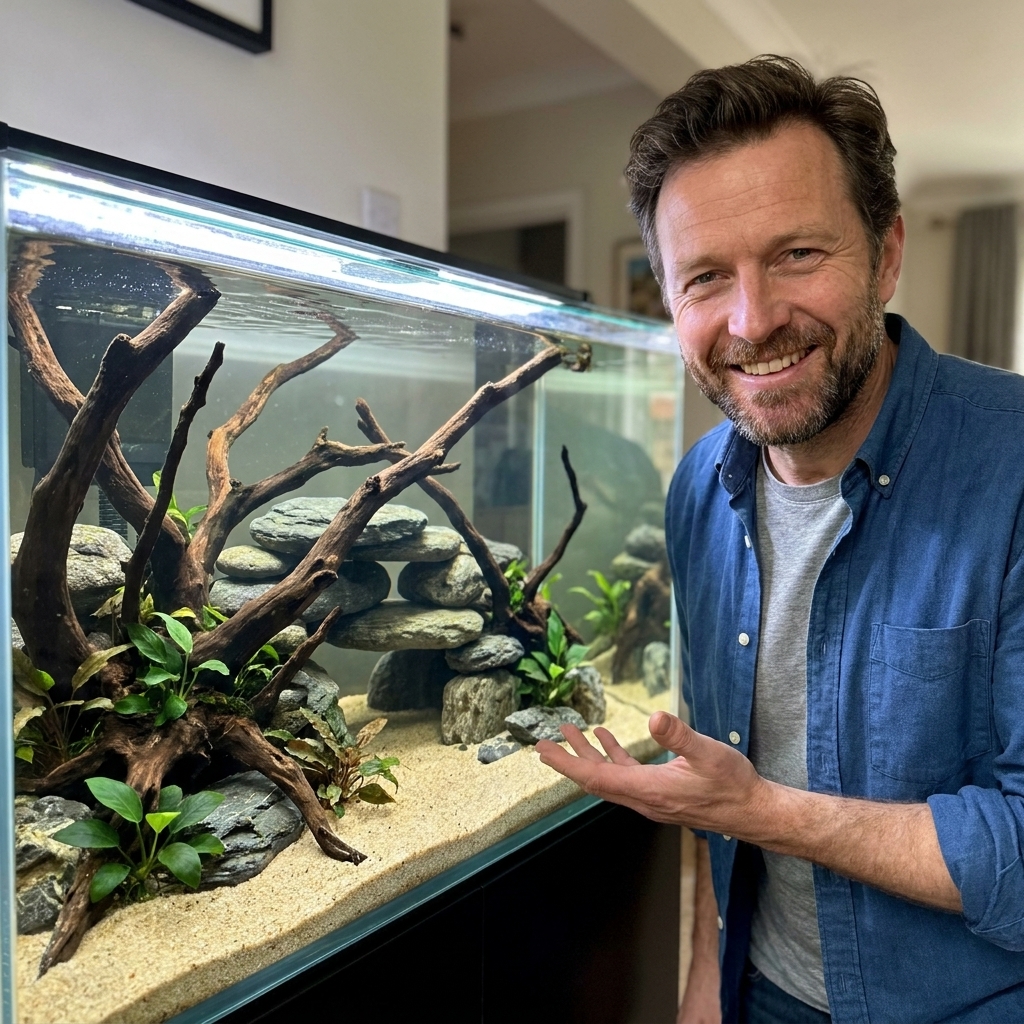
- Hardscape: rocks and wood that are aquarium safe
- Live plants (recommended): easy choices include anubias, java fern, cryptocoryne, vallisneria, water sprite, and floating plants like frogbit
Water prep and maintenance
- Water conditioner that detoxifies chlorine and chloramine
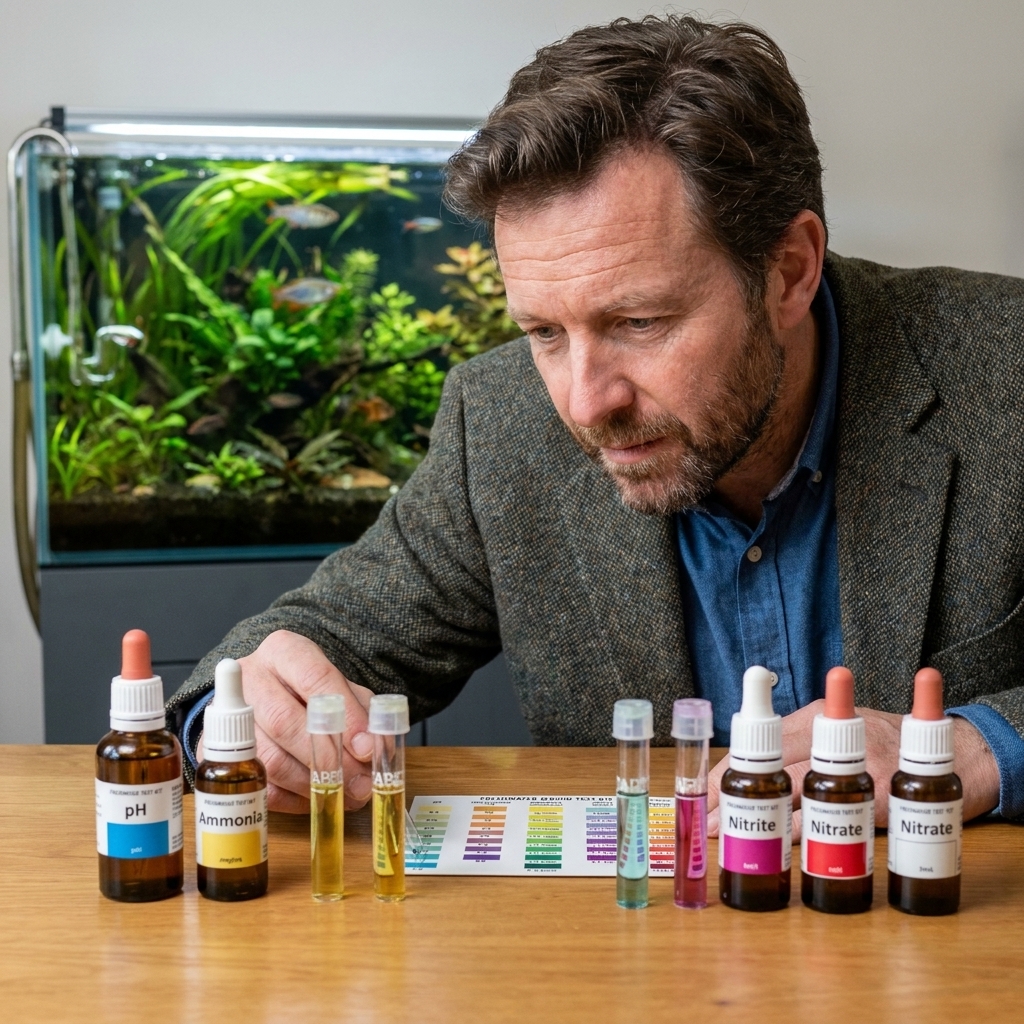
- Liquid test kit for ammonia, nitrite, nitrate, and pH
- Bucket used only for aquarium water
- Siphon/gravel vacuum
- Algae scraper
Optional but genuinely helpful
- Timer for aquarium lights (consistency prevents algae)
- Pre-filter sponge for HOB intakes (protects small fish and keeps the filter cleaner)
- Lid or aquarium hood (reduces evaporation and saves jumpy fish)
- Bacteria starter (not magic, but can help)
At a glance
- Day 1: location, rinse, scape, fill, start equipment
- Weeks 1 to 6: cycle the tank (test, add ammonia source, be patient)
- After cycle: big water change, add fish in stages, test weekly
Step 1: Pick the right spot
Where you put the tank determines how easy it is to keep stable. Stability is everything in fishkeeping.
- Keep it out of direct sunlight. A sunny window usually turns into an algae factory.
- Use a solid, level surface. A slightly tilted tank can stress seams over time.
- Plan for access: you need room above the tank for maintenance and behind it for hoses and cords.
- Choose a low-traffic area if possible. Constant vibrations can spook fish.
- Think about water changes. If carrying buckets across the house sounds miserable, you will postpone water changes. Place the tank where maintenance is easy.
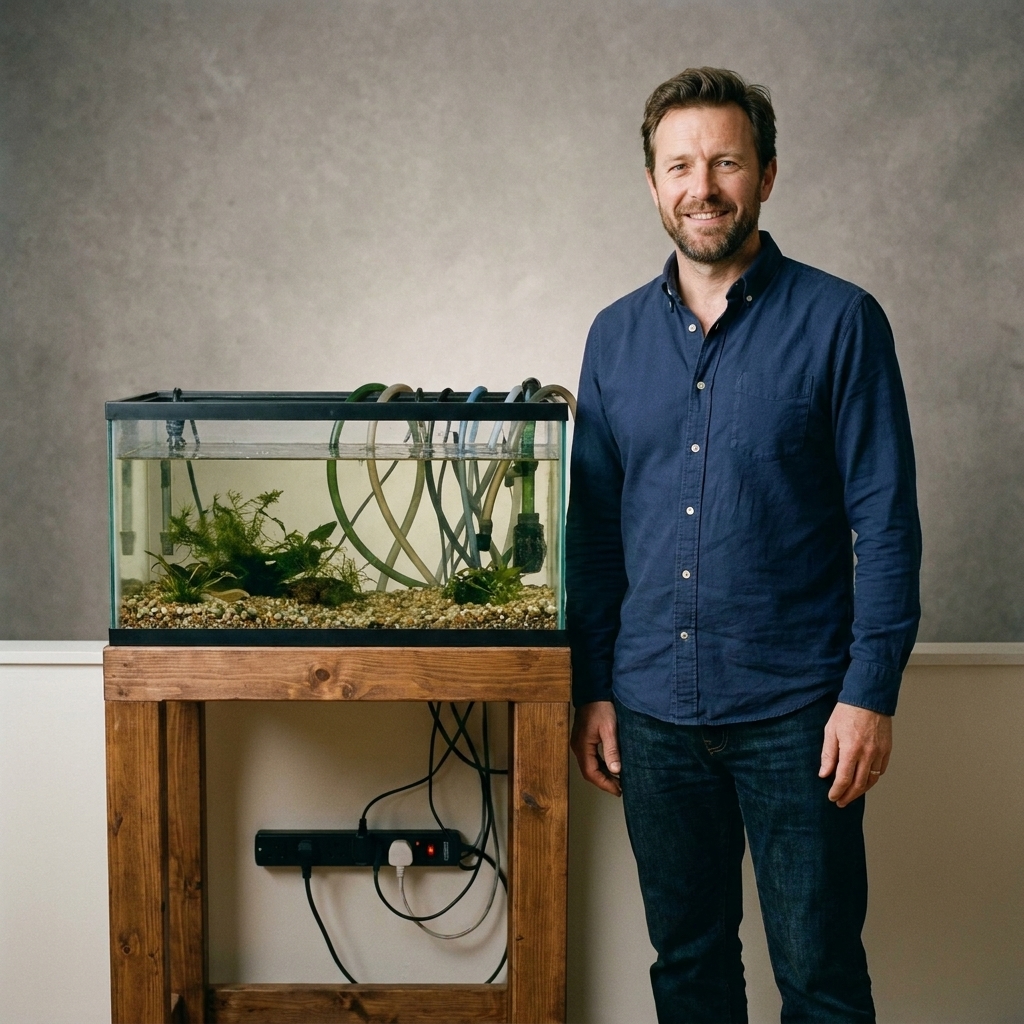
Quick safety check: plug the filter and heater into a power strip mounted higher than the floor, and make drip loops with every cord so water cannot run straight into an outlet.
Step 2: Rinse substrate and decor
Most new-tank cloudiness is just dust from substrate.
How to rinse gravel or sand
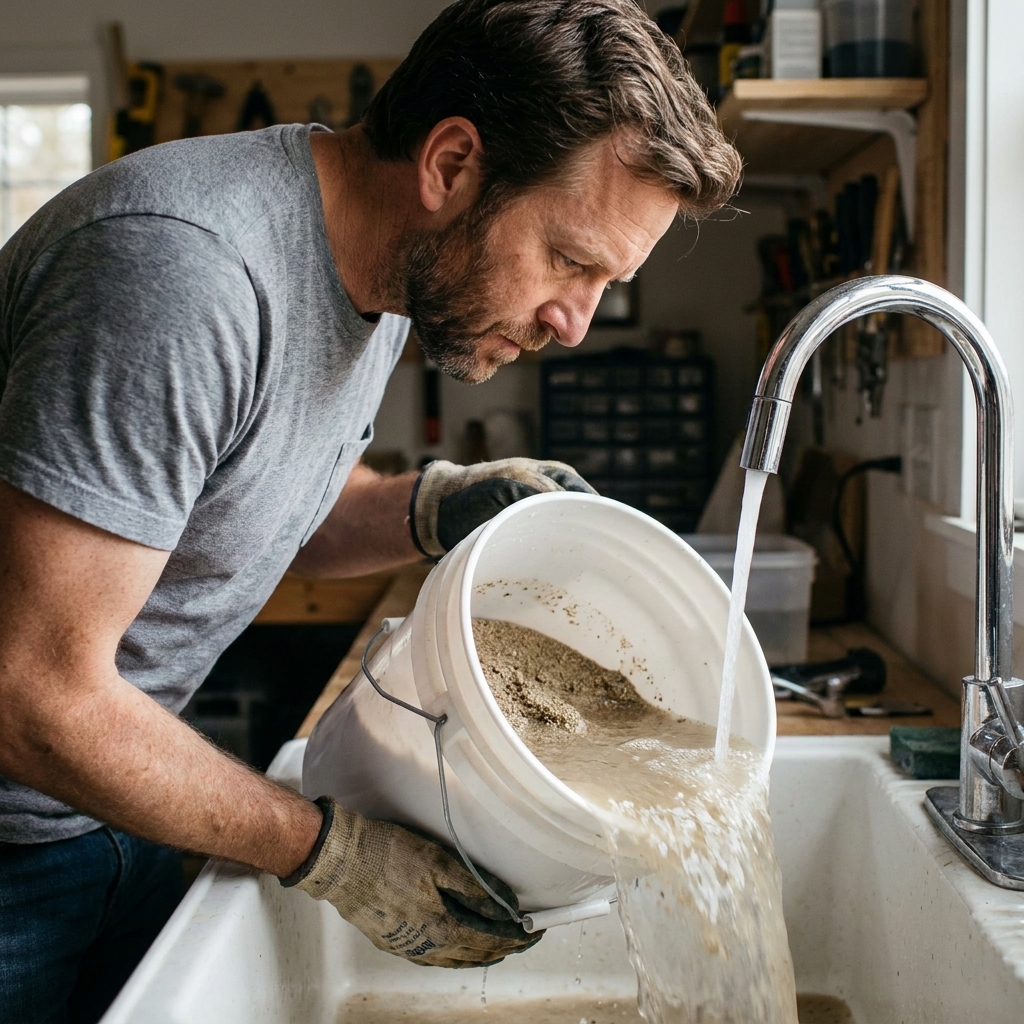
- Put 5 to 10 lbs of substrate in a bucket.
- Run water into the bucket and stir with your hand.
- Pour off the cloudy water and repeat until it runs mostly clear.
Sand never runs perfectly clear, but you can get it close.
Prep rocks and wood
- Rinse rocks and scrub if needed, no soaps or detergents.
- Soak driftwood if you want to reduce tannins. Tannins are not harmful, but they tint the water tea-colored.
- Avoid mystery materials: if you cannot identify a rock or wood type, do not use it. Some rocks can raise hardness or pH dramatically.
Step 3: Add substrate and scape
Start with substrate, then hardscape, then plants.
- Add substrate and slope it slightly from back to front. This creates depth and makes detritus easier to siphon.
- Place heavy rocks on the glass if you are using them. Put them directly on the bottom before deep substrate, so fish cannot undermine them later.
- Leave open swimming space. Beginners often cram in decor. Fish appreciate structure and hiding spots, but they also need lanes to swim.
If you are planting heavily, aim for more hardscape and plants toward the back and sides, and a calmer, open foreground.

Step 4: Install equipment
Filter
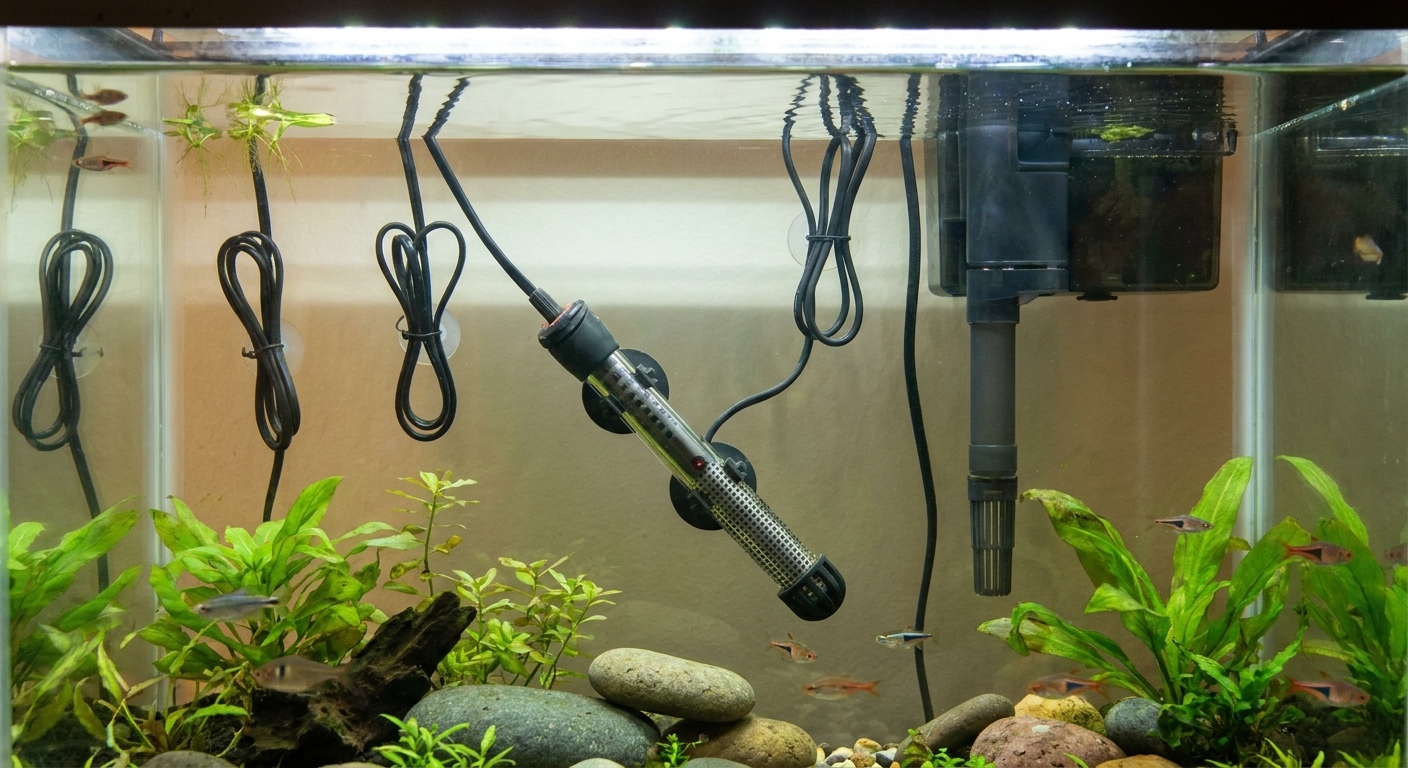
Install your filter but do not plug it in yet. If you are using an HOB, consider adding a pre-filter sponge on the intake to protect small fish and shrimp.
Cartridge warning: if your filter came with disposable cartridges, do not replace them on a monthly schedule. That is where a lot of your beneficial bacteria lives. Instead, gently rinse the media in old tank water and only replace media when it is literally falling apart. If you want an upgrade, swap cartridges for a sponge and ceramic media you can keep long-term.
Heater
Place the heater near an area of flow, usually close to the filter output, so warmed water circulates. Keep it fully submerged if the model requires it.
Important: never plug in a heater that is not underwater. A dry-fired heater can crack or fail.
Thermometer
Put the thermometer on the opposite side of the tank from the heater. This helps you confirm even heating.
Lid
If you have a lid or hood, use it. Many fish jump, especially when they are new, spooked, or being chased. A lid also reduces evaporation, which helps keep temperature and mineral levels steadier.
Step 5: Fill without a mess
Filling is where many first-timers blow up their scape or cloud the tank.
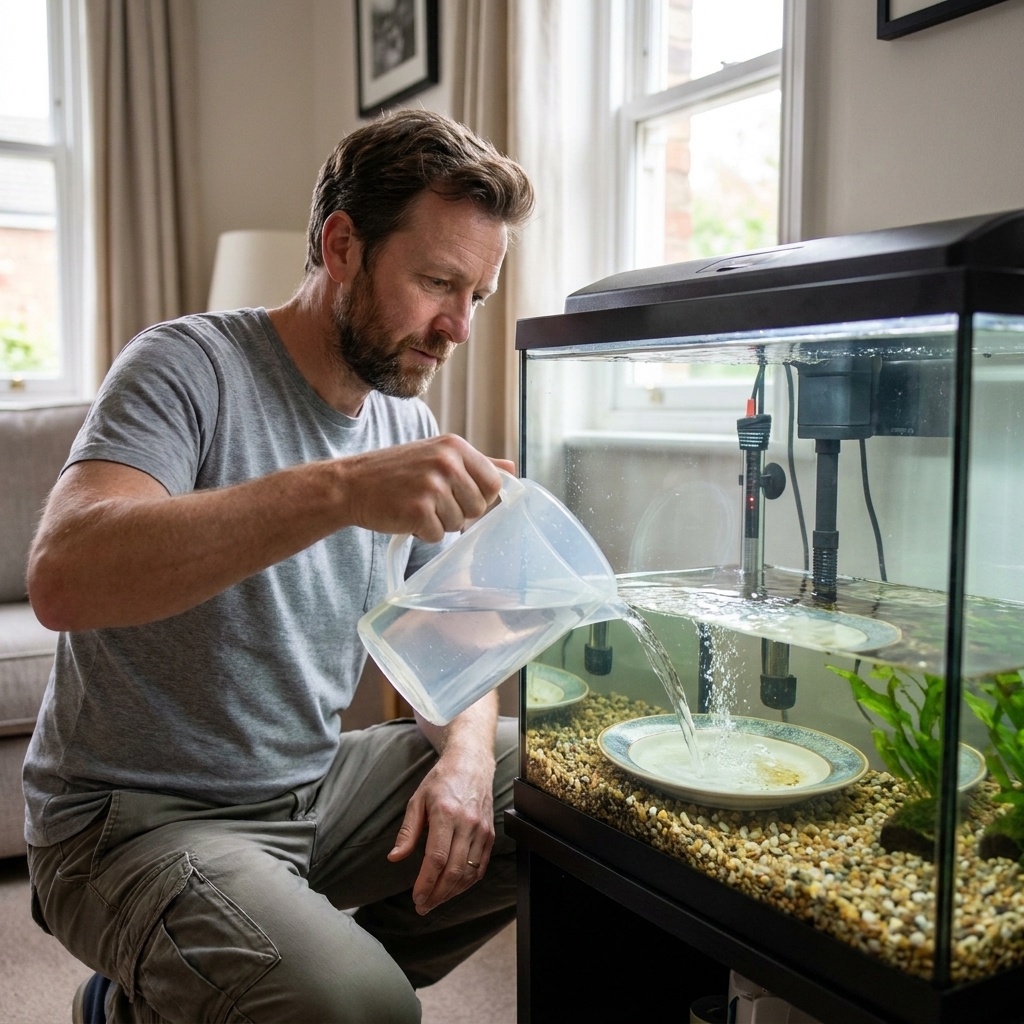
- Place a plate, bowl, or plastic bag on the substrate.
- Pour water slowly onto that surface so it diffuses the flow.
- Add water conditioner for the full tank volume as you fill (follow the label).
If your tap water is treated with chloramine, conditioner matters even more. Chloramine can harm fish, and untreated disinfectant can inhibit or kill beneficial bacteria during water changes.
Step 6: Start the tank
Once the water level is correct:
- Plug in the filter and confirm steady flow.
- Wait 15 to 30 minutes, then plug in the heater (this reduces thermal shock to the heater glass).
- Set temperature based on your planned fish. For many tropical community setups, 74 to 78°F is a solid range, and I like picking a target that fits the fish you actually plan to keep.
Let the tank run for a few hours and check for leaks, stable temperature, and normal filter operation.
Step 7: Plant the tank
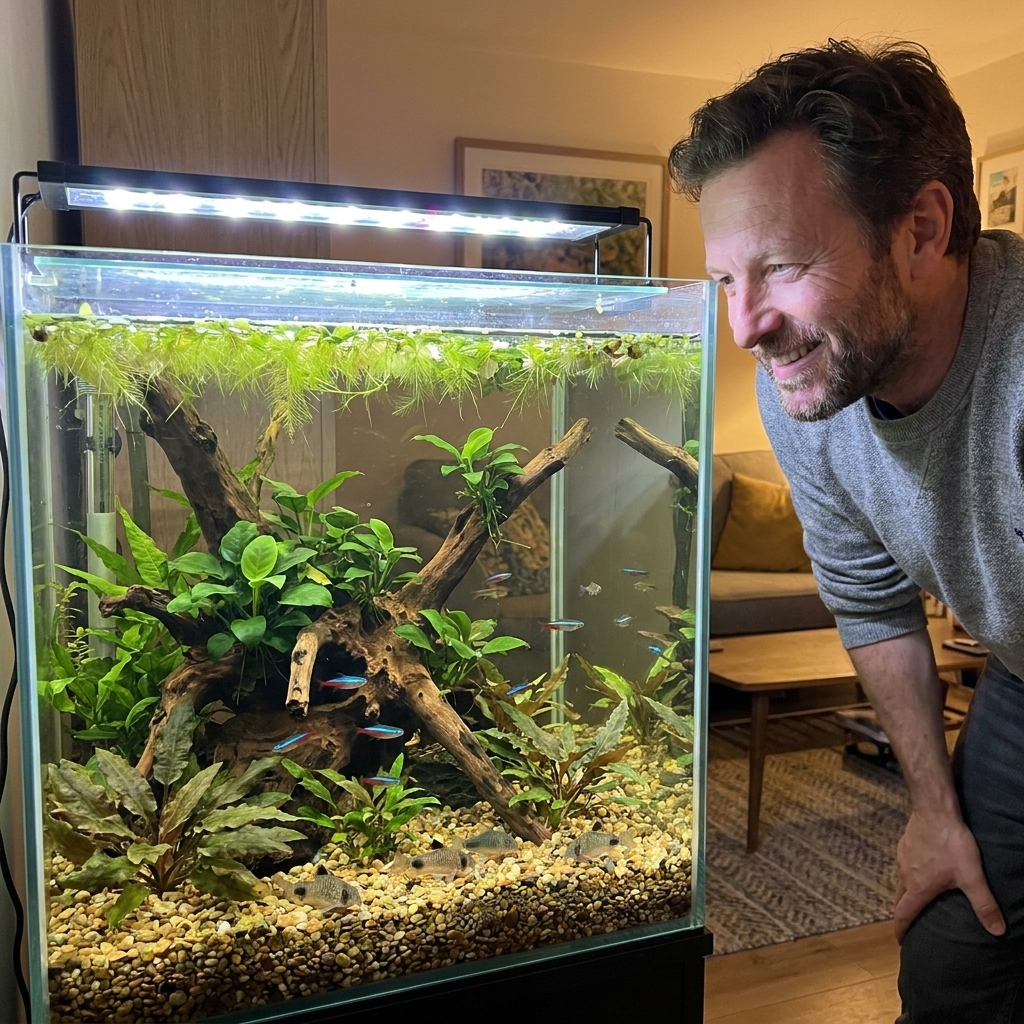
Live plants make beginner tanks more forgiving. They use nitrate, compete with algae, and provide cover that reduces stress.
Beginner planting tips
- Anubias and java fern: do not bury the rhizome. Tie or glue to wood or rock.
- Crypts and vallisneria: plant roots in the substrate, keep the crown above the gravel line.
- Floating plants: drop them in and let them do their thing. They are excellent at nutrient uptake.
If you want the simplest path to success, use a basic LED light on a timer for 6 to 8 hours per day at first. Longer lighting periods often trigger algae in brand-new setups.
Step 8: Cycle the aquarium
Before fish go in, your filter needs to grow beneficial bacteria that convert toxic waste into less harmful forms. This is the nitrogen cycle:
- Ammonia (toxic) from fish waste and decaying food
- Converted to nitrite (also toxic)
- Converted to nitrate (manageable with water changes and plants)
Best method for beginners: fishless cycling
You have two common options:
- Pure liquid ammonia (no scents, no surfactants)
- Fish food method (slower and messier, but works)
Fishless cycle steps
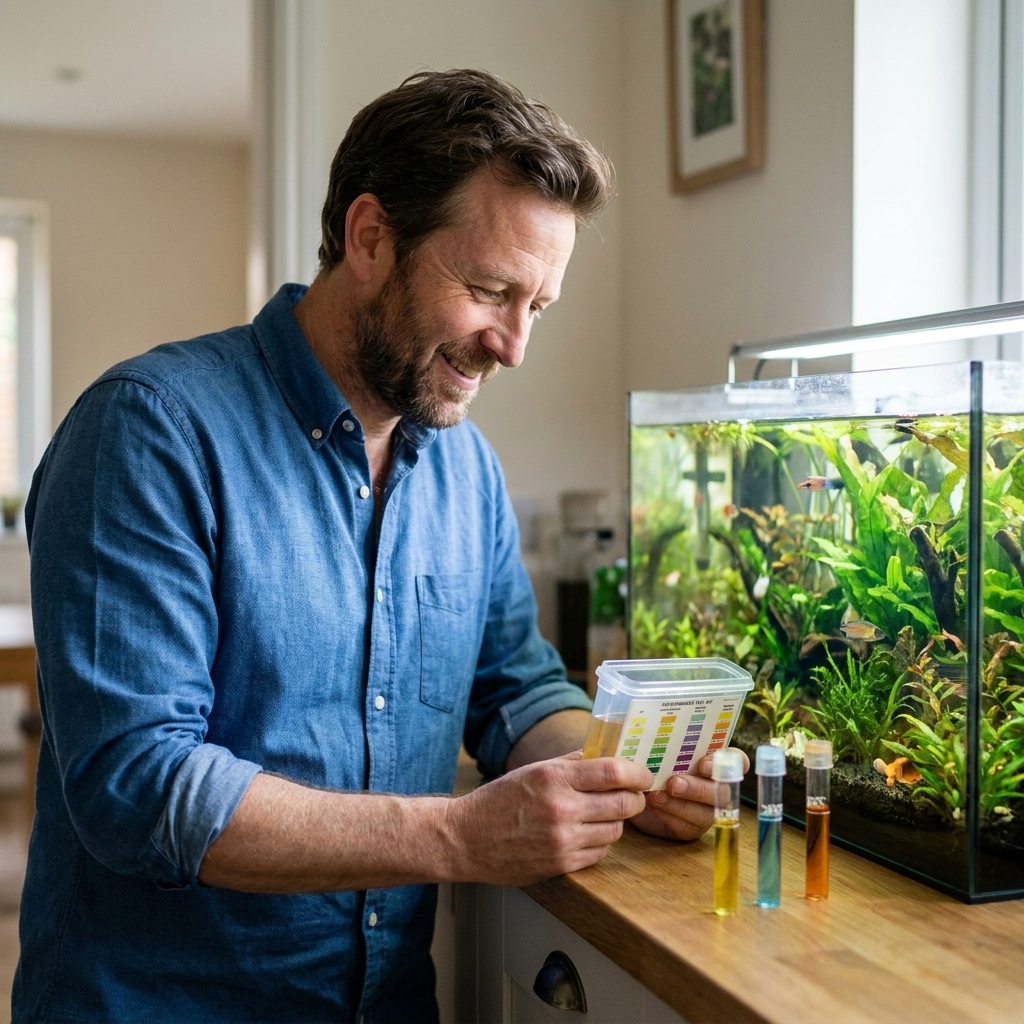
- Test your tap water for pH, ammonia, nitrite, and nitrate so you know your baseline.
- Add ammonia to reach about 1 to 2 ppm. One ppm is plenty for lightly stocked communities. Two ppm is a commonly used benchmark.
- Test daily or every other day for ammonia and nitrite.
- After 1 to 2 weeks, you should see a nitrite spike. Keep adding small amounts of ammonia as needed so bacteria have food.
- Later, nitrite will fall and nitrate will rise.
- Your tank is considered cycled when it can process a 1 to 2 ppm ammonia dose down to 0 ammonia and 0 nitrite within 24 hours, and you consistently see nitrate.
- Do a large 50 to 70% water change to lower nitrate before adding fish.
Typical timeline: 3 to 6 weeks. Sometimes faster with seeded media from an established tank, sometimes slower if water is cold or pH is very low.
My personal rule: if ammonia or nitrite is above zero, fish do not go in. Cycling is boring, but it prevents the heartbreak of unexplained deaths and constant mystery disease.
Step 9: First fish day
Once cycled, you still want to add fish in stages. Adding too many at once can overwhelm your new biofilter.
How many fish to start with
For a community tank, I like starting with one small group of your hardier schooling fish first, then adding the rest over the next few weeks. Slow is smooth here.
Beginner stocking ideas
- Peaceful community: start with 8 ember tetras (great at warmer temps), then later add 6 corydoras (pygmy corys are an easy fit for many 20-gallon tanks), then finish with a centerpiece like a honey gourami
- Livebearer tank: a small group of male guppies or endlers (males only to avoid surprise fry), plus a cleanup crew like nerite snails
- Single-species spotlight: a well-planted 20-gallon can be beautiful with one main school like 10 to 12 harlequin rasboras
Avoid early on: common plecos (they outgrow the tank), goldfish (not a tropical setup and produce heavy waste), and fish that are tiny but actually need specialty care.
Acclimation basics
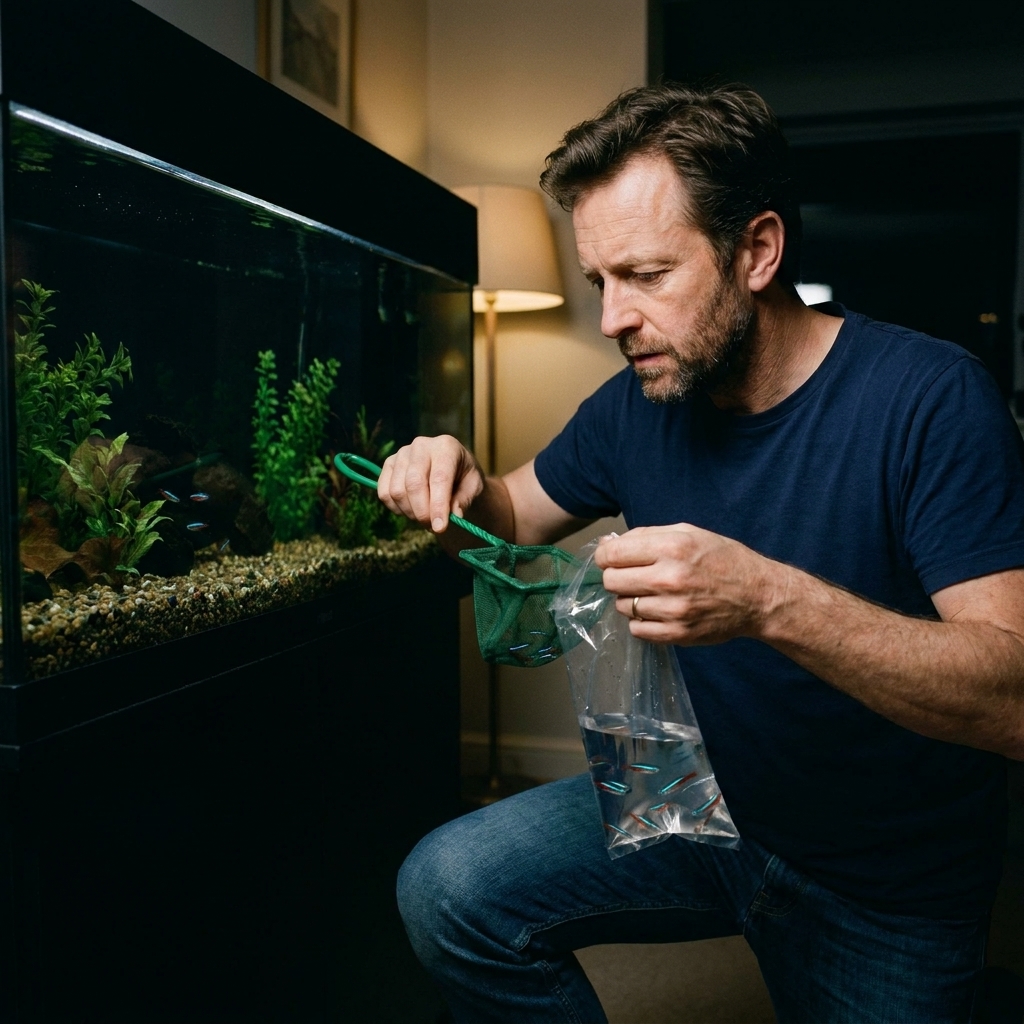
- Float the bag for 15 to 20 minutes to match temperature.
- If you are keeping standard community fish, keep acclimation reasonably short. Prolonged bag acclimation can backfire if the bag water has ammonia.
- Option A (simple): add a small splash of tank water to the bag a couple of times over 10 to 15 minutes.
- Option B (gentler): drip acclimate for shrimp and more sensitive fish.
- Net fish into the tank. Do not pour store water into your aquarium if you can avoid it.
- Leave lights off for the rest of the day.
One more smart step: quarantine
If you can swing it, quarantine new fish for 2 to 4 weeks in a simple 5 to 10 gallon tank or tote with a sponge filter and heater. It is not about being paranoid. It is about not turning one sick fish into a whole-tank problem. If you cannot quarantine, at least avoid buying fish from multiple sources at once and watch new arrivals closely before you add more.
Step 10: First month routine
Most beginner tanks fail from inconsistency, not from lack of effort. Here is a simple routine that works.
Daily
- Feed lightly. If food hits the bottom untouched, you are feeding too much.
- Quick glance at fish behavior: breathing, clamped fins, hiding, spots, or flashing
- Check temperature
Weekly
- Test water: ammonia, nitrite, nitrate
- Water change: typically 25 to 40% (adjust based on nitrate)
- Lightly siphon the surface of the substrate, especially in open areas
- Wipe the glass if needed
Monthly
- Rinse filter sponge or media in old tank water from a water change, never under the tap
- Trim plants and remove dead leaves
Nitrate target: many community tanks do well when you keep nitrate under about 20 to 40 ppm. Lower is better, but stability matters more than chasing perfect numbers.
Water chemistry basics
You do not need to micromanage water chemistry, but you do want your fish choices to match your tap water.
- Livebearers (guppies, platies, mollies) usually do best in harder water with some mineral content (higher GH and KH).
- Tetras and many corydoras often prefer softer water, but most captive-bred fish adapt well if you keep things stable.
- Stability beats perfection. Chasing pH with chemicals is a fast way to create swings.
If you are curious about your baseline, test GH and KH once. It makes stocking decisions much easier.
Troubleshooting
Cloudy water in a new tank
If it is milky white, it is often a bacterial bloom. If the tank is cycling, this can be normal. Keep testing, avoid overfeeding, and let the filter run.
Brown algae (diatoms)
Very common in new tanks. Usually fades as the tank matures. Keep lighting moderate and stay consistent with water changes.
Green algae surge
Most often caused by too much light, too many nutrients, or both. Reduce lighting hours, feed less, and consider adding more live plants.
Fish gasping at the surface
Check ammonia and nitrite immediately. Make sure the filter is agitating the surface for oxygen exchange. If ammonia or nitrite is present, do a large water change and pause feeding.
Quick FAQ
Do I really need a heater for a 20-gallon?
If you are keeping tropical fish, yes. Room temperature swings more than most people realize, especially at night. An adjustable heater keeps fish metabolism and immunity steadier.
How long should I wait before adding fish?
Until the tank is cycled. In practice, that is usually 3 to 6 weeks. The calendar matters less than the test results: 0 ammonia, 0 nitrite, and measurable nitrate.
Is a 20-gallon easier than a 10-gallon?
In many ways, yes. More water volume means slower parameter swings, which gives beginners a buffer when something goes wrong.
Can I use tap water?
In most areas, yes, as long as you use a quality water conditioner and test your parameters. If your tap water is extremely hard, extremely soft, or has unusual readings, you can still keep fish, but you will want to choose species that match your water rather than fighting it.
Before you buy fish
If you take nothing else from this guide, take this: test your water, then test it again. A cycled 20-gallon with stable temperature, consistent lighting, and modest feeding is one of the most relaxing hobbies you can build at home. The early patience pays you back every day you sit down and watch a healthy tank do what it is supposed to do.