A clear, science-backed guide to aquarium water changes for freshwater tanks: how often, how much, and exactly how to do them without stressing fish or crash...
Freshwater aquarium guidance
How to Vacuum Aquarium Gravel and Sand
Learn how to siphon-clean gravel and sand the right way, remove hidden waste, protect beneficial bacteria, and keep fish calm during water changes.

Written by
Oliver Bennett
Oliver Bennett is a lifelong aquarist with over 15 years of experience in freshwater tank setup, aquascaping, and fish health. Through TankRoot, he shares his passion for creating balanced underwater ecosystems, helping hobbyists of all levels build thriving, beautiful homes for their fish.
Published: October 17, 2026
•
Updated: October 17, 2026
My first “real” aquarium vacuuming session ended with a clogged siphon, half a cup of sand in a bucket, and a very confused goldfish staring me down like I had personally ruined his day. If you have ever felt that same panic, you are not alone.
Vacuuming is less about scrubbing your tank spotless and more about selectively removing trapped waste while leaving your biological filter and your fish’s sense of safety intact. Gravel and sand need slightly different approaches, and once you learn the motion, it becomes one of the easiest, most satisfying parts of fishkeeping.
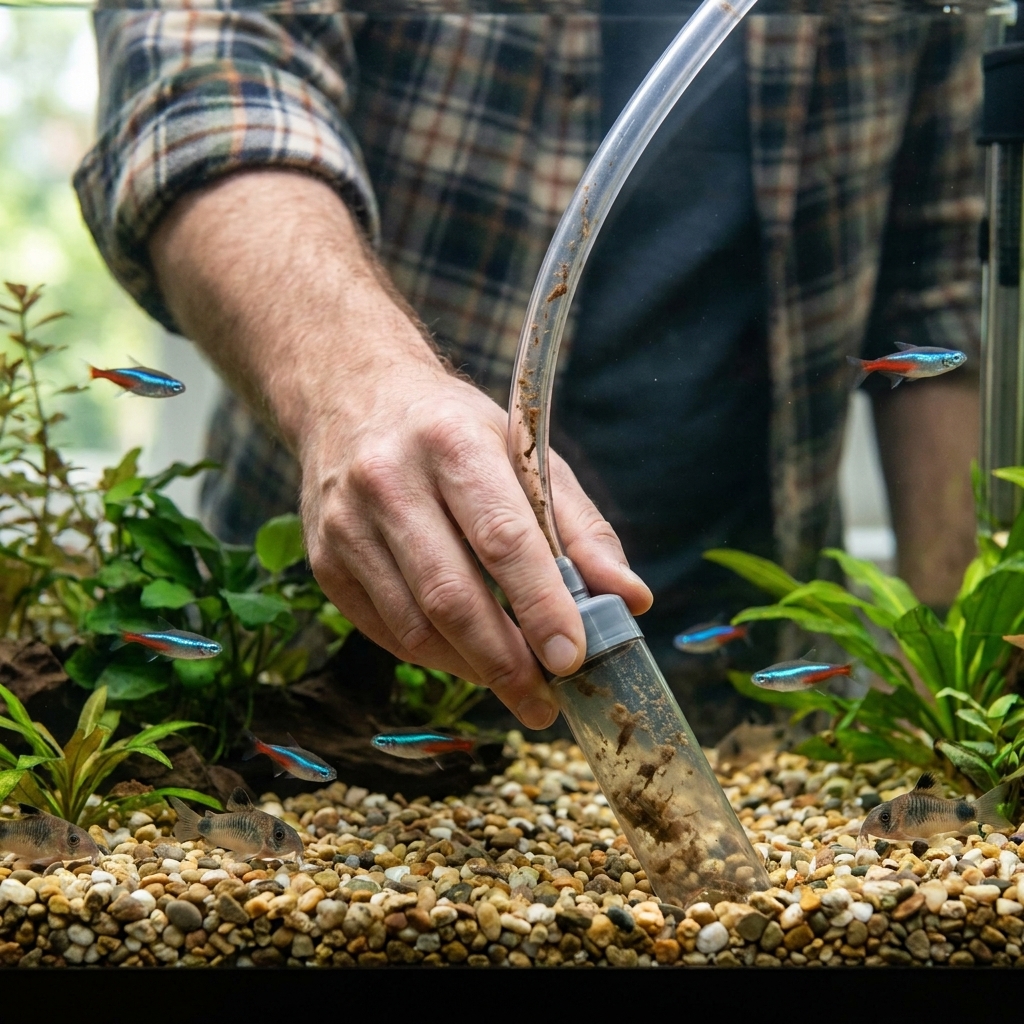
What vacuuming does (and does not do)
Vacuuming targets the stuff that settles into your substrate:
- Fish waste and uneaten food
- Mulm (fine detritus made of broken-down organics)
- Plant debris and dying leaves
It should not be an attempt to sterilize your aquarium. Most nitrifying bacteria prefer high-oxygen surfaces, which is why your filter media does the heavy lifting. You will also find helpful microbes on hardscape, plant leaves, and the top layer of substrate, but routine, gentle vacuuming is not the same thing as wiping your tank back to “zero.”
The goal is simple: remove excess organics before they break down and raise ammonia or ammonium, and before they add to the overall nutrient load that can fuel algae.
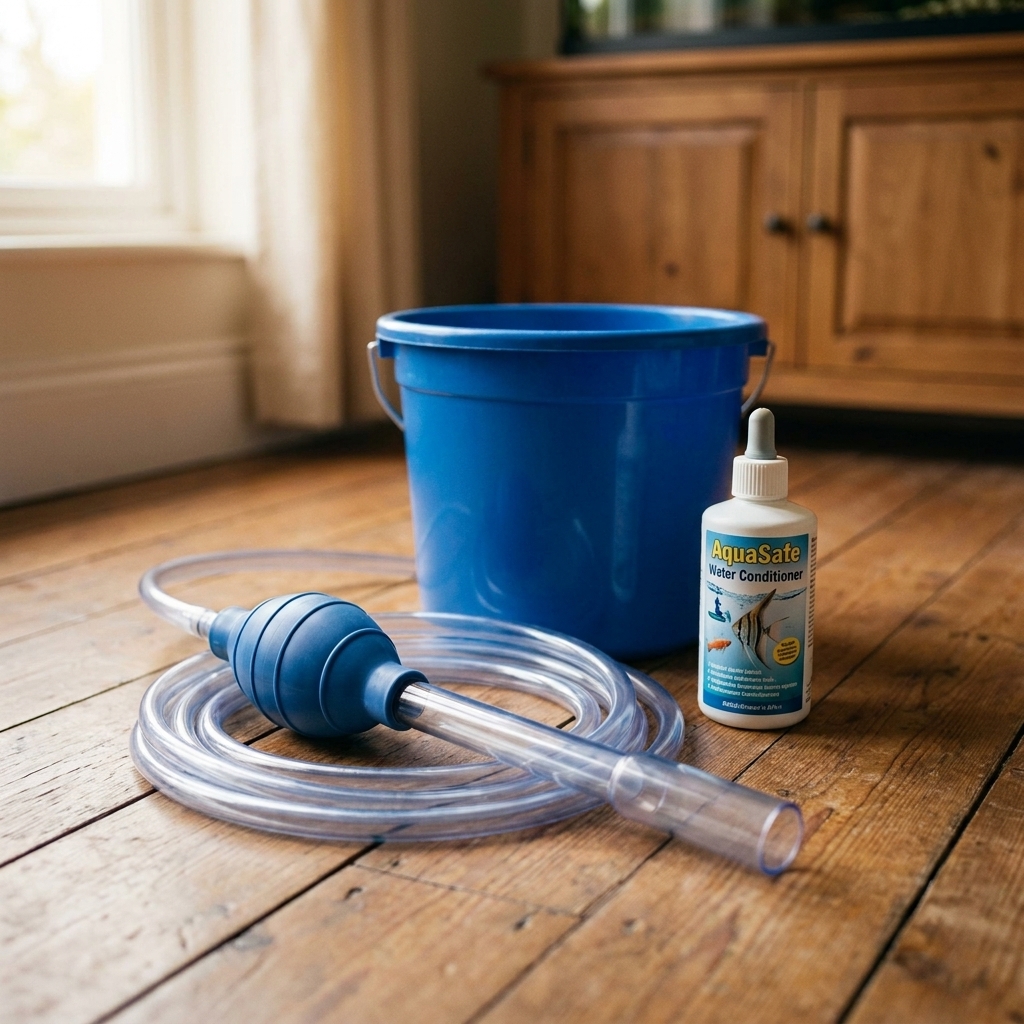
Tools that help
Must-haves
- Gravel vacuum (siphon with a wide tube) sized to your tank. Bigger tube moves water faster, which is great for large tanks but can be too aggressive for nano tanks.
- Bucket dedicated to aquarium use only (no soap residue).
- Water conditioner for your refill water.
Nice-to-haves
- Hose clamp or inline valve to control flow rate
- Fine net to catch accidentally siphoned sand
- Turkey baster or small siphon for spot-cleaning around plants and decor
- Sponge pre-filter or mesh for the intake if you keep shrimp or fry
Before you start
- Unplug heater and filter before draining water. A heater exposed to air can crack. A running filter can run dry.
- Plan your water change volume first. Most community tanks do well with 20% to 40% weekly, but stocking, feeding, and plant mass matter.
- Decide what “clean” means today: full pass of the substrate, or just the dirtiest zones (around feeding areas and under wood)? In many tanks, spot-cleaning is smarter than going after every inch.
- If you have sand, turn off strong circulation for a few minutes so loose particles settle and you can see what you are doing.
- Drain safely: use a bucket you can carry without sloshing, keep it away from kids and pets, and never leave a full bucket unattended.
How to start a siphon
Method 1: Submerge-and-lift
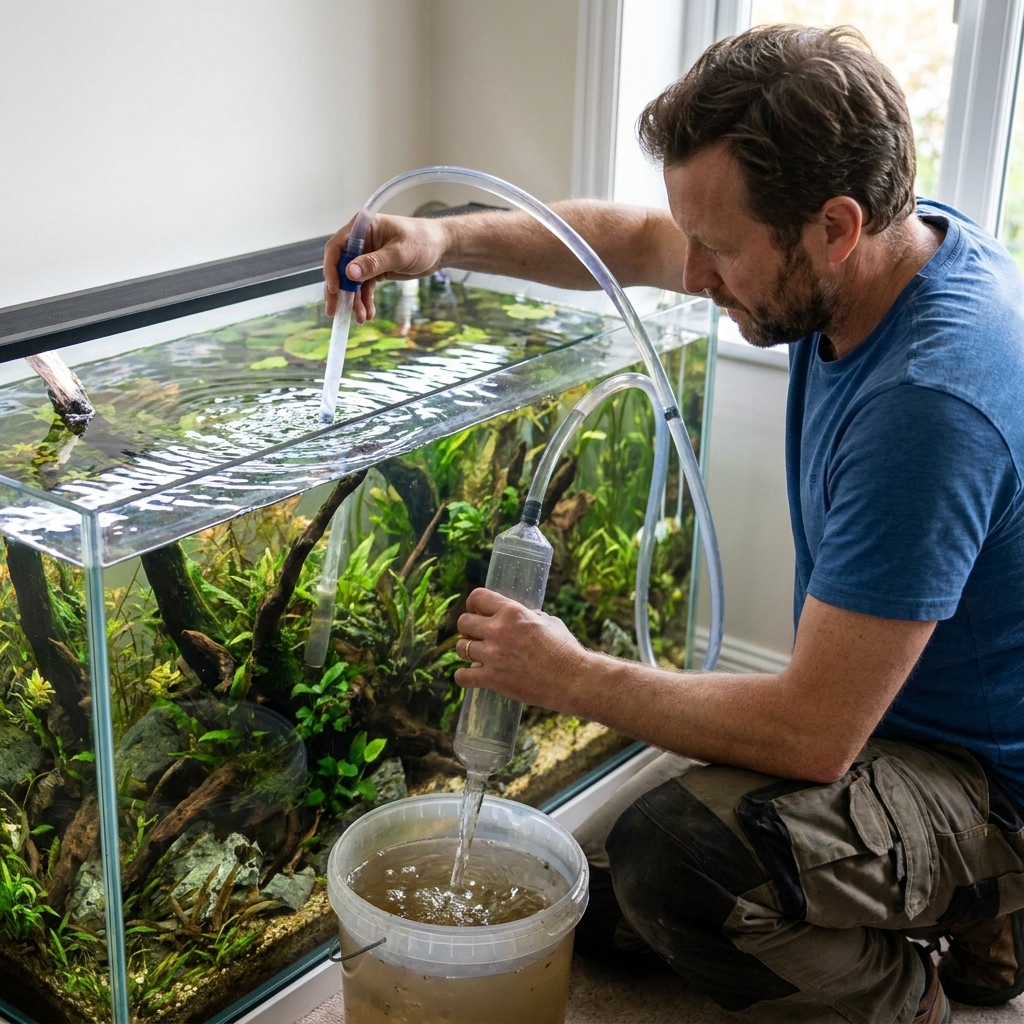
- Put the gravel vacuum tube and hose completely underwater until all air bubbles stop.
- Place your thumb over the hose end.
- Move the hose end down into your bucket, then release your thumb.
Method 2: Primer bulb
If your siphon has a squeeze bulb, a few pumps will start flow without any drama.
Avoid mouth-starting
It works, but sooner or later you will get a mouthful of aquarium water. Ask me how I know.
Vacuuming gravel
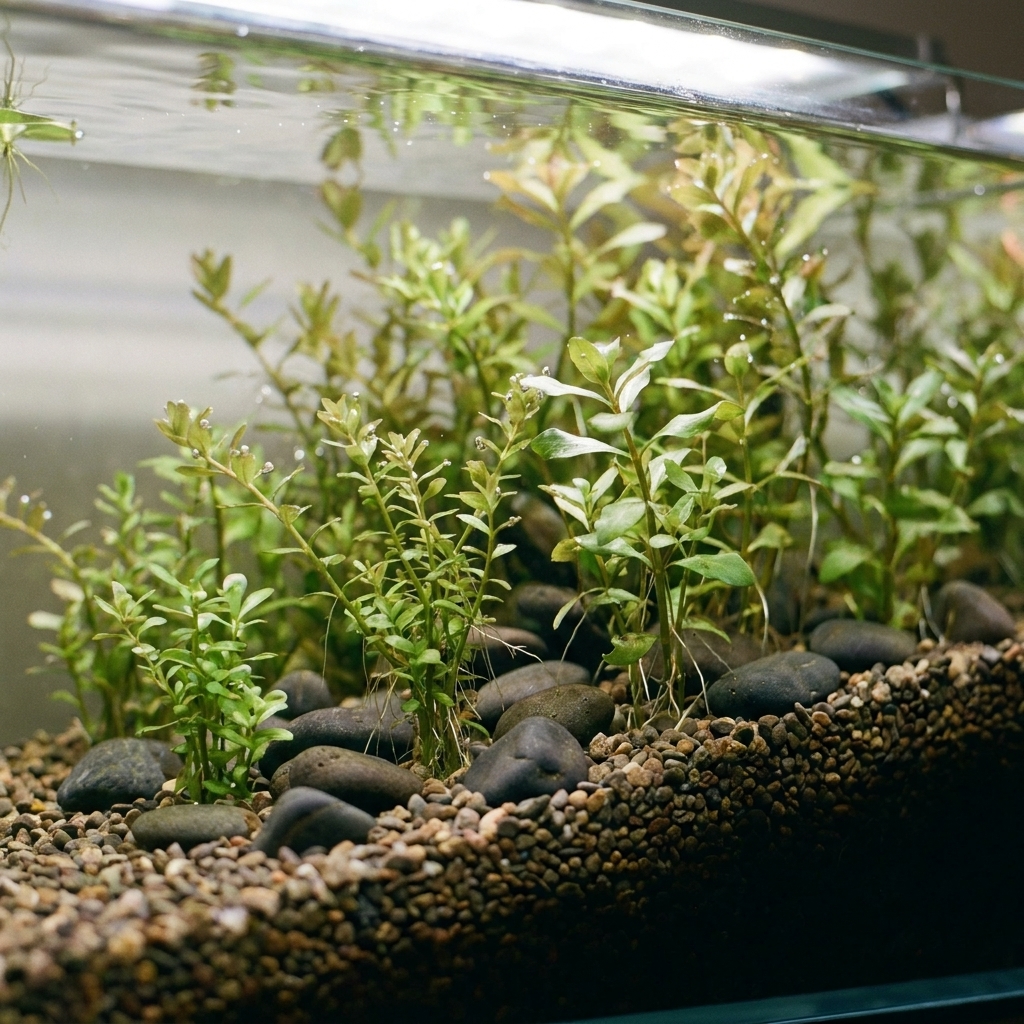
Gravel is forgiving because the gaps between stones let waste fall down where it can be lifted out.
Step-by-step
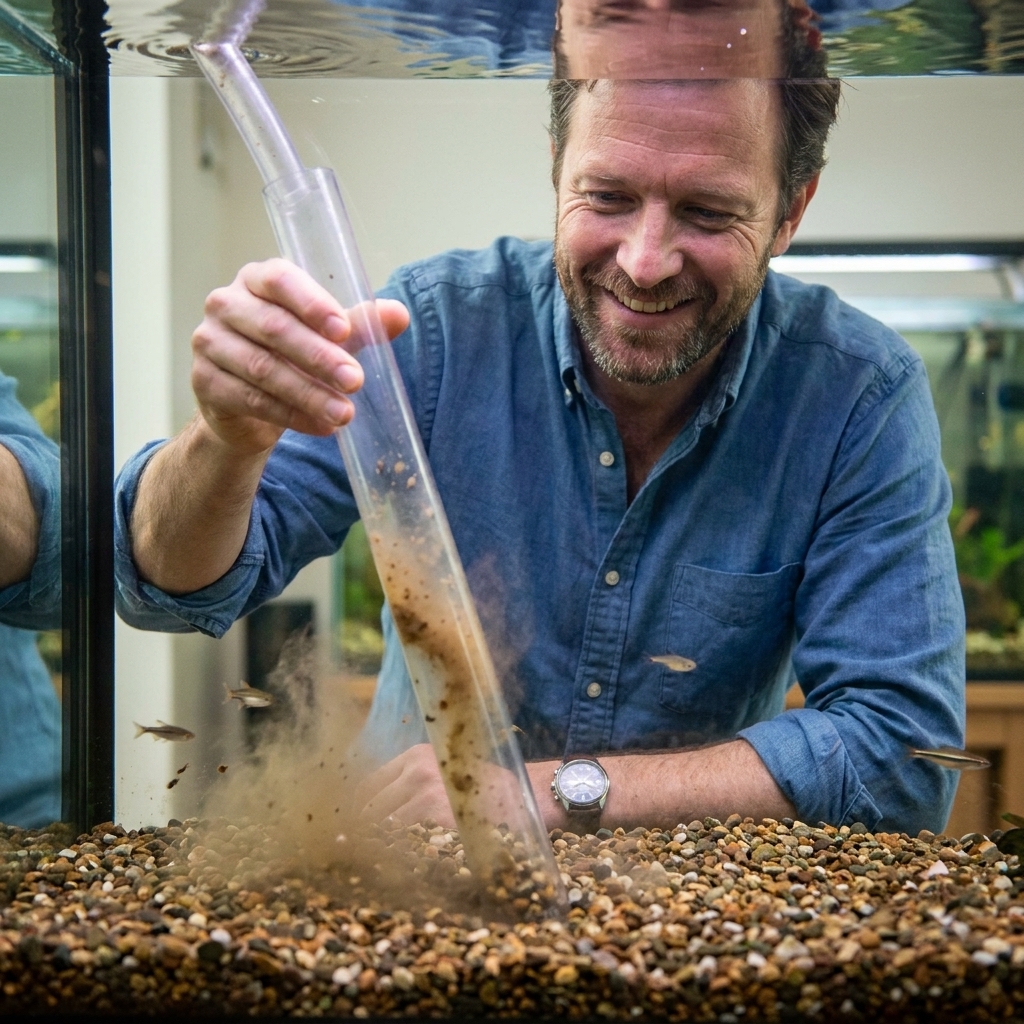
- Plunge the wide tube straight down into the gravel until it lightly contacts the bottom glass.
- Let the gravel tumble inside the tube. You will see mulm and waste lift up while the heavier gravel drops back down.
- Lift slowly as soon as the water above the gravel looks clearer, then move to the next spot.
- Work in a grid: front-left to back-left, then the next “column.” This prevents you from repeatedly cleaning the same area while missing others.
How deep to go
- Standard gravel beds (1 to 2 inches): plunge to the bottom in each spot.
- Deep gravel beds (3 inches or more): do a lighter pass and avoid tearing up the entire depth at once. Deep beds can hold pockets of trapped debris. Disturbing everything in one session can dump a lot of gunk into the water column.
If your gravel bed is very deep and you notice a rotten-egg odor when disturbed, slow down. That smell can indicate anaerobic pockets (the classic hydrogen sulfide odor). Clean smaller sections per week and improve overall flow and maintenance so detritus does not build up as easily.
If you run an undergravel filter, vacuuming should be gentler and more consistent. You still want to remove visible waste, but avoid aggressive deep plunging that can disrupt the flow paths the filter relies on.
Vacuuming sand
Sand behaves differently. Waste tends to sit on top because sand compacts and does not let debris sink very far. If you plunge like you do with gravel, you will siphon sand fast.
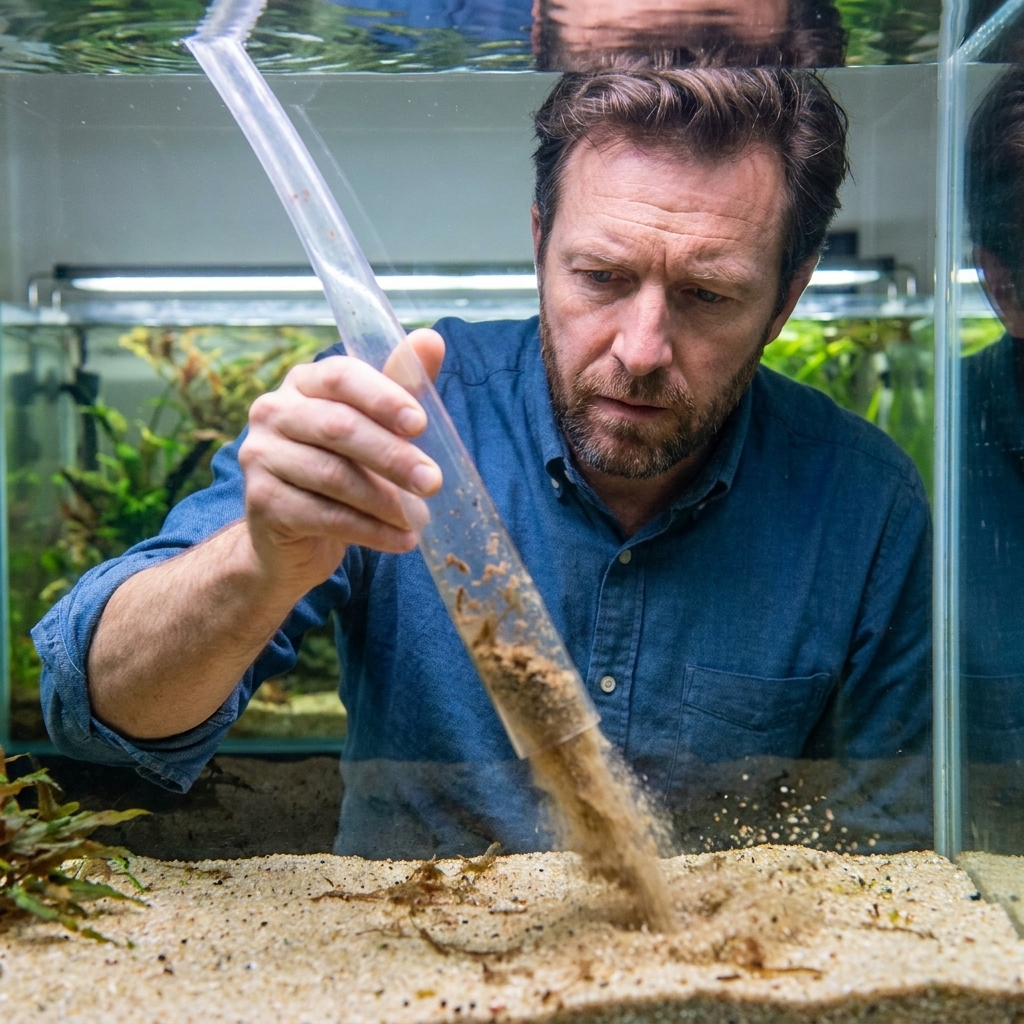
The sand-safe technique
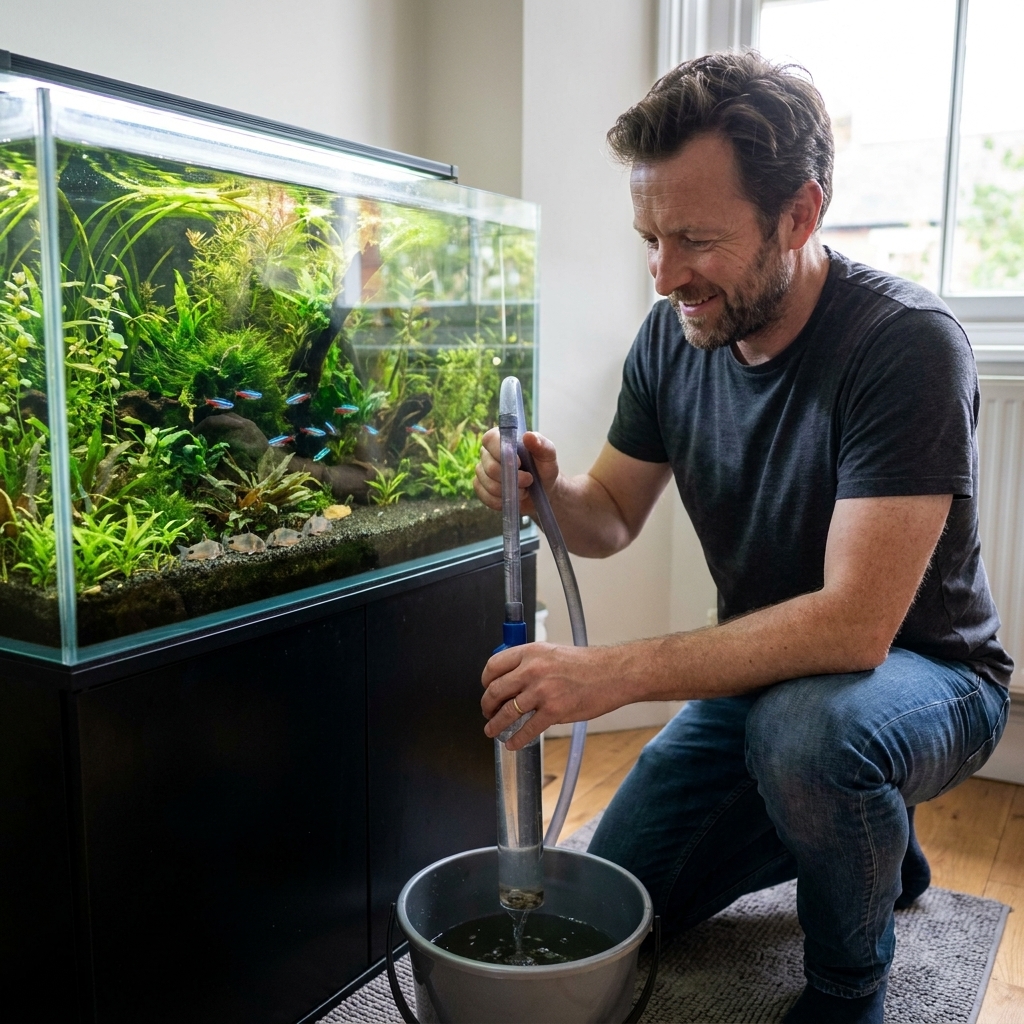
- Slow the flow if you can. An inline valve or clamp is easiest. If you have neither, you can partially pinch the hose with your fingers for short moments, but keep the hose unkinked and stay in control so the siphon does not stop unexpectedly.
- Hover the tube 0.5 to 1 inch (1 to 2.5 cm) above the sand surface.
- Use small, controlled circles with the tube opening. The waste lifts easily, while sand drops straight back down.
- Tap the tube lightly if you need to pop loose a patch of mulm.
- Only poke when needed, and only shallowly. Think: stir the surface, not excavate.
When deeper cleaning makes sense
If you have a neglected substrate, you may need a deeper clean, but do it in sections over multiple water changes. In planted tanks, roots stabilize sand. Over-vacuuming can uproot plants and release lots of debris at once.
How often to vacuum
Frequency depends on stocking, feeding, flow, and whether you run a planted tank.
- Heavily stocked community tank: light vacuum weekly during water changes, focus on visible waste zones.
- Moderately stocked tank: vacuum every 1 to 2 weeks, rotating sections.
- Heavily planted tank: often less vacuuming is better. Many planted keepers do gentle spot-cleaning and rely on plants, microbes, and good filtration.
A healthy routine usually looks like: regular water changes, plus partial substrate cleaning, not a complete deep clean every time.
Keep fish calm
Fish read the siphon as a large predator-shaped object invading their home. You cannot eliminate stress entirely, but you can reduce it a lot.
- Move slowly. Quick jabs with the vacuum spook fish and stir more debris into the water.
- Do one side at a time so fish have a calm retreat zone.
- Avoid chasing fish away from an area. If they are schooling in your way, skip that patch and come back later.
- Keep water temperature steady on refill. Temperature swings stress fish more than the vacuum does.
If you keep shrimp or very small fish fry, cover the intake with a sponge pre-filter or fine mesh and keep the flow slower than you think you need.
Common problems
You sucked up sand
It happens. Here is what to do:
- Let the bucket sit for 10 to 15 minutes. Sand settles fast.
- Pour off the dirty water slowly without dumping the settled sand.
- Rinse only what you removed, and only if you truly need to. Use dechlorinated water, swish gently, and expect some cloudiness when you return it.
If the sand you pulled is foul and black, it is often better to discard that portion than to “revive” it and put it right back into the tank.
If your siphon is constantly inhaling sand, reduce flow and hover higher.
The siphon keeps losing suction
- Check for air leaks at hose connections.
- Keep the hose end well below the tank water line in the bucket.
- Remove kinks and make sure the hose is not pinched shut.
The water turns cloudy
Some cloudiness is normal, especially if you disturbed mulm. It should clear within a few hours with decent filtration. If it does not:
- Check your filter flow and mechanical media (filter floss can help).
- Do not overfeed for a day or two.
- Next time, clean smaller sections so you are not stirring the whole tank at once.
Your plants keep uprooting
- Use the hover method around rooted plants, even in gravel.
- Vacuum around stems and crowns, not directly on top of them.
- In sand, plant roots need time. Use root tabs and let the bed stabilize before aggressive cleaning.
Gravel vs sand: clean enough
I see a lot of new hobbyists chasing a spotless substrate. In reality, a little mulm is not automatically a problem. It can even be helpful in planted tanks as slow-release nutrients.
What you are watching for is excess:
- Thick waste accumulation in dead-flow corners
- Food collecting under decor after every feeding
- Persistent algae fueled by high organics
- Rising nitrate levels despite normal water changes
If those are happening, vacuum more strategically and improve flow and feeding habits.
Special situations
Deep sand beds
In freshwater tanks, most “normal” sand layers are shallow and cosmetic. Once your sand is deeper than typical (roughly 2 to 3 inches or more), vacuuming should be mostly surface-level. Deep stirring can release trapped debris. Consider gentle sand-stirrers like Malaysian trumpet snails if appropriate for your tank, and aim flow so detritus does not settle in one place.
Bare-bottom tanks with a sand tray
If you use a removable sand container or tray, you can lift it out occasionally and rinse it in dechlorinated water. This is a great approach for messy fish that still benefit from having sand to sift.
After medication or illness
Once treatment is complete, a careful vacuum can remove dead organics and leftover food that feed blooms. Just do not panic-clean everything at once. Stability is still your friend.
Do not do this
The fastest way to destabilize a tank is stacking big disruptions in the same day. Try not to:
- Deep-clean the entire substrate
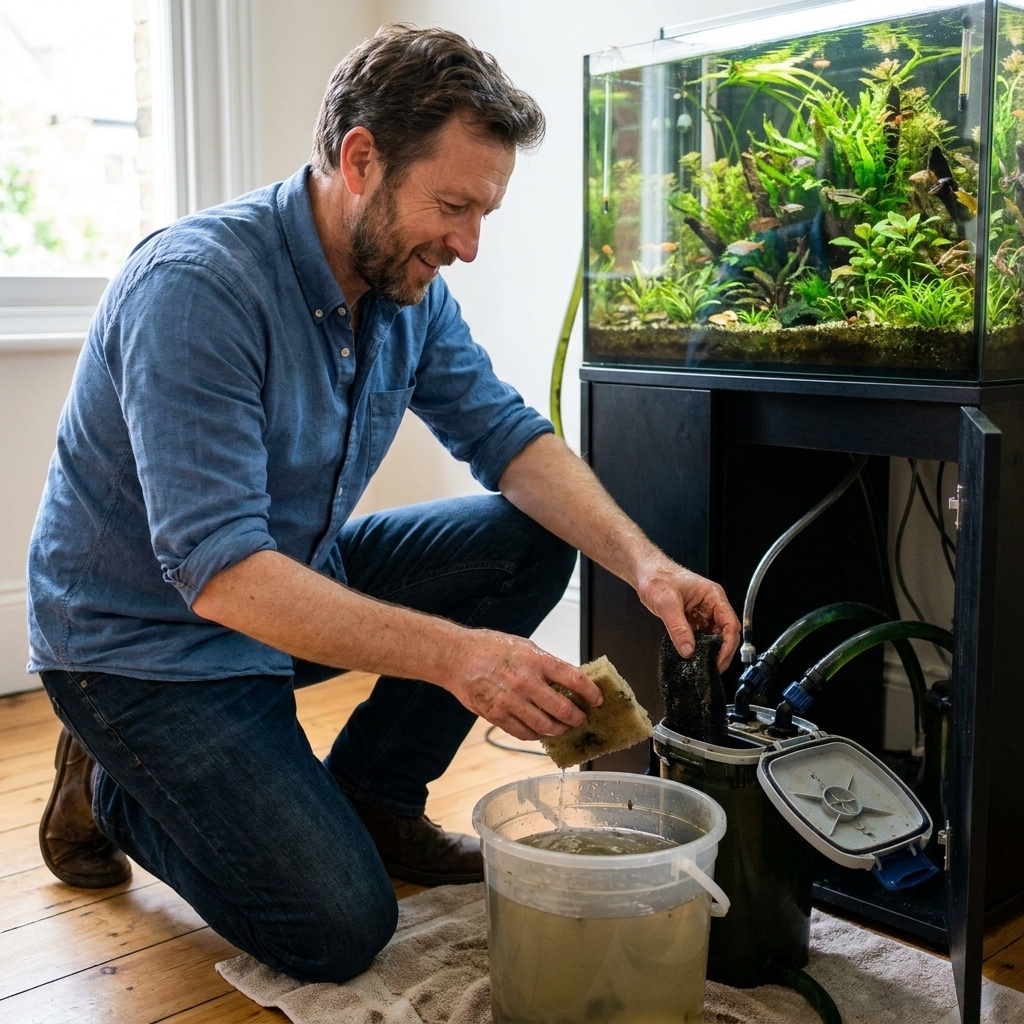
- Replace all your filter media
- Do a huge water change
Pick one major disturbance at a time, and keep the rest gentle and routine.
Simple routine
- Unplug heater and filter.
- Start siphon into a dedicated bucket.
- Vacuum one-half to two-thirds of the substrate (or just problem zones), not necessarily all of it.
- Stop when you hit your planned water change volume.
- Refill with temperature-matched, dechlorinated water.
- Plug equipment back in once water level is safe for the filter and heater.
If you keep this rhythm, your substrate rarely reaches the “disaster cleanup” stage.
FAQ
Will vacuuming remove beneficial bacteria?
Light to moderate vacuuming does not usually cause a cycle crash. Most nitrifying bacteria live on high-oxygen surfaces, especially inside your filter. Problems happen when people deep-clean everything at once, replace all filter media, and do huge water changes simultaneously.
Do I need to vacuum in a planted tank?
Sometimes yes, but usually less. Planted tanks often do best with gentle spot-cleaning, trimming dead plant matter, and good flow. If detritus is building up in pockets, vacuum those areas lightly.
Can I vacuum sand if I have corydoras?
Yes, and they will appreciate clean sand. Just hover and skim rather than digging deep. Corydoras naturally stir the top layer, which helps prevent waste from compacting.
Why does my gravel still look dirty after vacuuming?
Some staining is normal, especially in light-colored gravel, and mulm can settle back down if you stirred too wide an area at once. Try smaller sections, slower movements, and better mechanical filtration during and after maintenance.
If you take one idea from this, let it be this: vacuuming is controlled removal, not excavation. Gravel likes the plunge-and-lift. Sand likes the hover-and-skim. Master those two motions, and your water changes get calmer, your fish get less spooked, and your tank stays cleaner with far less effort.