A step-by-step quarantine tank setup for new or sick freshwater fish: bare-bones gear, fast but safe cycling options, daily care, and how to medicate without...
Freshwater aquarium guidance
Quarantine Tank Setup for New or Sick Fish
Set up a simple quarantine tank that reduces disease risk in your main aquarium. Equipment list, step-by-step setup, cycling options, and a practical routine for observation and treatment.

Written by
Oliver Bennett
Oliver Bennett is a lifelong aquarist with over 15 years of experience in freshwater tank setup, aquascaping, and fish health. Through TankRoot, he shares his passion for creating balanced underwater ecosystems, helping hobbyists of all levels build thriving, beautiful homes for their fish.
Published: October 17, 2026
•
Updated: October 17, 2026
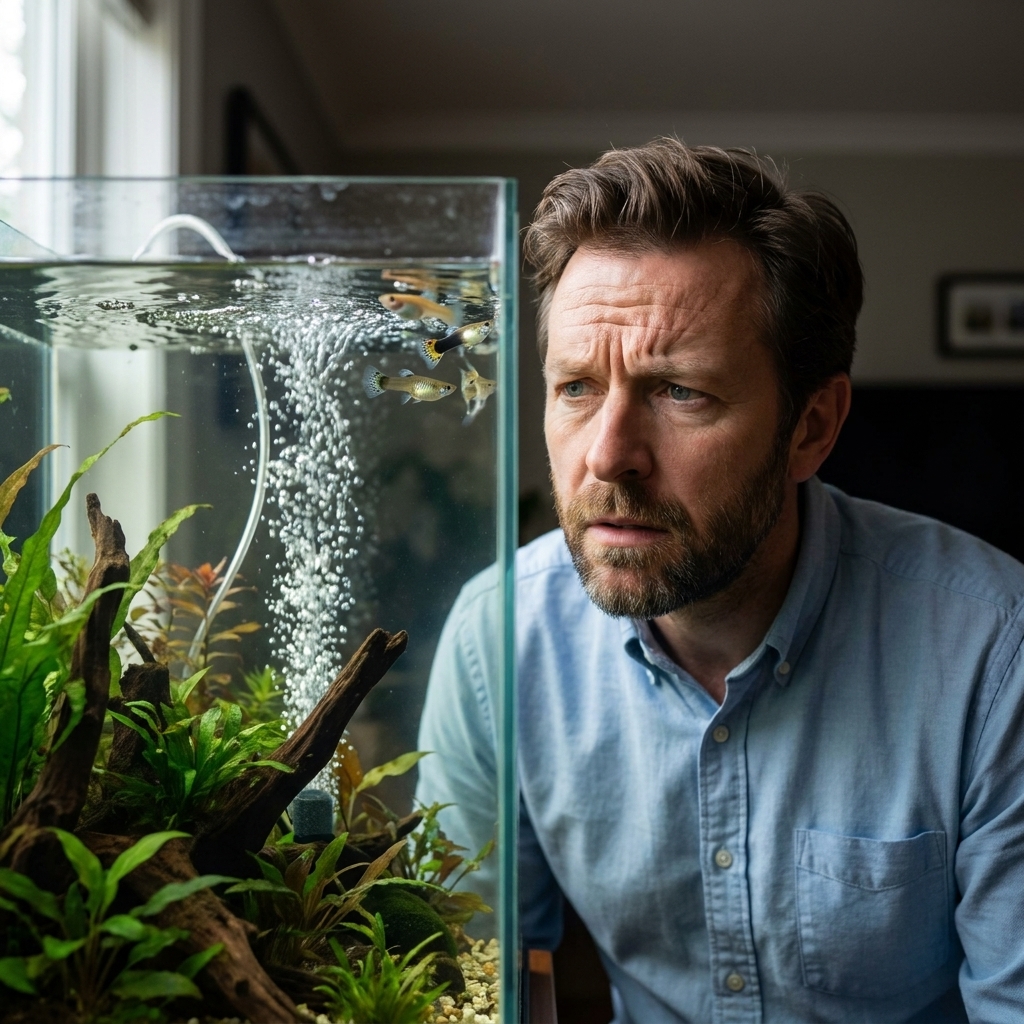
I still remember the first time I introduced a “healthy-looking” new fish straight into a community tank. Within a week, everyone was flashing, clamping fins, and I was standing there with a test kit in one hand and regret in the other.
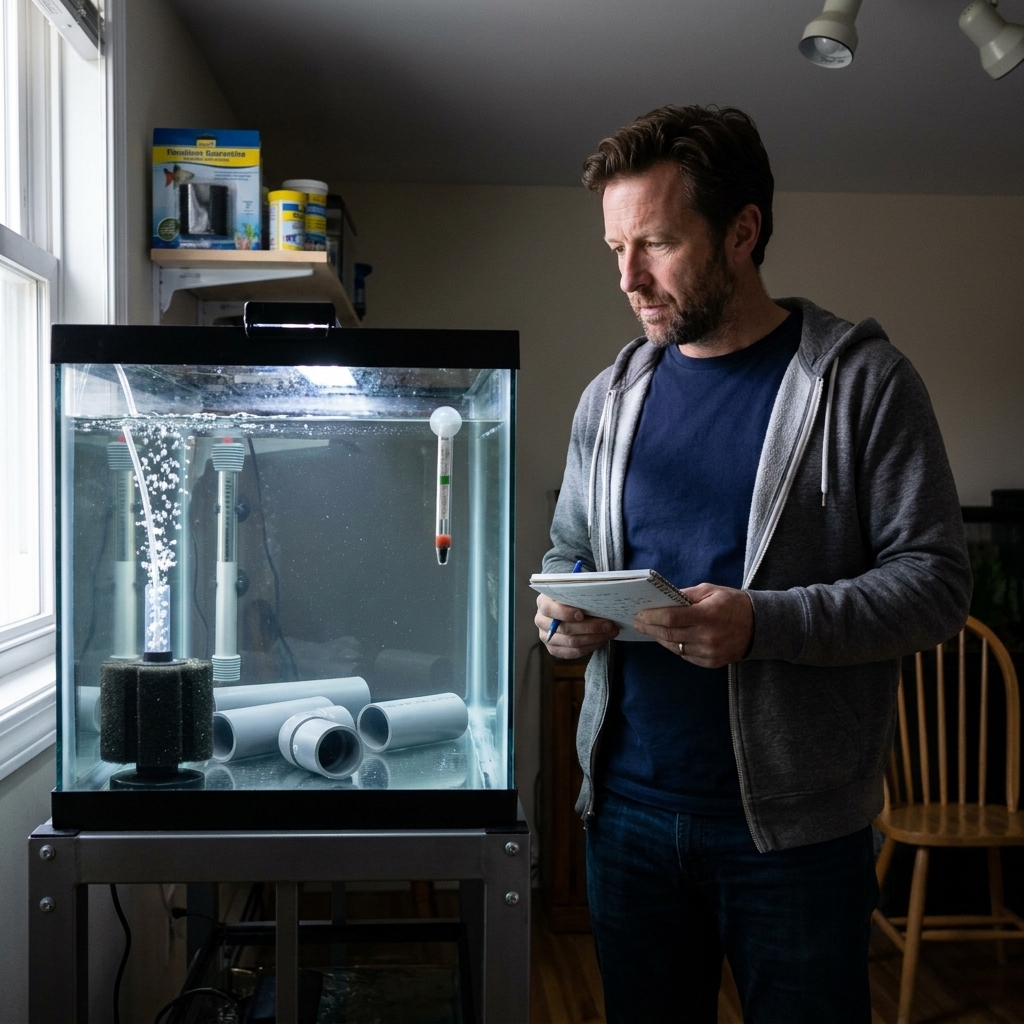
A quarantine tank (QT) fixes that, or at least stacks the odds heavily in your favor. It is not fancy. It is not a second display. It is a controlled, easy-to-clean space where you can observe new arrivals, treat illness, and protect the ecosystem you already built.
This guide is written with freshwater community fish in mind. Marine quarantine is its own world, with different parasites and protocols.
What a quarantine tank does
A good QT gives you three big advantages:
- Containment: It greatly reduces the chance parasites, bacteria, or fungus make it into your display tank.
- Clear observation: A bare-bottom tank makes it easier to spot poop changes, uneaten food, flashing, fin rot edges, and spots.
- Safer treatment: Many medications can harm shrimp, snails, sensitive plants, or beneficial bacteria in a mature aquascape. QT lets you treat the fish without tearing up your display.
Think of QT as a seatbelt. You might not need it every time, but the day you do, you really do.
Equipment list
You do not need a full second “setup.” You need stability, oxygen, and simple filtration.
Tank size
- 10 gallon: Perfect for most community fish purchases and small groups.
- 20 gallon (long if possible): Better for larger fish, active swimmers, or anything that stresses easily.
- 5 gallon: Only for tiny fish or short-term isolation, because water quality swings faster.
Must-have gear
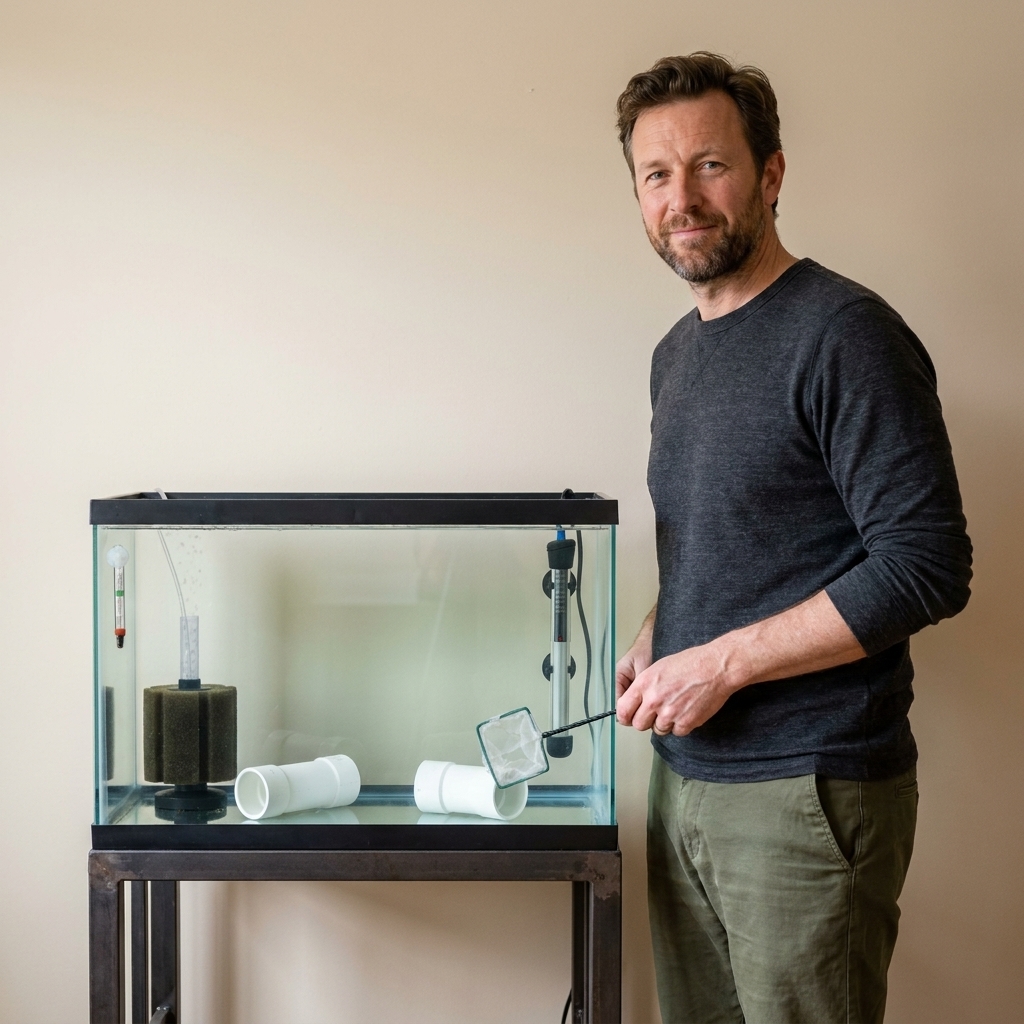
- Heater: Adjustable, correctly sized for the tank. Stable temperature reduces stress and improves immune response.
- Thermometer: A cheap stick-on is fine, a glass or digital probe is better.
- Sponge filter + air pump: My favorite QT filter because it is gentle, provides tons of oxygen, and is easy to replace. You can disinfect sponge filters in some cases, but after a true outbreak, replacement is often the safest move.
- Airline tubing + check valve: The check valve prevents back-siphon during power outages.
- Lid: Sick and stressed fish jump.
- Light (optional): Room light is often enough. Low light keeps stress down.
Strongly recommended
- Ammonia test (liquid preferred): In QT, ammonia is the number one killer, not the disease you are treating. Ammonia alert badges can be a helpful extra, but I would not use them as a substitute for a real test.
- Water conditioner: Use one that detoxifies chlorine and chloramine. If it also temporarily detoxifies ammonia, even better for emergencies. Note that some ammonia binders can make certain test readings confusing, so know how your test kit behaves and watch fish behavior closely.
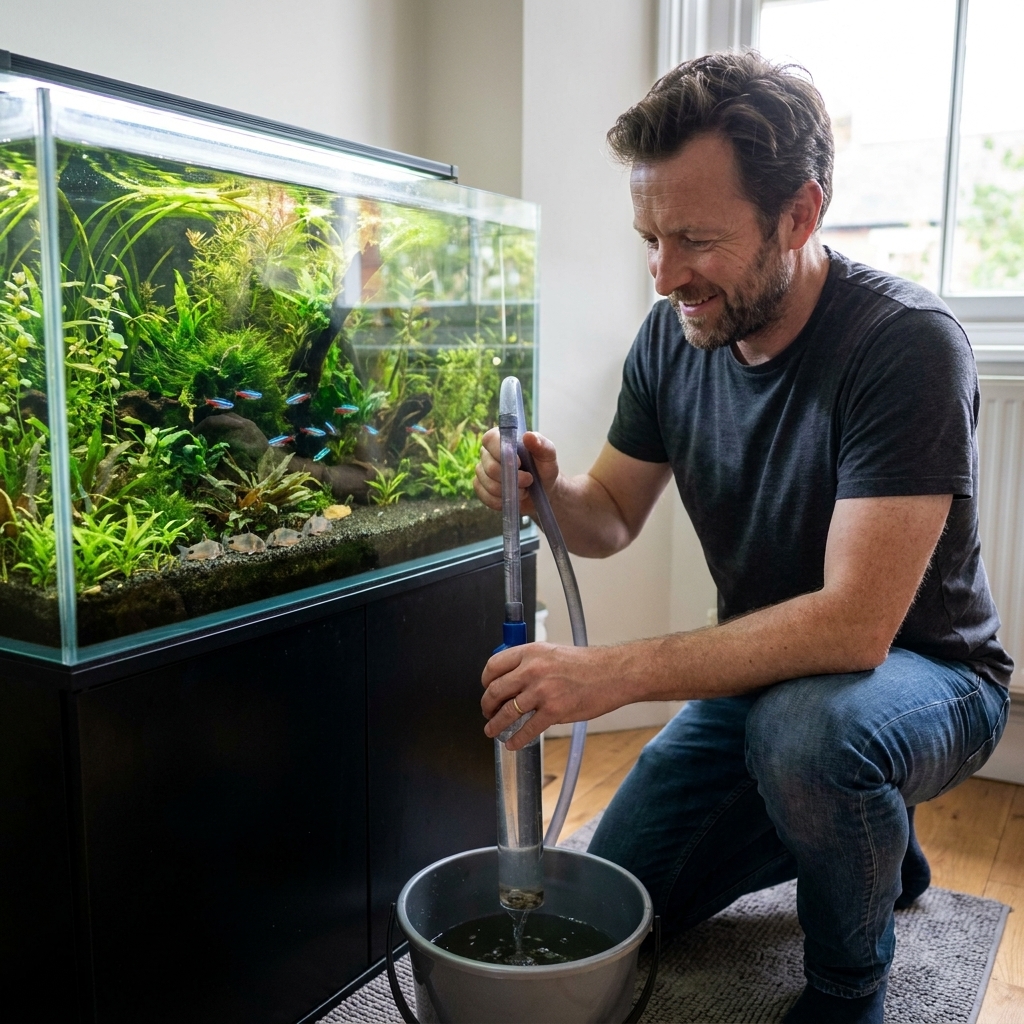
- Dedicated bucket, siphon, and net: Cross-contamination is real. Label them mentally as “QT only.”
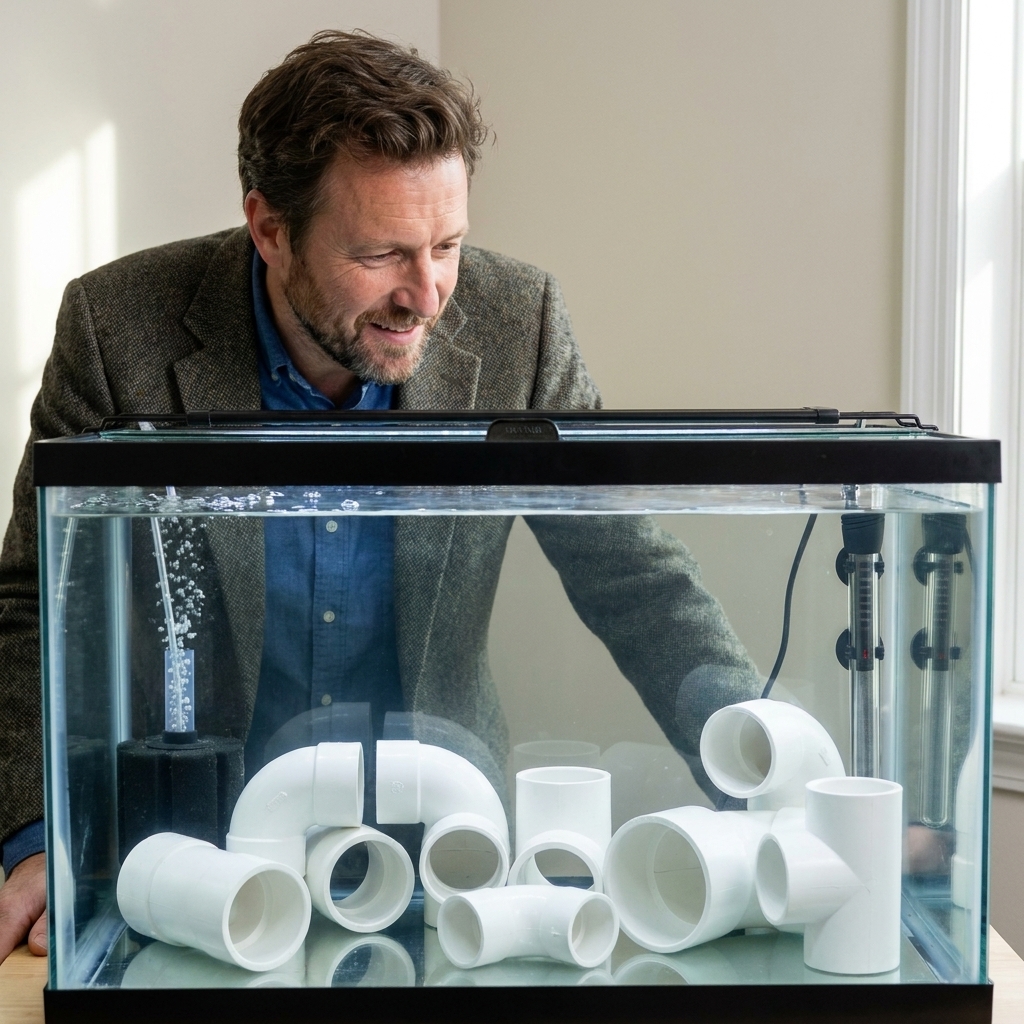
- Hiding places: PVC elbows, couplers, or a clean plastic ornament. Skip porous decor you cannot disinfect.
What to avoid
- Substrate: Gravel traps waste and makes medication dosing less predictable.
- Live plants (usually): Plants can carry hitchhikers and do not love meds. If you must, use easy floaters you can throw away afterward.
- Carbon in the filter: Carbon removes many medications. Save it for after treatment to polish the water.
Set up the QT
Step 1: Put it somewhere calm
Pick a low-traffic spot away from direct sun, heating vents, and speakers. Stress complicates everything, including diagnosis.
Step 2: Rinse equipment, then assemble
Rinse the tank, sponge filter, PVC, and heater with warm water only. No soap. Install the sponge filter and airline tubing with a check valve, then add the heater and thermometer.
Step 3: Fill with dechlorinated water
Match temperature as closely as possible to your display tank, or to the bag water if you are dealing with fish from an unknown setup. Add water conditioner for the full tank volume.
Step 4: Add hiding places and dim the lights
PVC is perfect. It gives fish security without turning your QT into something you cannot clean quickly. Keep lighting dim for the first day.
Step 5: Start filtration and heat, then stabilize
Give it at least 30 to 60 minutes to reach temperature and ensure the air pump is pushing steady bubbles. If you have time, let it run a few hours so everything settles.
Step 6: Check baseline parameters
Before fish go in, test:
- Temperature: Species-appropriate and stable
- Ammonia: 0 ppm
- Nitrite: 0 ppm
- pH: Not wildly different from your display
In quarantine, stability matters more than chasing a “perfect” number.
Make sure the QT is cycled
This is where most quarantine plans fall apart. A hospital tank is often set up fast, and an uncycled tank plus stressed fish is a rough combination. Choose one of these methods.
Option A: Keep a sponge filter cycling (best)
Run an extra sponge filter in your main aquarium or sump permanently. When you need QT, move that sponge filter over. Instant, mature biofiltration.
Option B: Seed with media (good)
If you use a hang-on-back or canister on your display, move some established media (a sponge, biomedia, or floss) into the quarantine filter. You are importing bacteria, so only do this if your display tank is healthy.
Option C: Fish-in cycle with aggressive testing (emergency only)
If you have no seeded media, you can still quarantine, but you must manage toxins like a hawk.
- Test ammonia and nitrite daily (twice daily for the first week if stocking is heavy).
- Do water changes anytime ammonia rises above 0 to 0.25 ppm or nitrite rises above 0 ppm.
- Feed lightly.
- Use extra aeration. Some medications can reduce oxygen availability, and sick fish often have higher oxygen demand. Warm water also holds less oxygen.
My rule: If you are treating disease and cycling at the same time, water quality is the treatment. Most fish do not recover in dirty water, no matter what you dose.
Acclimate fish into quarantine
New fish from a store
- Dim the lights.
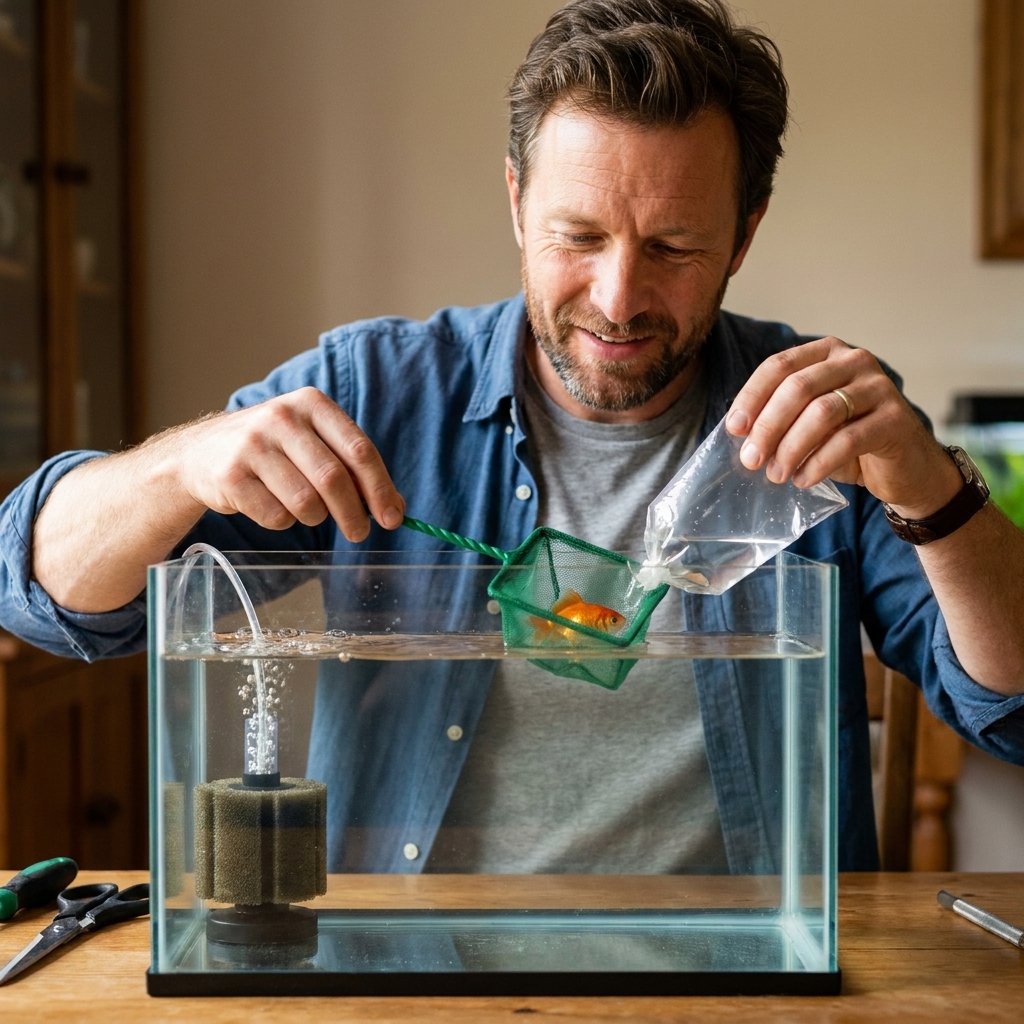
- Float the bag for 15 to 20 minutes to equalize temperature.
- Open the bag and add a small amount of QT water every 5 minutes for 15 to 20 minutes.
- Net the fish into the QT. Discard bag water. Do not pour it in.
Sick fish moved from your display
Match temperature and pH as closely as possible, then move quickly with a net. The goal is to reduce handling time. If the fish is severely stressed, skip slow acclimation and prioritize oxygen and stable heat.
Daily routine
A QT works because you do the boring stuff consistently.
Every day
- Observe behavior: appetite, flashing, clamped fins, heavy breathing, hanging at the surface, rubbing, lethargy.
- Check for visible signs: white spots, gold dusting, fuzzy patches, frayed fins, red streaks, swollen belly, popeye.
- Test ammonia: especially in the first two weeks or during medication.
- Remove waste: siphon uneaten food and poop off the bare bottom.
Every 2 to 3 days (typical)
- Water change: 20 to 40% is common. In an uncycled QT, it may be daily.
- Re-dose meds if required: Many medications are dosed after water changes. Read the label and follow it exactly.
Keep a simple notebook on your phone: dates, symptoms, test results, water changes, and doses. When things go sideways, that history is gold.
Medication basics
I cannot responsibly prescribe a one-size-fits-all medication plan because the right treatment depends on the diagnosis and species. But I can help you avoid the most common QT medication mistakes.
1) Do not shotgun meds
Randomly stacking medications stresses fish and can damage biofiltration. Start with observation, water quality, and symptom-based choices.
2) Increase aeration
Add an airstone or run the sponge filter harder. Some medications and higher temperatures can reduce dissolved oxygen, and sick fish often need more of it.
3) Remove carbon and chemical media
Activated carbon and many resins can strip medication from the water, making dosing inconsistent.
4) Respect the biofilter
Some antibiotics and antiparasitics can weaken nitrifying bacteria. Test ammonia and nitrite and be ready for extra water changes.
5) Follow the full regimen
For many meds, stopping early is a classic way to “almost fix” a problem, then have it roar back later. Follow the full labeled regimen unless a trusted aquatic vet or manufacturer guidance tells you otherwise.
How long to quarantine
For most freshwater community fish, I aim for 3 to 4 weeks of quarantine. That is a practical baseline that catches a lot of common problems without turning QT into a second lifestyle.
- Many issues show up after the initial stress window, not on day one.
- It gives you time to confirm the fish is eating well, gaining strength, and producing normal waste.
- If you treat something, you want additional symptom-free time after treatment ends.
Some keepers prefer 4 to 6 weeks, especially for higher-risk sources or slow-to-show parasites. Temperature can also affect parasite life cycles, so your timeline may shift depending on species and conditions.
If a fish was actively sick, extend quarantine until it has been at least 10 to 14 days symptom-free, eating normally, and holding stable weight and behavior.
Prevent cross-contamination
A quarantine tank is only protective if you treat it like a separate system. QT reduces risk, but sloppy habits can still move pathogens tank to tank.
- Wash hands and forearms between tanks, especially after QT maintenance.
- Do not share tools: nets, algae scrapers, siphons, buckets, towels.
- Work display first, QT last if you maintain both in the same session.
- Control splashes: do not drip QT water across the room or over shared surfaces.
Simple mindset shift: If water from QT touches it, it is now QT equipment.
Disinfect after quarantine
When quarantine ends, you have two choices: keep the QT running (great if you quarantine often), or break it down and disinfect.
If you want to keep it ready
- Keep the sponge filter running in an established tank to stay cycled.
- Dry the QT tank and PVC, then store clean.
If you need to disinfect (after disease)
- Discard porous items you cannot confidently disinfect, including sponge filters if you suspect a serious contagious issue.
- Clean the tank and hard items first, then disinfect with an unscented bleach solution of 1 part bleach to 20 parts water for 10 minutes.
- Rinse thoroughly, then dechlorinate heavily (dose conditioner for the full container volume), and rinse again.
- Let everything air-dry completely. Drying helps kill many pathogens.
If you are not sure whether an item is safe to reuse, the cheapest insurance is replacing it. PVC is inexpensive. So are sponge filters.
Common mistakes
“The QT is too small, so I will skip it.”
A basic 10 gallon QT is better than rolling the dice in a 55 gallon community tank. Keep stocking light and stay on top of water changes.
“I only quarantine fish that look sick.”
Many fish carry parasites or bacterial issues with no obvious signs until stress hits. Quarantine is about what you cannot see yet.
“I treated the fish, so I am done.”
Treatment is step one. Step two is recovery time and observation. A fish that eats for two days is not necessarily stable.
“I moved my display media into QT while treating.”
If you suspect something contagious, avoid moving anything back and forth. Seed with a spare sponge filter you can sacrifice, or plan on replacing QT media afterward.
Quick-start QT
If you want the bare minimum that still works:
- 10 gallon tank
- Adjustable heater + thermometer
- Sponge filter + air pump + check valve
- PVC elbows for hiding
- Water conditioner
- Liquid ammonia test
That setup, plus consistent water changes, will prevent more heartbreak than almost any other “upgrade” in fishkeeping.
FAQ
Can I use a plastic storage bin as a QT?
Yes, for many freshwater fish. Use a clean, food-safe bin, ensure it holds water safely, and still use a heater, aeration, and a lid. The biggest downside is visibility for observation and a higher chance of warping if the heater touches the plastic.
Should I run a QT 24/7?
You do not have to. The best compromise is keeping an extra sponge filter running in your display tank so you always have cycled media ready.
Do I need to quarantine plants too?
If you add live plants, you can unintentionally introduce snails, algae, and pathogens. Plant quarantine is its own topic, but yes, isolating and inspecting plants before they hit a display tank is smart, especially for shrimp keepers and heavily planted aquascapes.
What if my QT gets ammonia during medication?
Do a water change, match temperature, re-dose medication according to the label for the amount of water replaced, and increase aeration. In QT, clean water is not optional.